TL;DR:
- Proper preparation of gear and environment ensures professional-quality studio recordings.
- Human expertise remains essential for capturing the emotional and musical intent behind recordings.
- Verification steps before mastering guarantee final tracks meet technical standards and platform requirements.
Recording in a studio feels like a high-stakes moment, and it is. Even a well-crafted song can fall flat if technical details are missed during tracking or mastering. Poor gain structure, wrong loudness targets, or skipping reference tracks can leave your music sounding amateurish on streaming platforms, no matter how much heart went into it. This guide walks you through exactly what to prepare, how to execute a session professionally, what mistakes to avoid, and how to verify your tracks are truly ready for mastering and distribution across every major format.
Table of Contents
- What you need before recording in a studio
- Step-by-step process for recording in a studio
- Avoiding common mistakes during studio recording
- Verifying your recording: Quality checks and preparation for mastering
- The hidden edge: Why human expertise still wins in the studio
- Ready to master your studio recordings?
- Frequently asked questions
Key Takeaways
| Point | Details |
|---|---|
| Preparation is crucial | Studio success starts with the right equipment, environment, and clear session planning. |
| Follow professional workflow | Structured steps prevent technical mistakes and help secure a clean, competitive master. |
| Meet streaming specs | Aim for target LUFS and peak values so your music performs well on major platforms. |
| Human touch matters | Expert mastering engineers outperform AI, especially in nuanced genres where detail counts. |
| Verify before mastering | Routine checks and clear track documentation boost mastering results for any distribution format. |
What you need before recording in a studio
Now that you know why serious preparation matters, let's pinpoint exactly what you'll need before your session begins.
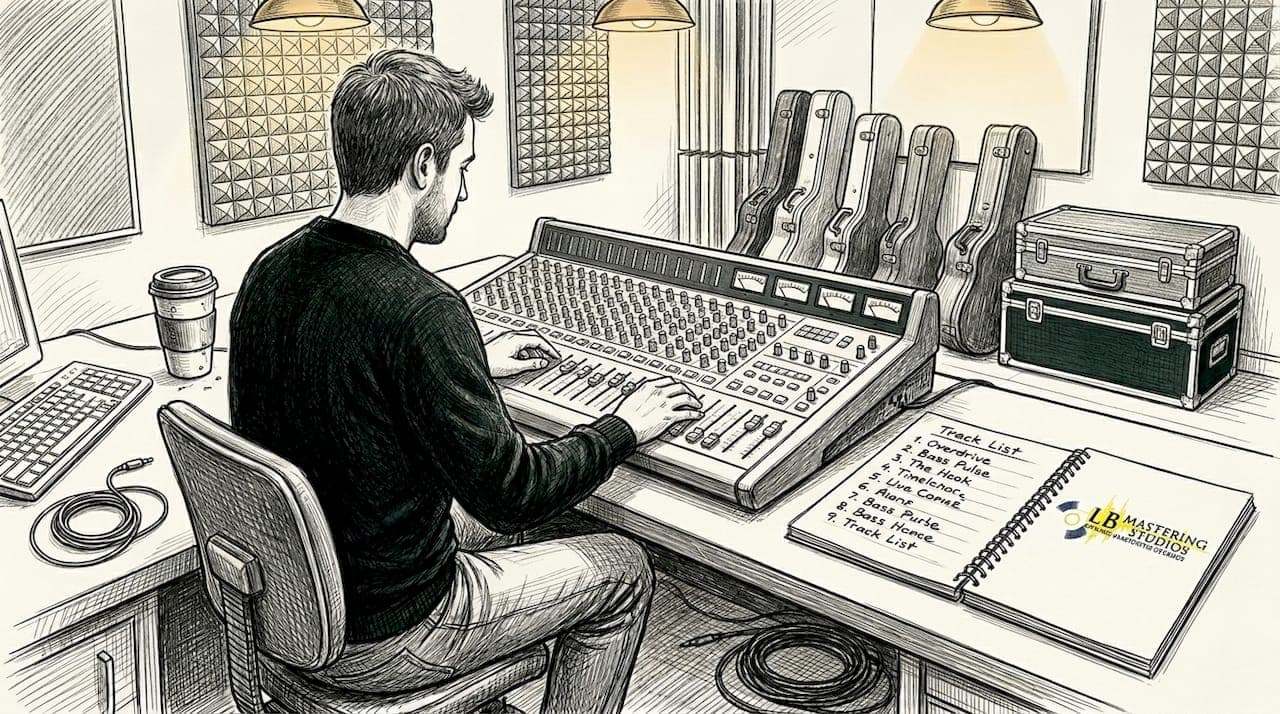
Getting your gear and environment right before the first take is the difference between a session that flows and one that wastes expensive studio time. Independent musicians and label teams often skip this step, assuming the studio handles everything. It doesn't always work that way.
Core studio gear checklist:
- Audio interface: Choose one with low-latency drivers and clean preamps (at least 24-bit/96kHz capability).
- Studio monitors: Flat-response monitors reveal the truth of your mix; consumer speakers flatter it.
- Microphones: Dynamic mics for high-SPL sources, condensers for detail and room capture.
- Cables: Balanced XLR and TRS cables reduce noise over long signal runs.
- Headphones: Closed-back for tracking, open-back for critical listening.
- DAW (Digital Audio Workstation): Pro Tools, Logic Pro, Ableton Live, or Reaper are industry standards.
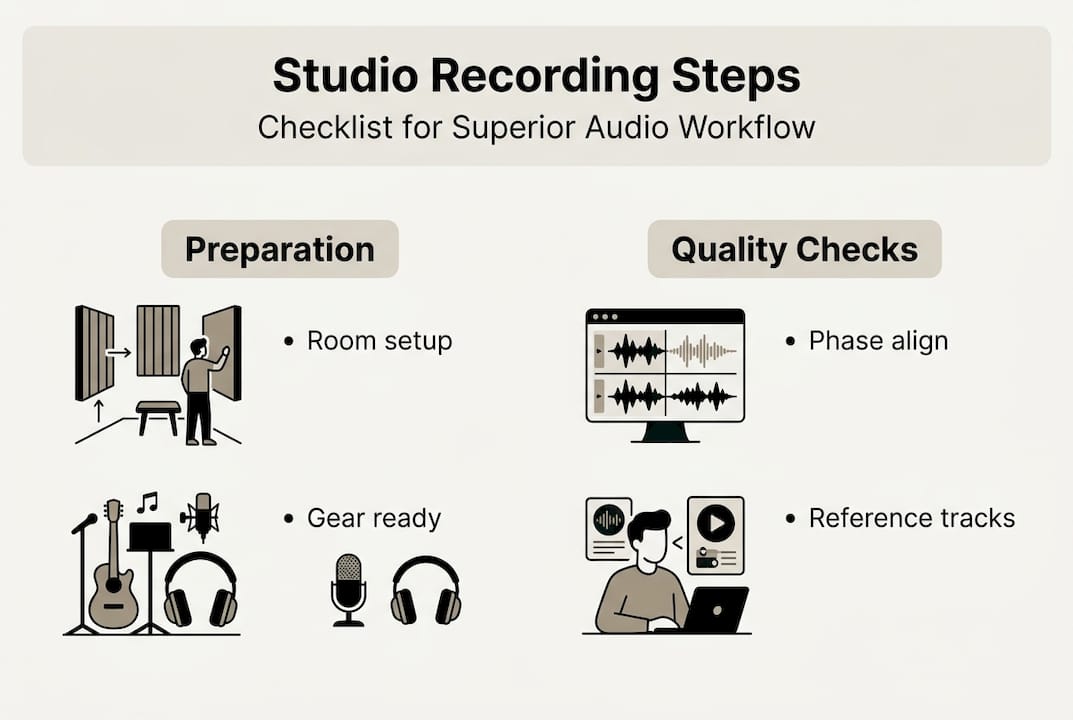
Beyond gear, acoustic treatment matters enormously. Untreated rooms introduce frequency build-up in corners and flutter echo between parallel walls. Bass traps, broadband absorbers, and diffusers should be in place before you start. Accurate monitoring in a treated room is the foundation everything else is built on. Explore essential mastering gear and mastering equipment examples to understand what tools professionals rely on.
Document your session flow in advance. Prepare a track list, identify reference tracks (commercially mastered songs in your genre), and set up a backup plan for your recorded files. Cloud backup and a second hard drive are not optional for serious sessions.
| Factor | Analog setup | Digital setup |
|---|---|---|
| Warmth and character | High | Moderate |
| Flexibility | Lower | Very high |
| Recall speed | Slow | Instant |
| Signal chain cost | High | Scalable |
| Industry preference | Critical genres | Broad use |
Pro Tip: Most professional engineers run a hybrid signal chain, capturing the warmth of analog hardware through outboard gear while using digital recall and editing precision. For genres like jazz, soul, or singer-songwriter, this approach consistently delivers richer results. Prioritize human over AI for high-end results, especially in nuanced genres where tonal subtlety defines the sound.
Step-by-step process for recording in a studio
With your gear and studio prepped, here's how to execute your session step by step for pro-level capture.
- Session setup: Organize your session template before musicians arrive. Label tracks, set your sample rate (44.1kHz for CD/streaming, 48kHz for video), and confirm your bit depth at 24-bit minimum.
- Mic placement: Spend real time here. Small adjustments, a few inches in any direction, can dramatically change the tone captured. Use a reference recording to confirm placement before committing.
- Gain staging: Set input levels so peaks land around -18 dBFS on your meters. This leaves headroom for transients and prevents clipping before any processing occurs.
- Tracking: Record multiple takes and keep all of them. Comping the best phrases later is standard practice and saves sessions where a single take isn't perfect end-to-end.
- Quality control during session: Stop and playback regularly on headphones and monitors. Listen for room noise, clicks, pops, or phase issues between mics on the same source.
Understanding loudness targets for your destination platform is critical before you record, not after. It shapes how you approach headroom and dynamics from the start.
| Platform | Integrated LUFS target | True peak limit |
|---|---|---|
| Spotify | -14 LUFS | -1 dBTP |
| Apple Music | -16 LUFS | -1 dBTP |
| YouTube | -14 LUFS | -1 dBTP |
| Tidal | -14 LUFS | -1 dBTP |
Commercial tracks often average around -8.4 LUFS at the mastering stage, which streaming platforms then normalize downward. Recording with clean headroom ensures your mastering engineer can achieve the right target without sacrificing dynamics. Understanding music trend analysis helps contextualize why loudness strategies continue to evolve alongside platform standards.
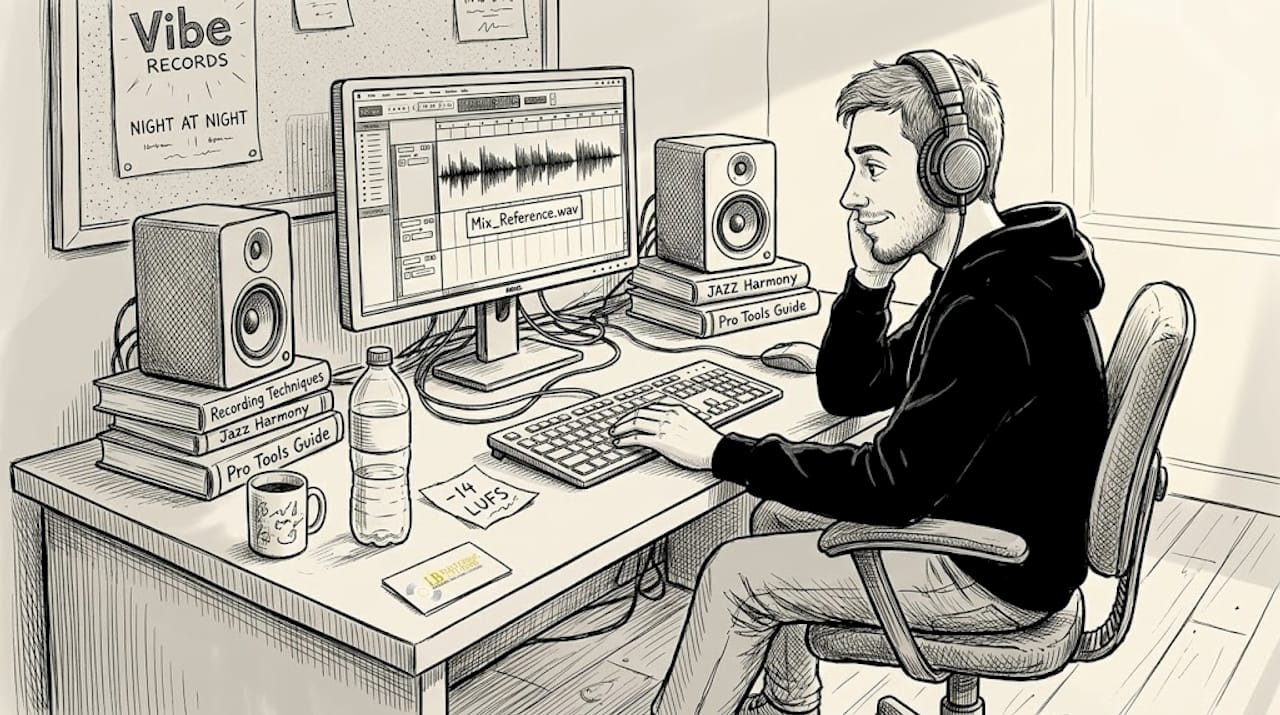
Pro Tip: During tracking, play reference tracks from your genre through your studio monitors at the same level you're recording. This immediately tells you whether your tone, dynamics, and frequency balance are in the competitive range. It's one of the simplest calibration tools available, and most musicians skip it entirely. Your mastering engineer will thank you for delivering tracks that maximize loudness without sacrificing dynamic range, and knowing how to achieve optimal loudness starts at the recording stage.
Avoiding common mistakes during studio recording
Even with careful execution, it's easy to slip into habits that compromise the session. Here's what to watch out for and how to fix it.
Common pitfalls that undermine recording quality:
- Poor gain structure: Recording too hot causes digital clipping; too quiet introduces noise floor problems. Aim for peaks around -18 dBFS and keep headroom generous.
- Over-reliance on plugins: Processing during tracking can mask problems rather than fix them. Capture the cleanest possible signal first, then process.
- Skipping reference tracks: Without a reference, your session becomes subjective. Use two or three commercially released songs in your genre to calibrate every decision.
- Neglecting room acoustics: Even a great mic and preamp will fail in an untreated room. Reflections muddy low-mids and create frequency imbalances that mastering cannot fully correct.
- AI as a final quality check: AI tools can assist with noise reduction or pitch correction, but they should not be your last word on quality.
Analog signal chains deliver a quality of warmth and dynamic response that many engineers still consider superior for critical listening. Analog gear for warmth and analog EQ for depth are worth studying if you want to understand why hybrid workflows produce results that feel more musical and less processed.
On AI mastering, the data is increasingly clear:
In a 472-person blind test, human mastering engineers scored approximately 6.5 out of 10, while the top AI tool scored 5.8. AI systems frequently clipped transients or flattened dynamic range in ways that listeners could detect, even without formal audio training.
That gap may seem small on paper, but on a streaming platform where every track competes for attention, it's audible. For music consumption history context, listeners have always responded to recordings with natural dynamics and emotional presence. Use our mastering checklist to run a final quality-control pass before you send files to your engineer.
Verifying your recording: Quality checks and preparation for mastering
To ensure your hard work pays off, don't overlook these last verification steps designed to catch issues before mastering.
Verification is where many independent musicians lose ground. They finish tracking, feel good about the session, and send files without running a single objective check. Here's a numbered self-check that makes sure your tracks arrive at the mastering stage in the best possible shape.
- Phase alignment check: If you used multiple mics on a single source, flip phase on one and compare. If the combined signal gets thinner, phase cancellation is happening. Fix it before export.
- Noise and hum scan: Solo each track and listen for background hum, fan noise, or electrical interference. Spectral repair tools can handle short bursts; persistent noise often requires a re-record.
- Reference bounce: Export a rough mix and compare it against your reference tracks in a separate listening session, ideally 24 hours later with fresh ears.
- Loudness check: Run an integrated LUFS measurement on your bounce. While the official normalized standard sits at -14 LUFS for most platforms, commercial tracks mastered at -8.4 LUFS are simply turned down on playback, not penalized for loudness itself.
- Session documentation: Write down your bit depth (24-bit recommended), sample rate, any plug-ins applied to the mix bus, and your reference tracks. Hand all of this to your mastering engineer. It removes guesswork and speeds up the entire process. You can find additional guidance on our mastering tips resource hub.
| Verification step | Why it matters | Tool to use |
|---|---|---|
| Phase alignment | Prevents frequency cancellation | DAW phase flip |
| Noise scan | Removes distracting artifacts | Spectral repair plug-in |
| Reference bounce | Validates competitive tone/level | Ears and metering plug-in |
| LUFS measurement | Confirms platform-ready loudness | Loudness meter |
| Session documentation | Gives engineer full context | Session notes document |
For artists preparing for physical release, CD mastering services require slightly different considerations around DDP file delivery and Red Book compliance. Format-specific prep ensures your master sounds equally strong on every platform, from music streaming to physical media.
The hidden edge: Why human expertise still wins in the studio
Having covered the technical musts, let's talk about what technology alone can't deliver.
After 44 years working across genres and formats, we've watched automation improve dramatically. And yet, the recordings that move people, the ones that get licensed, charted, or remembered, consistently carry something no algorithm currently replicates: musical intent.
A skilled engineer hears why a take works, not just whether it hits a numerical target. They recognize when a slightly compressed vocal serves the emotional arc of a song, or when a room's natural reverb tail should stay instead of being gated away. For jazz, singer-songwriter, and orchestral recordings in particular, vinyl mastering perspective illustrates how deeply craft and listening shape the final product.
DIY is viable for indie artists, but professional engineers bring objectivity that self-production rarely achieves. You simply can't hear your own music the way a fresh pair of trained ears does.
The long-term value of human expertise isn't just technical accuracy. It's the ability to serve the song, not the meter.
Ready to master your studio recordings?
If you want your recordings to compete with the best, expert mastering is your next move.
At LB-Mastering Studios, we've spent over 44 years preparing recordings for artists, independent musicians, and major labels across every format imaginable. Whether you're releasing to streaming, pressing vinyl, or duplicating CDs, our hybrid analog-digital workflow delivers the warmth, clarity, and loudness your music deserves.
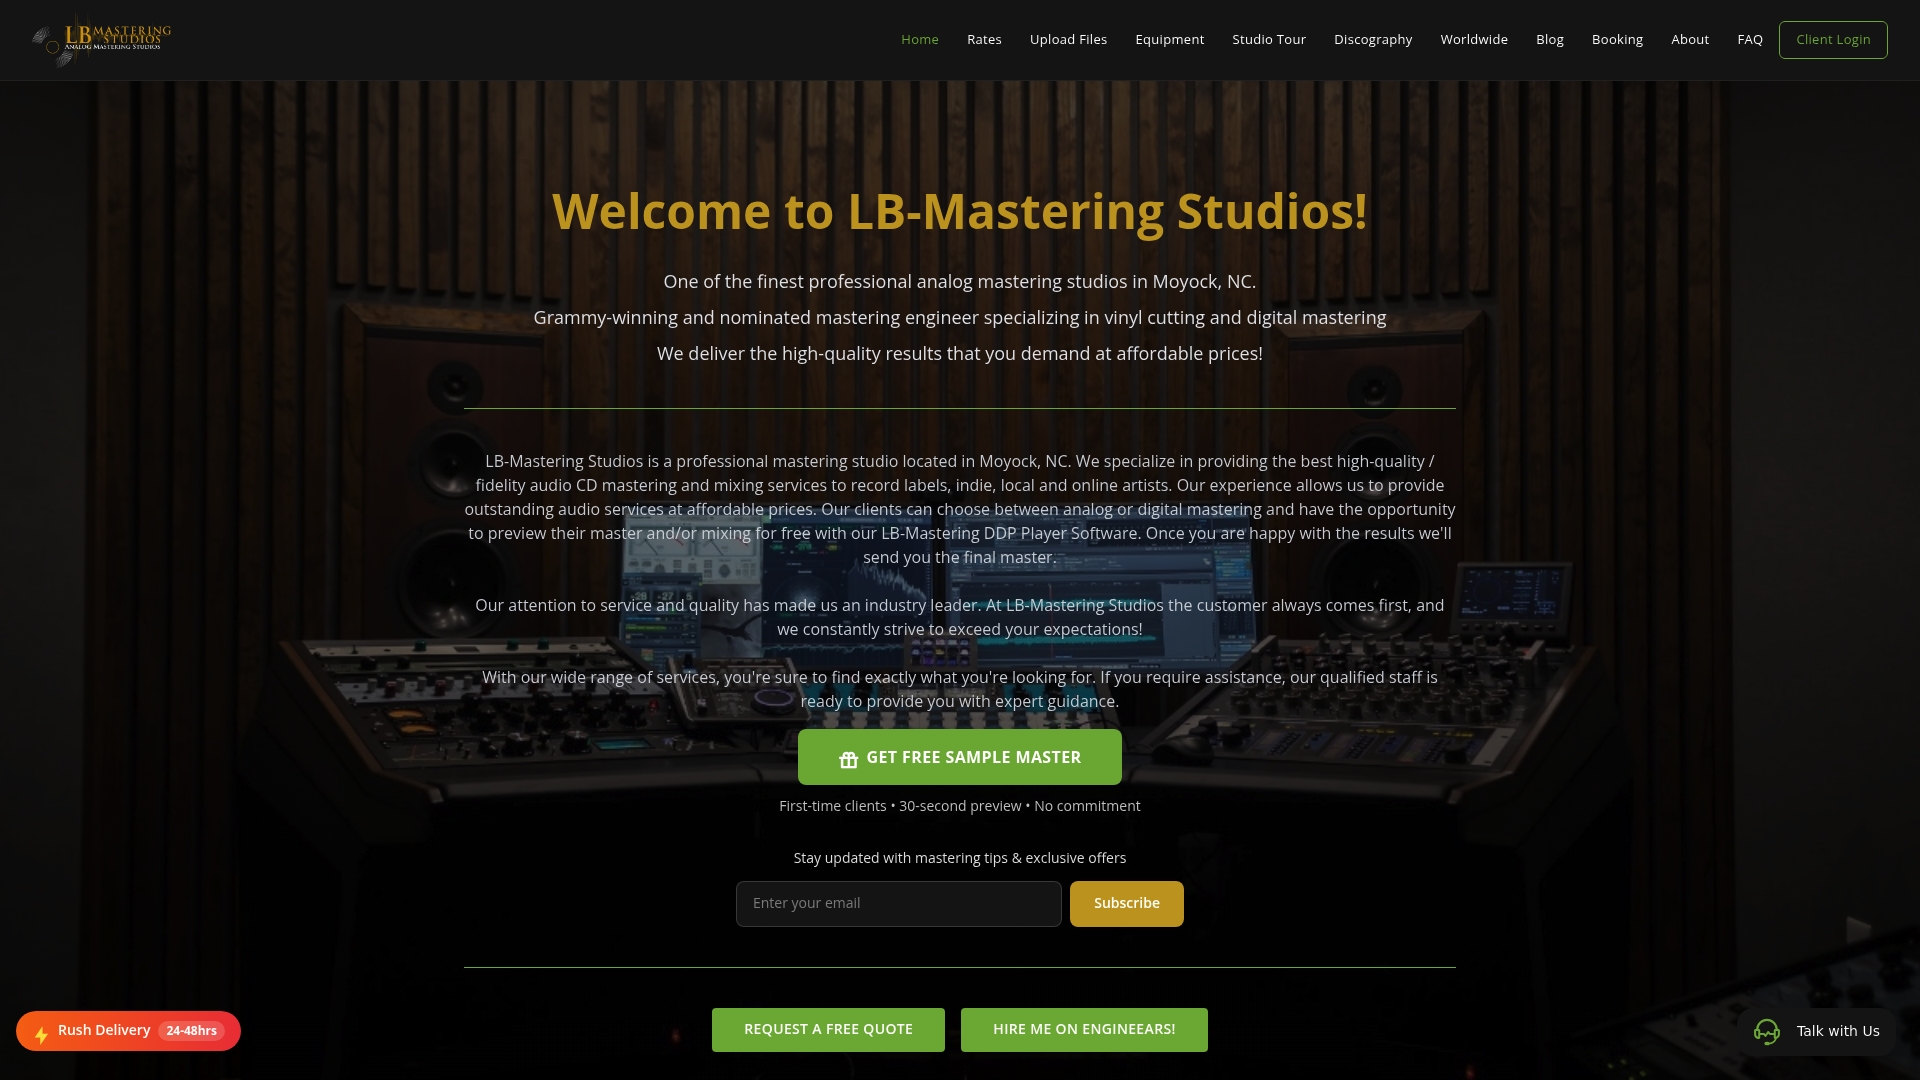
Explore our full range of mastering and mixing services to find the right fit for your project. If you're targeting physical formats, our CD mastering and vinyl mastering services include direct communication with your engineer and a free sample master. Send us your files and hear the difference for yourself.
Frequently asked questions
What is the best loudness target for studio recordings heading to streaming?
Aim for -14 LUFS integrated and keep true peaks at -1 dBTP or lower for Spotify, YouTube, and Tidal; Apple Music prefers -16 LUFS. These targets apply to your final master, so recording with generous headroom gives your engineer room to work.
Why should I use human engineers instead of AI for mastering?
Human mastering outperforms AI in blind tests, particularly for complex or nuanced genres, delivering more consistent dynamics and fewer audible artifacts. AI tools remain useful for specific tasks but fall short as a final quality standard.
How can I avoid common mistakes when recording in a studio?
Ensure proper gain staging, avoid overusing plugins, reference commercial music throughout the session, and don't rely on AI for your final quality pass. Careful monitoring in an acoustically treated room eliminates most issues before they reach the mastering stage.
What documentation should I give to my mastering engineer?
Provide session notes covering bit depth, sample rate, any processing applied to the mix bus, and two or three reference tracks you want to match. Clear documentation removes guesswork and speeds up delivery.
Is analog gear still important for modern recordings?
Analog gear delivers warmth and dynamic character that digital set-ups often struggle to replicate authentically, especially in genres where tonal texture is a defining quality. Most professional studios today run a hybrid approach to capture the best of both worlds.