TL;DR:
- Proper mix headroom and balance are essential for achieving clarity in mastering.
- Format-specific mastering techniques are key to preserving sound quality across streaming, vinyl, and digital releases.
- Human mastering generally outperforms AI in delivering optimal clarity, depth, and musicality.
Your carefully mixed track deserves to sound its best on every platform. Yet even well-crafted mixes can arrive at the listener's ears sounding muddy, thin, or lacking punch when released without proper mastering. Streaming normalization, vinyl cutting physics, and digital codec compression all affect your sound in different ways. Mastering is the final, critical step that brings clarity, balance, and competitive loudness to your music before it reaches the world. In this guide, we walk through the exact preparation steps, tools, format-specific strategies, and common mistakes to help you achieve professional track clarity across streaming, vinyl, and digital releases.
Table of Contents
- Preparing your mix for maximum clarity
- Essential mastering tools and their role in clarity
- Optimizing clarity for streaming, vinyl, and digital releases
- Common mistakes and troubleshooting for clarity
- Why attention to clarity separates amateur and pro releases
- Advance your tracks with professional mastering
- Frequently asked questions
Key Takeaways
| Point | Details |
|---|---|
| Mix preparation is critical | Proper headroom and avoiding master bus limiting in your mix sets the stage for clarity improvements in mastering. |
| Right tools boost clarity | Using dynamic EQ, multiband compression, and unmasking modules helps separate elements for clearer tracks. |
| Format-specific mastering matters | Unique streaming and vinyl requirements mean separate strategies are essential for clarity and playback reliability. |
| Avoid common clarity mistakes | Over-compression and generic mastering reduce depth; using tailored approaches prevents muddiness. |
| Human expertise outperforms AI | Skilled engineers are better at delivering warmth and nuanced clarity than automated platforms. |
Preparing your mix for maximum clarity
Before a mastering engineer can improve your track's clarity, your mix needs to arrive in the best possible shape. Think of it like handing a sculptor a rough block of stone. The better the raw material, the finer the final result.
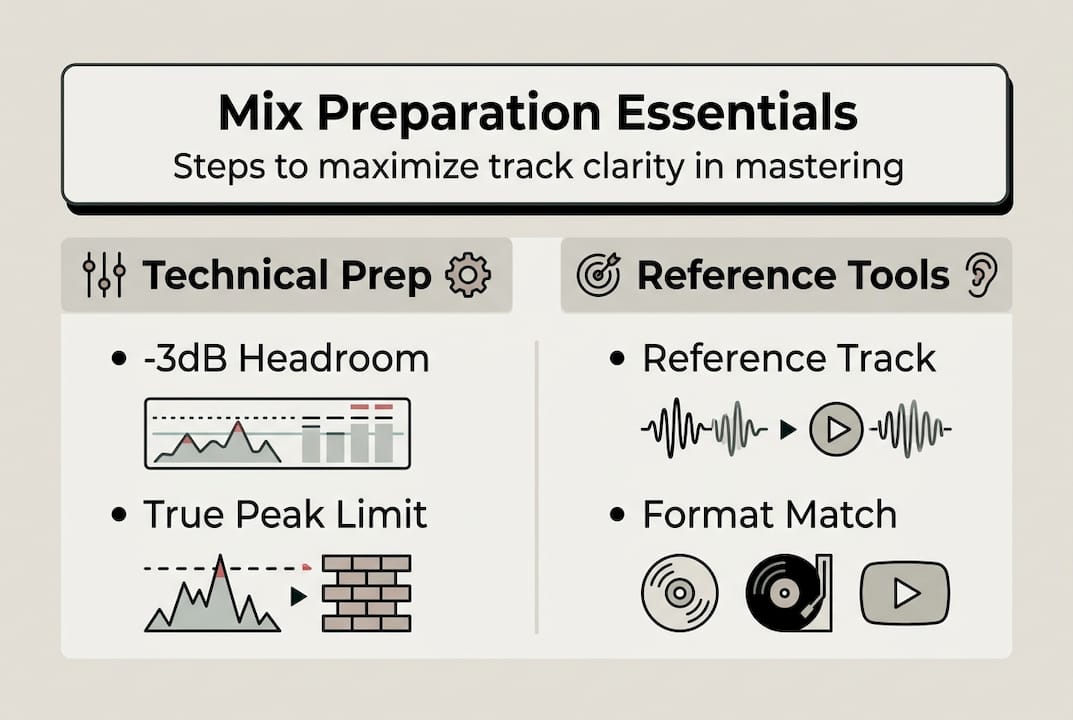
The single most important technical requirement is headroom. You should prepare mixes with -3 to -6dB headroom, with no master bus limiting or EQ applied. This gives the mastering engineer the dynamic space needed to shape your sound without fighting against processing that's already baked in. When your mix peaks too close to 0dBFS, there's no room to add warmth, correct imbalances, or apply gentle limiting without introducing distortion.
Beyond headroom, balance is everything. Make sure low-end elements like kick and bass are not fighting each other, and that your midrange is not cluttered with overlapping instruments. A clean, balanced mix translates far better across formats. Review our mastering checklist to confirm your mix is ready before sending files.
Key mix preparation steps:
- Export your mix as a 24-bit WAV or AIFF file at your session's native sample rate
- Leave -3 to -6dB of peak headroom with no master bus compression or limiting
- Remove any master bus EQ or saturation plugins before bouncing
- Ensure low-end balance between kick and bass for clean mono compatibility
- Deliver separate stems if you want stem mastering for greater control
Pro Tip: Send a reference track you admire alongside your mix. A mastering engineer can use it to understand the sonic direction you're aiming for, which speeds up the process and improves results.
Format also matters at the mix stage. Streaming mixes can be slightly more dynamic, while vinyl-bound mixes benefit from tighter low-end management from the start. Digital release mixes should translate well across multiple playback systems. Understanding professional sound quality standards for each format will help you make smarter decisions during mixing.
| Requirement | Streaming | Vinyl | Digital release |
|---|---|---|---|
| Peak headroom | -3 to -6dB | -3 to -6dB | -3 to -6dB |
| Master bus limiting | None | None | None |
| Low-end management | Balanced | Tight mono bass | Balanced |
| Stereo width | Moderate to wide | Conservative | Moderate to wide |
| File format | 24-bit WAV | 24-bit WAV | 24-bit WAV |
Essential mastering tools and their role in clarity
Once your mix is ready, the mastering engineer reaches for a specific set of tools designed to enhance clarity without damaging the musical feel of your track. Understanding what these tools do helps you communicate better with your engineer and set realistic expectations.
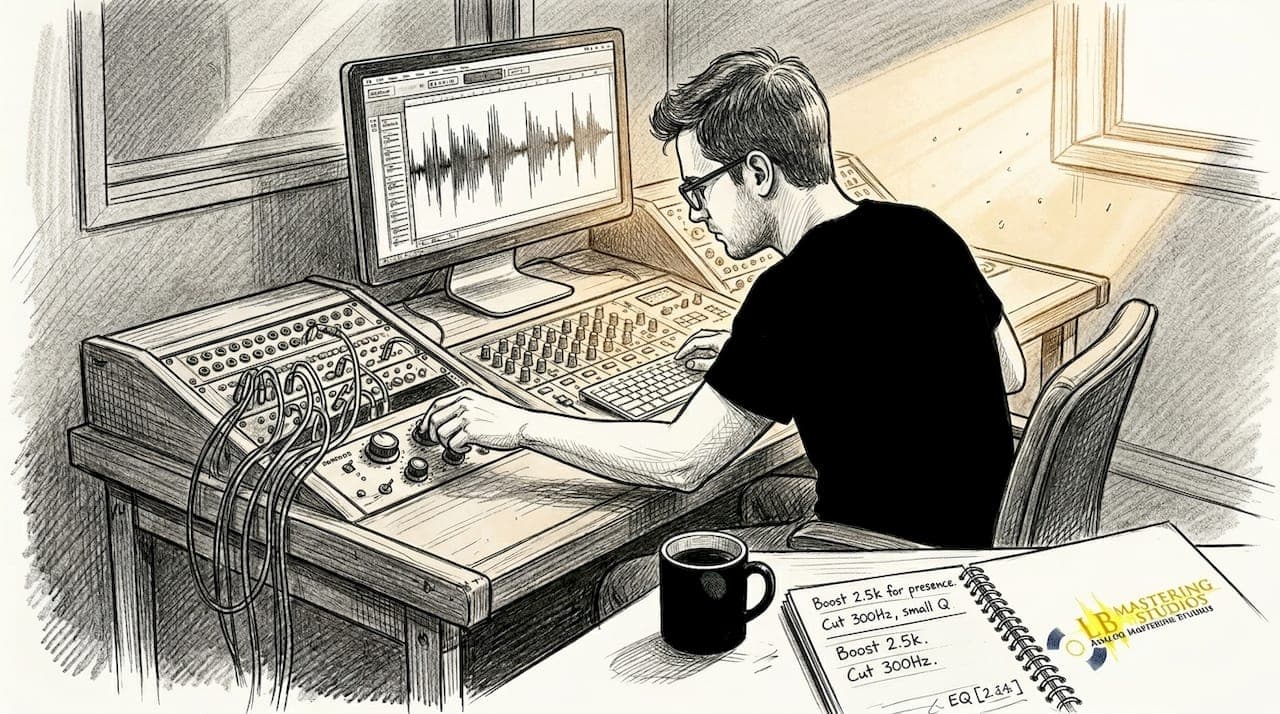
EQ is the most fundamental clarity tool. The primary mechanics for improving track clarity involve using EQ to carve space by cutting conflicting frequencies, boosting high-mids for presence, and rolling off sub-20Hz rumble. Subtle cuts in the 200 to 400Hz range can remove muddiness, while a gentle boost around 3 to 5kHz adds definition and presence to vocals and instruments.

Beyond static EQ, dynamic EQ and multiband compression allow targeted control. These tools respond to the audio signal in real time, tightening up resonances only when they appear rather than applying a fixed cut across the entire track. This preserves the natural dynamics of your music while keeping problematic frequencies in check. Tools like Ozone's Unmask module take this further by analyzing frequency masking between elements and applying targeted dynamic EQ reductions automatically. You can explore more about enhancing clarity in mastering to see how these tools work in practice.
Analog and digital tools each bring something different to the table:
| Tool type | Strength | Best for |
|---|---|---|
| Analog EQ (e.g., Pultec) | Warmth, musical curves | Broad tonal shaping |
| Digital EQ (linear phase) | Surgical precision | Targeted frequency cuts |
| Dynamic EQ | Reactive, transparent | Resonance control |
| Multiband compression | Frequency-specific dynamics | Low-end tightening |
| AI unmasking (Ozone) | Automated frequency separation | Busy, layered mixes |
Top tools and actions for clarity:
- Use a high-pass filter to roll off sub-20Hz rumble and unnecessary low-end energy
- Apply a gentle mid-cut around 300Hz to reduce muddiness
- Boost 3 to 5kHz lightly to add presence and definition
- Use dynamic EQ to control resonances without affecting overall dynamics
- Apply Ozone Ozone mastering techniques like Unmask for frequency separation in dense mixes
At LB-Mastering Studios, we use a hybrid analog-digital signal chain combining vintage gear with modern processing. This approach captures the warmth of analog while maintaining the precision of digital tools. See our mastering equipment examples to understand how each piece of gear contributes to the final sound.
Optimizing clarity for streaming, vinyl, and digital releases
Knowing your tools is only half the story. How you apply them depends heavily on the format you're mastering for. Each platform and medium has its own technical requirements, and ignoring them leads to clarity problems that no amount of great mixing can fix.
Step-by-step mastering for each format:
- Streaming: Target -14 to -16 LUFS integrated loudness with True Peak below -1dBTP to avoid normalization turn-down and preserve clarity after platform processing. Prioritize dynamic range over maximum loudness.
- Vinyl: Apply mono bass below 150 to 200Hz, reduce sibilance and high-frequency harshness around 8 to 10kHz, and use wider dynamics with less limiting to protect groove integrity during cutting.
- Digital release (CD/download): Target around -14 LUFS for modern digital releases, ensure the master translates well on earbuds, speakers, and car stereos, and check for codec artifacts by encoding a test MP3 or AAC file before finalizing.
Pro Tip: Always check your streaming master on a phone speaker and earbuds. If clarity holds up on small speakers, it will sound great everywhere else.
For streaming, the key insight is that louder is not always clearer. When your master exceeds the platform's target loudness, Spotify, Apple Music, and others turn it down automatically. This normalization process can make an over-compressed master sound flat and lifeless. Mastering to the right LUFS target means your track arrives at the listener exactly as you intended. Learn more about maximizing loudness for streaming without sacrificing clarity.
Vinyl mastering is a different discipline entirely. The cutting lathe translates your audio into physical grooves, and certain frequency decisions that work fine in digital formats can cause the needle to skip or distort on a record. Our vinyl mastering guide covers every consideration in detail.
| Format | Loudness target | True peak | Key EQ consideration |
|---|---|---|---|
| Streaming | -14 to -16 LUFS | Below -1dBTP | Preserve dynamics |
| Vinyl | -9 to -12 LUFS | Below -2dBTP | Mono bass, reduce HF |
| Digital/CD | -14 LUFS | Below -0.5dBTP | Broad tonal balance |
Understanding optimal loudness in mastering for each format is one of the most practical skills you can develop as a producer.
Common mistakes and troubleshooting for clarity
Even with the right tools and format knowledge, certain habits consistently undermine track clarity. Recognizing these mistakes early saves you time, money, and frustration.
Common clarity killers:
- Over-compression that squashes transients and removes punch from drums and vocals
- Excessive EQ boosts above 6dB that create harshness or unnatural resonances
- Applying master bus limiting in the mix session before sending to mastering
- Ignoring format differences and using one master for all platforms
- Skipping a reference track comparison, making it hard to judge clarity objectively
- Low-resolution exports (16-bit or MP3) sent to mastering instead of 24-bit WAV files
One of the most common traps is over-relying on AI mastering tools. AI can produce acceptable results for straightforward, well-balanced genres, but human mastering outperforms AI in blind tests on clarity and depth. A 472-person blind test confirmed this gap, with human-mastered tracks scoring noticeably higher on perceived quality.
"In blind listening tests involving 472 participants, human-mastered tracks consistently scored higher for clarity, depth, and overall quality compared to AI-mastered versions, with human results averaging 6.1 to 6.4 out of 10 versus AI scores of 3.8 to 5.9."
For clarity troubleshooting, follow these recovery steps if your master sounds muddy or harsh:
- Go back to the mix and check for low-mid buildup around 200 to 400Hz
- Remove all master bus processing and re-export the mix with proper headroom
- Compare your mix to a professional reference track at matched loudness levels
- Identify the loudest, most problematic frequency using a spectrum analyzer
- Apply a narrow dynamic EQ cut to the offending frequency rather than a broad static cut
Using the mastering checklist before every session helps you catch these issues before they become expensive problems.
Why attention to clarity separates amateur and pro releases
After working with hundreds of artists over more than four decades, we've seen one pattern repeat itself: the tracks that stand out are not always the loudest or the most produced. They're the clearest. Listeners may not know what mastering is, but they feel the difference immediately.
One thing we've learned is that separate masters for streaming and vinyl are not optional if you want the best result. Streaming favors dynamic range for normalization, while vinyl requires conservative bass and high-frequency handling for reliable playback. Using a single master for both formats is a compromise that serves neither well.
Here's the contrarian view on AI mastering: it's not useless, but it is limited. AI tools can handle technically clean, genre-typical tracks reasonably well. Where they fall short is in reading the emotional intent of a recording, making judgment calls about warmth versus brightness, or understanding why a specific genre needs a specific feel. That nuance is what a skilled human engineer brings to every session.
Investing in dedicated vinyl mastering and a separate streaming master is one of the highest-return decisions you can make for your release. The clarity difference is audible, and the professional impression it creates is lasting.
Advance your tracks with professional mastering
You now have the knowledge to approach mastering with confidence, from mix preparation to format-specific clarity strategies. The next step is putting that knowledge into action with the right team behind you.
At LB-Mastering Studios, we bring over 44 years of Grammy-winning experience to every project, whether you're releasing to streaming, vinyl, or digital platforms. Start with our vinyl mastering guide or download our free mastering checklist to prepare your files like a pro. Want to see the gear we use to achieve exceptional sonic results? Explore our mastering equipment page. When you're ready for a free sample master and direct communication with your engineer, we're here to help you make your best-sounding release yet.
Frequently asked questions
What mastering EQ settings improve track clarity?
Cut conflicting frequencies by 2 to 6dB in problem bands, boost high-mids gently for presence, and roll off sub-20Hz rumble. Tools like Ozone Unmask apply targeted dynamic EQ reductions to separate overlapping frequencies without affecting overall tone.
Should I use different masters for streaming and vinyl?
Yes, absolutely. Each format requires unique mastering: streaming benefits from preserved dynamic range to survive normalization, while vinyl needs mono bass below 150Hz and reduced high-frequency energy to protect the physical groove during cutting.
How do loudness targets affect clarity?
Mastering to -14 to -16 LUFS with True Peak below -1dBTP ensures your track is not turned down by streaming platforms, preserving the clarity and dynamics you worked to achieve in the mix and mastering session.
Is AI mastering good for clarity?
AI mastering can handle technically clean tracks in straightforward genres, but human mastering scores higher for clarity and depth in blind tests, averaging 6.1 to 6.4 out of 10 compared to AI scores of 3.8 to 5.9. A skilled engineer brings judgment and nuance that automated tools cannot replicate.