TL;DR:
- Proper, format-specific mastering ensures optimal sound quality across streaming, vinyl, and CD.
- Each format has unique physical and digital constraints requiring tailored processing and loudness targets.
- Investing in separate masters improves fidelity, dynamics, and listener experience on every platform.
Your mix sounds incredible in the studio. Then you upload it to Spotify, drop the needle on the test press, or burn the first CD, and something feels off. The low end is muddy, the vocals seem buried, or the whole thing distorts at the worst moment. That frustration is almost always the result of applying a single master across formats that each demand something fundamentally different. Mastering tailored to your specific release format is the step that closes the gap between a great mix and a great release, and this guide walks you through exactly how to do it right.
Table of Contents
- Why proper mastering matters for each release format
- What you need before mastering your tracks
- How to master your track: Step-by-step walkthrough
- How to check your master: Mistakes to avoid and quality checks
- The overlooked art of format-specific mastering: Why it still matters in 2026
- Ready for professional masters tailored for your release?
- Frequently asked questions
Key Takeaways
| Point | Details |
|---|---|
| Tailor masters by format | Mastering separately for streaming, vinyl, and CD ensures your music sounds its best everywhere. |
| Prep mixes correctly | Export your mix with the right headroom, bit depth, and format specs for smooth mastering. |
| Follow proven mastering steps | Use format-specific processing for best results, from mono bass for vinyl to true peak settings for streaming. |
| Check before release | Verify each master on multiple systems and compare with commercial tracks to catch issues early. |
Why proper mastering matters for each release format
Each release format carries its own set of rules. Streaming platforms normalize loudness automatically. Vinyl imposes physical limits on the groove. CD allows full dynamic range within a defined digital ceiling. Treating all three the same way means you are almost certainly compromising at least one of them.
Here is a quick look at how the three main formats compare:
| Format | Target loudness | Dynamic range | Key constraints |
|---|---|---|---|
| Streaming | Around -14 LUFS integrated | Moderate | Loudness normalization, codec compression |
| Vinyl | No fixed LUFS target | Wide, dynamic | Groove physics, mono bass, frequency limits |
| CD | No normalization | Full, up to ~96 dB | 16-bit/44.1kHz ceiling, no ISP codec |
The differences run deeper than a table can show. Vinyl sounds warmer due to less aggressive processing, not because the format is objectively superior, but because heavy limiting and stereo low end physically cannot survive the cutting lathe. Format-specific masters are essential because one master fails across vinyl (dynamics-focused), streaming (normalized LUFS), and CD (full range). This is not opinion. It is physics and signal processing.
- Streaming rewards intelligent loudness management because the platform normalizes your track anyway. Pushing for maximum loudness just invites distortion after the codec compresses the file.
- Vinyl rewards dynamics and careful low-end management. The cartridge reading the groove cannot track extremely loud, stereo, low-frequency content without skipping.
- CD gives you the most freedom, but that freedom still requires proper dithering, correct sample rate, and attention to the full audible frequency spectrum.
"Vinyl often sounds 'warmer' due to less aggressive processing, not format superiority. One master applied across all three formats almost always leads to sonic compromises on at least one of them."
Our vinyl mastering services address all of these physical constraints with intentional, format-aware processing. If you want to understand the technical and creative differences in more depth, the CD mastering process is a great place to start building that knowledge.
What you need before mastering your tracks
Understanding the challenges of each format, you can now prepare your tracks to give your mastering engineer what they need. Getting your export specs right before mastering starts is one of the highest-leverage things you can do as an artist.
Here are the minimum technical requirements by format:
| Format | Bit depth | Sample rate | Headroom | File format |
|---|---|---|---|---|
| Streaming | 24-bit | 44.1 or 48kHz | -3 dBTP minimum | WAV or AIFF |
| Vinyl | 24-bit | 44.1 or 96kHz | -3 to -6 dBTP | WAV or AIFF |
| CD | 24-bit (before dither) | 44.1kHz | -3 dBTP minimum | WAV or AIFF |

CD mastering requires a final output of 16-bit at 44.1kHz and offers a wider dynamic range than vinyl, roughly 26 dB more, while being less constrained than streaming normalization. That extra headroom in CD is a real advantage, but only if your mix is prepared correctly before mastering begins.
Common mistakes artists make before sending their mix for mastering:
- Overlifting volume during mixing. If you have been riding faders or using mix bus compression aggressively, the mastering engineer has less room to work and fewer options.
- Excessive limiting on the mix bus. A mix bus limiter set too hard essentially pre-masters your track in a way that cannot be undone. Remove it or pull it back significantly before exporting.
- Mixing exclusively on headphones. Headphones exaggerate stereo width and low end. Vinyl cannot handle extreme stereo low end, so mixing decisions that work on headphones can cause real problems in the cutting room.
- Including effects returns and master bus processing in the export. Send a clean, processed mix without heavy master bus saturation or limiting whenever possible.
Pro Tip: Leave at least -3 dBTP true peak headroom when you export your mix for mastering. This gives your engineer the space to apply EQ, compression, and limiting without running into clipping. For vinyl specifically, pulling back to -6 dBTP is even better because the format benefits from greater dynamic range throughout the chain.
Our mastering checklist for artists covers all of these preparation steps in detail and is worth reviewing before you send your files anywhere.
How to master your track: Step-by-step walkthrough
With everything ready, you're set to move into the core steps of mastering, tailored to your target format. Each format follows a different priority order, so the steps below reflect those differences directly.
Mastering for streaming
- Set your gain structure. Start with gain staging before any processing. Your loudest section should peak well below clipping.
- Apply corrective EQ first. Fix any resonances, muddiness, or harshness before adding color. A high-pass filter around 20 Hz cleans up unnecessary sub energy that wastes headroom.
- Add gentle dynamic compression. Streaming allows moderate compression, but avoid heavy-handed ratios that flatten transients. The platform will normalize anyway, so excessive limiting hurts more than it helps.
- Target -14 LUFS integrated. Use a loudness metering plugin to check your integrated loudness. This matches Spotify and Apple Music's normalization targets.
- Set your true peak ceiling. Most engineers use a conservative -1.0 dBTP to protect against codec-introduced distortion. Some engineers push to -0.3 or -0.1 dBTP if they have tested for clean results, but the risk of rare distortion in certain internet service providers' codec chains makes -1.0 dBTP the safer and more universally recommended ceiling.
- Export at 24-bit, 44.1 or 48kHz. Let the platform handle the final conversion. Do not pre-convert to 16-bit for streaming.
Our full breakdown on optimal loudness in mastering goes deeper on LUFS targets across different platforms.
Mastering for vinyl
- Sum bass to mono below 150 Hz. This is non-negotiable. Stereo low end causes the cutter head to move laterally and vertically at the same time, which can cause skipping or damage the groove. Everything below 150 Hz should be mono.
- Trim sub-bass below 20 Hz and ultrasonic content above 20kHz. Neither can be reproduced accurately on vinyl and both waste headroom on the lacquer.
- Use minimal limiting. Vinyl mastering depends on groove integrity, which means the signal needs dynamic headroom. Heavy limiting compresses the groove geometry and can cause distortion on playback. Keep compression gentle, with slow attack times that preserve transients.
- Apply analog saturation carefully. Light analog saturation adds harmonic richness that translates beautifully on vinyl playback. We use vintage analog gear in our signal chain specifically because it imparts warmth in a way that digital processing rarely replicates.
- Level the master lower than digital. Vinyl masters typically run 3 to 6 dB quieter than their streaming equivalents, which is a deliberate and correct choice.
- Generate a separate master. Never use your streaming master for vinyl. They serve different physical systems and require separate decisions throughout.
Mastering for CD
- Apply EQ and compression as with streaming, but with more dynamic latitude since there is no normalization applied.
- Target peaks near -0.3 dBFS for maximum loudness without clipping. CD does not apply loudness normalization, so competitive loudness is more of a direct factor.
- Apply dithering before converting to 16-bit. Dither adds a tiny amount of shaped noise that masks the quantization distortion introduced when reducing from 24-bit to 16-bit. Skipping this step introduces audible digital artifacts at low volumes.
- Set the sample rate to 44.1kHz. This is the Red Book CD standard. Any other sample rate requires conversion, which introduces its own artifacts if not handled correctly.
- Prepare DDP files if sending to a replication plant. DDP (Disc Description Protocol) files are the professional standard for CD replication. They preserve your track order, ISRC codes, and CD text without the degradation of burning an audio CD.
Pro Tip: Before finalizing any master for any format, listen back on at least three different playback systems. This means studio monitors, earbuds, and a consumer Bluetooth speaker. Each one reveals different weaknesses, and a format-ready master should hold up across all of them.
How to check your master: Mistakes to avoid and quality checks
After following the step-by-step process, you will want to ensure your master holds up and fix any lingering issues before release. Final quality checks are not optional. They are the last line of defense between your music and a release you will regret.
Final check checklist before releasing your master:
- Loudness metering. Measure integrated LUFS, short-term LUFS, and true peak. Compare against your format's target before exporting.
- Distortion check. A/B listen at moderate volumes and specifically listen for clipping, harshness on transients, or pumping that sounds unintentional.
- Mono compatibility. Collapse your master to mono and make sure the mix still sounds full. If key elements disappear or thin out drastically, there is a phase issue that will be audible in many listening environments.
- Noise floor check. Listen to the tail of your track after fade out. Hiss, hum, or digital artifacts that were buried in the mix can become obvious in silence.
- Format-specific checks. For vinyl, listen for sibilance distortion, which happens when high-frequency content moves the cutter beyond its safe range. For CD, verify dithering was applied. For streaming, run the file through a platform-level loudness check tool like Loudness Penalty.
"Pushing true peaks too close to 0 dB is one of the most common and costly mistakes in mastering. Even a technically clean signal above -1.0 dBTP can distort badly after codec compression by streaming services. The distortion is not always obvious until a listener on a cheaper pair of earbuds notices it first."
For vinyl, too much limiting is the single most damaging mistake. The groove cannot accommodate a signal that has been crushed flat. For CD, missing the dithering step is almost as critical, because the quantization noise it introduces is genuinely audible on high-resolution playback systems.
Our detailed guide on maximizing mastering loudness covers the loudness debate and gives you tools to find the right balance for your specific release.
Compare your final master side by side against a professional reference track in the same format. This single step catches more problems than any meter or analyzer because your ears are ultimately the most reliable tool you have.
The overlooked art of format-specific mastering: Why it still matters in 2026
There is a growing belief among independent artists that algorithmic normalization has removed the need to think carefully about format-specific mastering. After all, if Spotify adjusts the volume anyway, why not just send one master everywhere?
We have heard this reasoning for years, and we want to push back on it clearly. Loudness normalization addresses volume, not quality. It does not fix a master that was compressed too hard for vinyl. It does not prevent codec distortion from a true peak that was set too high. It does not add back the dynamic range that was crushed out of a track optimized only for streaming.
The artists who invest in separate, format-specific masters consistently report better results. Their vinyl pressings translate more faithfully. Their streaming tracks retain energy without sounding harsh. Their CD releases feel balanced and spacious. These outcomes are not accidental. They are the result of deliberate, format-aware choices made at every stage of mastering.
The warmth that people associate with vinyl is not nostalgia. It is physics and craft. Less aggressive limiting means the transients survive intact. Analog saturation in the signal chain adds harmonics that feel musical rather than synthetic. Our analog EQ approach directly addresses this, because the tools you use shape the outcome as much as the decisions you make.
In 2026, the convenience of digital distribution is extraordinary. But convenience should not come at the cost of your music's potential. Every format is a different listener experience, and each one deserves your full attention.
Ready for professional masters tailored for your release?
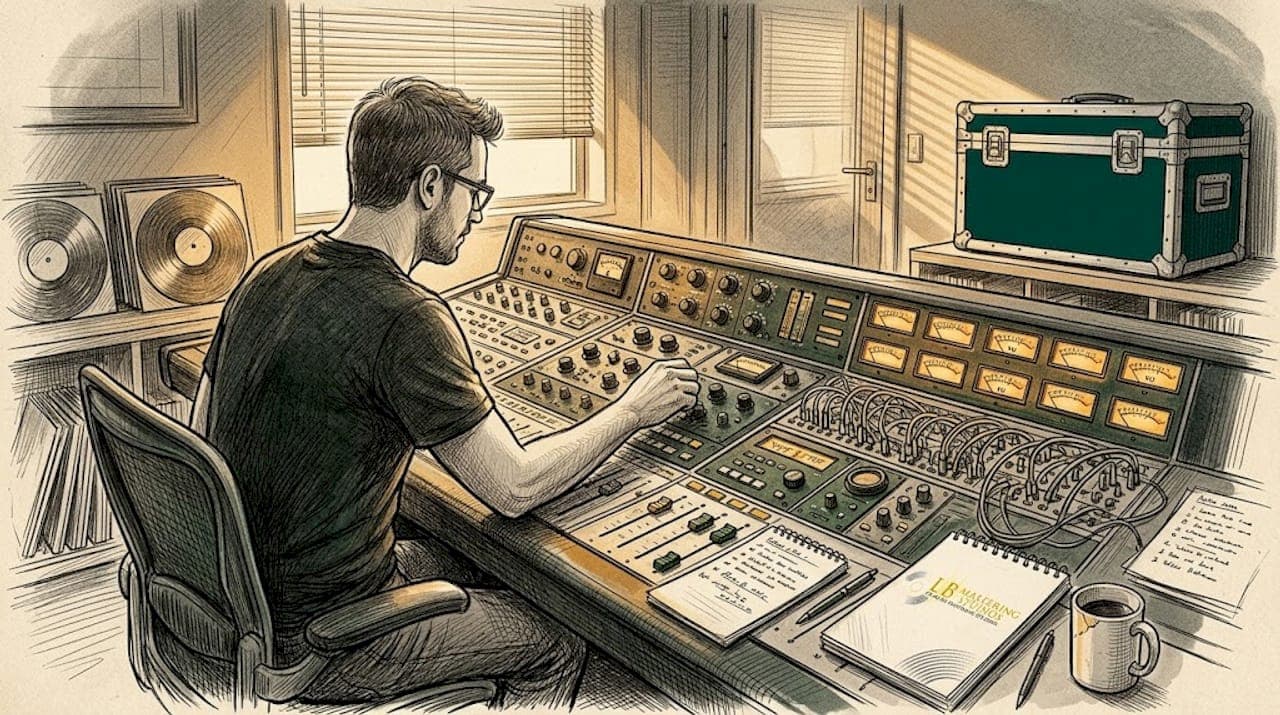
If you have worked through this guide and want to ensure your tracks receive the precise, format-specific treatment they deserve, we are here to help. At LB-Mastering Studios, every project is handled with over 44 years of experience and a hybrid analog-digital signal chain designed to get the most from your music, whether it is headed to streaming, vinyl, or CD.
Our professional vinyl mastering service is built around the physical constraints of the format, with careful attention to groove integrity, mono bass management, and analog warmth. For physical distribution, our CD mastering specialists handle everything from corrective EQ to final DDP file preparation. Download our free audio mastering checklist to walk into your next session fully prepared. We also offer free sample masters so you can hear the difference before you commit. Reach out directly and let us help your music sound its absolute best on every format.
Frequently asked questions
How much headroom should I leave before mastering for different formats?
Leaving at least -3 dBTP true peak headroom works for streaming, vinyl, and CD to give your mastering engineer enough room to apply processing without running into clipping. For vinyl specifically, pulling back to -6 dBTP gives even more dynamic space.
What is the standard bit depth and sample rate for CD mastering?
CD mastering requires 16-bit depth and a 44.1kHz sample rate for the final deliverable, though you should always provide your mix at 24-bit before the mastering engineer applies dithering for the conversion.
Why can't I use the same master for vinyl, streaming, and CD?
Each format has unique playback constraints, so one master fails across all three, leading to sonic issues or weakened sound on at least one platform. Vinyl requires dynamic, mono-bass processing while streaming targets normalized LUFS and CD allows full dynamic range.
How is vinyl mastering different from digital or CD mastering?
Vinyl mastering uses less compression, mono bass below 150 Hz, and strict frequency limits to preserve groove quality and prevent playback distortion. This is fundamentally different from digital mastering, which allows louder levels and full stereo low end.
How loud should my master be for streaming platforms?
Aim for -14 LUFS integrated loudness, and set your true peak ceiling at -1.0 dBTP for most streaming services to protect against codec-introduced distortion. Some engineers push higher but risk audible distortion on certain platforms and devices.