TL;DR:
- Proper mix preparation, including headroom and technical checks, is essential for a quality master.
- Translations across devices and platforms are critical; testing mono, stereo balance, and real-world playback is advised.
- Understanding platform-specific loudness and format requirements helps optimize final audio for streaming, CD, and vinyl.
Delivering a mix that falls flat after mastering is one of the most frustrating setbacks an independent artist can face. You put weeks into your recording, your arrangement is tight, and then the master comes back sounding squashed, muddy, or thin because the mix itself wasn't ready. This happens far more often than it should, and almost always because key technical steps were skipped before sending the files off. A well-structured mastering checklist solves that problem. It removes guesswork, gives you precise targets to hit, and ensures your audio is optimized for streaming, CD, and vinyl before a mastering engineer ever touches it.
Table of Contents
- Mix preparation fundamentals
- Critical audio checks for mastering
- Loudness, dynamics, and codec safety
- Mastering checklist comparison: Streaming, CD, and vinyl
- Hard-won lessons from mastering engineers: Ditch loudness obsession, embrace musicality
- Elevate your audio: Professional mastering services and checklists
- Frequently asked questions
Key Takeaways
| Point | Details |
|---|---|
| Prepare mixes properly | Always leave headroom and export in industry-standard formats before mastering. |
| Test for translation | Check mixes in mono and on multiple playback systems to catch hidden issues. |
| Follow loudness standards | Target platform-specific LUFS and true peak levels to prevent clipping. |
| Adapt for each format | Use tailored checklist steps for streaming, CD, and vinyl to maximize quality. |
| Prioritize musicality | Focus on dynamics and translation rather than obsessing over loudness. |
Mix preparation fundamentals
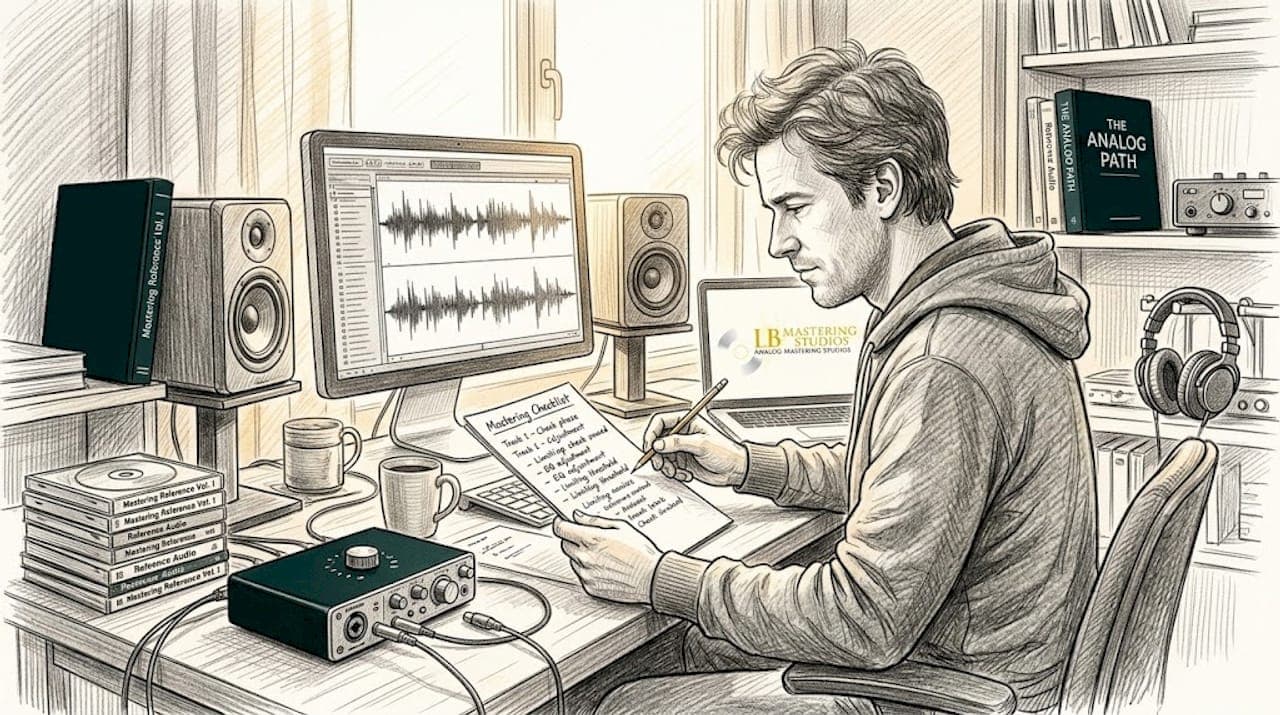
With the need for technical readiness clear, engineers must ensure their mixes pass basic quality control before moving to mastering. Getting this stage right is not optional. It is the foundation that every good master is built on, and skipping even one step can compromise the entire session.
The single most important technical requirement is headroom. Your mix should peak no higher than -3 to -6 dBFS on the master output. This gives the mastering engineer the dynamic space to apply processing cleanly without running into digital ceiling issues. When a mix is already sitting at 0 dBFS, there is nowhere left to go. The mastering engineer ends up fighting the mix instead of enhancing it, and the result suffers. Pre-mastering mix preparation requires leaving -3 to -6 dBFS headroom, removing master bus limiters and heavy compression, exporting in 24-bit WAV or AIFF at the native sample rate without dithering or normalization.
Follow this numbered checklist before you export anything:
- Remove all limiters and heavy compression from the master bus. These tools are for mastering, not mixing. Leaving them on bakes decisions into the file that cannot be undone.
- Export at 24-bit resolution. This preserves the full dynamic range of your mix. 16-bit introduces dithering noise that should only come at the final mastering stage.
- Match the sample rate to your session's native rate. If you recorded at 48 kHz, export at 48 kHz. Avoid unnecessary conversion that can introduce artifacts.
- Do not apply dithering or normalization. Both of these are mastering processes. Applying them during mixdown removes control from the mastering engineer.
- Label your files clearly. Include song title, version number, and sample rate in the file name. This prevents costly confusion during the session.
- Include an alternate reference mix. Send a version with a limiter on the master bus so the mastering engineer can hear your loudness intent without being locked into it.
For practical guidance on what professional-level audio should sound like before mastering, our professional sound quality guide walks through the key benchmarks engineers use to evaluate a mix's readiness.
"A great master starts with a great mix. The mastering engineer's job is to enhance, not repair."
Pro Tip: Bypass every plugin on your master bus before you render the final export. Listen carefully. If the mix sounds weak without those plugins, it needs more work before mastering. A genuinely strong mix holds up on its own.
Our detailed artist mastering checklist expands on each of these steps with additional format-specific guidance that independent artists find especially useful.
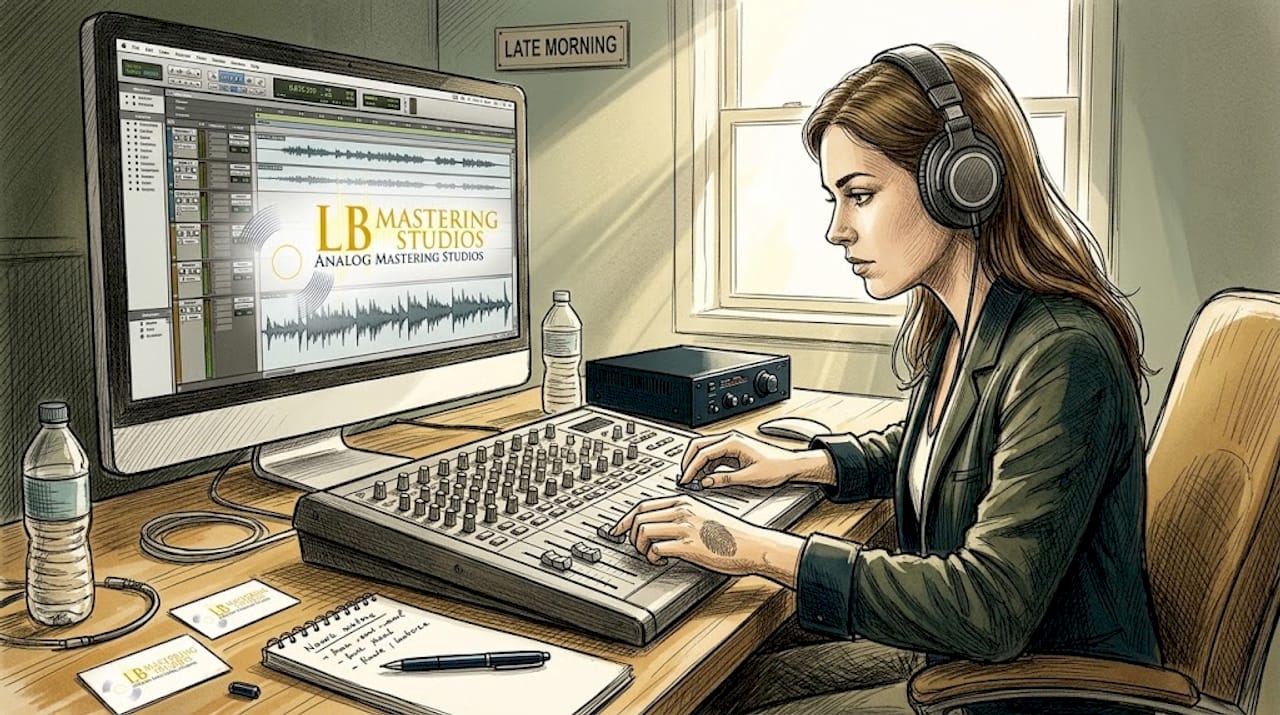
Critical audio checks for mastering
After mix preparation, engineers must scrutinize how their audio translates across devices and environments. A mix can sound perfect on studio monitors and fall apart on a phone speaker or a car stereo. This is not a small problem. Most listeners never hear your music on high-end playback systems, so translation is everything.
Here is a systematic checklist of audio checks to run before submitting your mix:
- Mono compatibility. Fold your stereo mix to mono using a utility plugin or your DAW's mono button. Listen for elements that disappear, go thin, or change dramatically in character. This is called phase cancellation, and it is caused by stereo effects that create out-of-phase signals. Reverbs, chorus effects, and wide stereo panning are common culprits.
- Stereo balance check. Use a correlation meter or spectrum analyzer to confirm your mix is centered. A mix that leans left or right creates an uncomfortable listening experience and can cause problems during vinyl cutting.
- Frequency anomaly identification. Use a spectrum analyzer to look for unusual buildups in the low-mid range (around 200 to 500 Hz), harsh peaks in the high-mids (around 3 to 5 kHz), or excessive sub-bass energy below 40 Hz. These are the frequency zones that most commonly cause a mix to sound muddy, harsh, or boomy when played on different systems.
- Dynamic range review. Check your integrated loudness and dynamic range using a free metering plugin like Youlean Loudness Meter. If your dynamic range number (the DR value) is below 6, your mix is likely over-compressed and may not respond well to mastering processing.
- Multi-system playback testing. Play your mix on studio monitors, headphones, a Bluetooth speaker, a phone speaker, and in a car. Each system will reveal different problems.
Mono compatibility, stereo balance, frequency anomalies, dynamic range, and translation on multiple systems (monitors, headphones, car, phone) are all essential checks before mastering. Skipping even one can result in a master that sounds great in the studio and disappointing everywhere else.
Research consistently shows that more than 70% of music is consumed through mobile devices and earbuds. If your mix only sounds good on studio monitors, you are already losing a massive portion of your audience before the master is even applied. For artists focused on video content for music distribution, this is especially critical because streaming platforms apply loudness normalization that can expose mix imbalances you never noticed before.
Pro Tip: Test your mix in a car with the volume at a comfortable listening level, not cranked. Car speakers are mid-forward, which makes low-end issues and vocal clarity problems immediately obvious. If the mix sounds good in the car, it usually sounds good everywhere.
For a deeper look at the monitoring equipment and analysis tools that help catch these issues, explore our mastering gear essentials guide for engineers at every level. You can also use the essential mastering checklist to track each of these checks systematically before submitting your session.
Loudness, dynamics, and codec safety
With mix and translation checks completed, engineers need precise guidelines for loudness and dynamics depending on the distribution format. This is where many independent artists get tripped up, because each platform has its own loudness target, and hitting the wrong one causes your master to be turned down automatically or to sound unnatural compared to everything else on the playlist.
Here is a clear breakdown of platform-specific loudness targets and true peak standards:
| Platform | Integrated LUFS | True Peak Limit |
|---|---|---|
| Spotify | -14 LUFS | -1 dBTP |
| YouTube | -14 LUFS | -1 dBTP |
| Tidal | -14 LUFS | -1 dBTP |
| Apple Music | -16 LUFS | -1 dBTP |
| Amazon Music | -14 LUFS | -2 dBTP |
| CD | -9 to -12 LUFS | 0 dBFS |
| Vinyl | -12 to -14 LUFS | Varies by cutter |
Streaming loudness targets for Spotify, Tidal, and YouTube sit at -14 LUFS integrated, Apple Music targets -16 LUFS, Amazon targets -14 LUFS at -2 dBTP, and true peak should stay at or below -1 dBTP to prevent inter-sample clipping after codec encoding.
True peak is not the same as peak level. When a digital audio file is converted by a codec (like AAC or MP3), the waveform is reconstructed slightly differently, and peaks can actually rise above what your DAW showed you. This is called inter-sample clipping, and it causes distortion on the listener's end even though your file showed clean peaks. Keeping your true peak at -1 dBTP, or -2 dBTP for extra safety with Amazon, protects against this.
- Streaming: Target -14 LUFS integrated. Do not try to go louder; the platform will normalize it down and your master may actually sound quieter than intended.
- CD: More dynamic range is acceptable. -9 to -12 LUFS is standard for commercial releases. True peak can approach 0 dBFS but should not clip.
- Vinyl: Requires specialized treatment. Loud masters cut poorly to vinyl because the cutting lathe cannot handle extreme low-end energy or excessive high-frequency transients.
"Chasing maximum loudness on streaming platforms is a losing game. Normalization makes every track play at roughly the same perceived volume. Your energy is better spent making the music sound compelling at the target level rather than cramming it louder."
Our guide on optimal loudness for mastering covers these standards in detail, including how to set your mastering chain for each format without compromising the dynamics that make music feel alive. For a tactical breakdown of how to maximize music loudness without triggering normalization penalties, that resource is worth bookmarking.
Mastering checklist comparison: Streaming, CD, and vinyl
Understanding format-specific mastering enables engineers to tailor their workflow for each project. Each format has fundamentally different requirements, and treating them the same is one of the most common mistakes we see from independent artists. Here is a direct comparison to make the differences immediately clear.
| Requirement | Streaming | CD | Vinyl |
|---|---|---|---|
| Target loudness | -14 LUFS (most) | -9 to -12 LUFS | -12 to -14 LUFS |
| True peak limit | -1 to -2 dBTP | 0 dBFS | Varies |
| Bit depth | 16 or 24-bit | 16-bit (Redbook) | N/A |
| Sample rate | 44.1 or 48 kHz | 44.1 kHz | N/A |
| File format | WAV, FLAC | DDP or WAV | Lacquer reference |
| Bass handling | Standard | Standard | Mono below 150 Hz |
| Sibilance control | Standard | Standard | Critical |
Platform-specific loudness standards must be respected at every stage of the mastering workflow, and true peak management remains essential across all formats to prevent artifacts from codec encoding and physical medium limitations.
Here are format-specific preparation tips for each scenario:
- Streaming: Export your mastered file as a 24-bit WAV or FLAC. Let the distributor handle any conversion. Do not pre-convert to MP3, as distributors apply their own encoding.
- CD: The final format must meet the Redbook standard: 16-bit, 44.1 kHz. DDP (Disc Description Protocol) files are the professional delivery format for CD replication plants. If your mastering engineer provides DDP files, always use those over individual WAV files for replication.
- Vinyl: This format requires the most specialized approach. Low-frequency content below 150 Hz should be summed to mono to prevent the stylus from jumping out of the groove. Excessive sibilance (harsh "s" sounds from vocals) causes distortion on playback. High-frequency energy should be handled carefully to avoid cutting issues.
Pro Tip: If you are preparing a record for vinyl, send your mastering engineer a stereo mix and a separate stem of the low-end elements. Giving them the ability to control the bass independently makes a significant difference in the final cut quality.
Download our free mastering checklist to keep all of these format-specific requirements organized in one place. For additional context on the physical tools that mastering engineers use to execute these standards, our mastering equipment examples article breaks down the signal chain from both an analog and digital perspective.
Hard-won lessons from mastering engineers: Ditch loudness obsession, embrace musicality
Here is something most articles will not tell you directly: obsessing over hitting a specific LUFS target is one of the least productive things you can do in 2026. The normalization systems on every major streaming platform have fundamentally changed the game. Spotify, Apple Music, YouTube, and Amazon all apply loudness normalization automatically. That means a track mastered at -10 LUFS and a track mastered at -14 LUFS will be played back at nearly the same perceived volume for the listener.
What that leaves behind, after normalization flattens the loudness field, is musicality. It is the dynamic punch of a drum hit, the warmth of an analog midrange, the breath in a vocal. These are the qualities that prioritizing translation and dynamics over max loudness preserves, and they are exactly what survives the normalization process intact. Chasing LUFS is now a futile effort. Musicality that holds up at -14 to -16 LUFS is the real goal.
In our experience working with artists across genres and formats, the tracks that stand out on playlists are never the loudest ones. They are the ones that breathe, that feel human, and that translate powerfully on every system. Our sound quality mastering guide expands on this philosophy with practical steps for achieving that result.
Elevate your audio: Professional mastering services and checklists
Armed with insider wisdom and checklist-driven comparisons, artists can now confidently act on their mastering projects. Taking these technical benchmarks from knowledge to execution is where LB-Mastering Studios can make a real difference for your release.
We offer downloadable resources including a mastering checklist PDF that puts every technical requirement from this article in a printable, session-ready format. Our mastering services are specifically tailored for streaming, CD, and vinyl, with a hybrid analog-digital signal chain built around vintage equipment and modern precision tools. Whether you need CD mastering services that meet Redbook standards or vinyl mastering services with specialized low-end control for lacquer cutting, we bring over 44 years of experience to every session. Reach out today and request a free sample master.
Frequently asked questions
What file format and settings should I export for mastering?
Export your mix as a 24-bit WAV or AIFF at the native sample rate, with no dithering or normalization applied and headroom left between -3 and -6 dBFS on the master output.
How do I make sure my mix translates well on all devices?
Fold your mix to mono and check for phase cancellation, then test on multiple systems including studio monitors, headphones, a car stereo, and a phone speaker to catch issues before mastering.
What is the loudness target for streaming platforms?
Most major platforms target around -14 LUFS integrated with true peak at or below -1 dBTP, though Apple Music targets -16 LUFS and Amazon recommends a true peak ceiling of -2 dBTP.
Should I apply normalization or dither before mastering?
No. Dithering and normalization are both end-of-chain mastering processes and should never be applied during mixdown, as doing so removes critical control from your mastering engineer.