Many independent musicians face a frustrating reality after spending hours perfecting their mix. The final master sounds muddy, harsh, or lacks separation compared to commercial releases. This guide delivers proven mastering techniques that address these exact clarity issues. You will learn surgical EQ methods, mid/side processing, dynamic control strategies, and unmasking tools that professional mastering engineers use daily. By following these step-by-step approaches, you can transform your audio from amateur to radio-ready with improved tonal balance, controlled dynamics, and crystal-clear instrument separation.
Table of Contents
- Preparing Your Mastering Setup For Clarity
- Surgical EQ And Mid/Side Techniques To Clear Mix Mud And Harshness
- Dynamic EQ, De-Essing, And Unmasking Tools For High-End Clarity And Separation
- Dynamic Control And Verifying Your Clarity Improvements
- Enhance Your Mastering With LB-Mastering Experts
- How To Enhance Clarity In Mastering: FAQs
Key takeaways
| Point | Details |
|---|---|
| Surgical EQ removes mud | Use narrow cuts of 1-2 dB to eliminate problematic resonances without affecting overall tone. |
| Mid/side EQ controls harshness | Process center and stereo elements separately to reduce sibilance while adding air to sides. |
| Dynamic EQ smooths high-end | Apply frequency-specific compression to tame uneven highs while preserving clarity and detail. |
| Unmasking improves separation | Reduce frequency competition between elements to make vocals pop and instruments breathe. |
| Gentle compression preserves transients | Use slow attack times and moderate ratios to maintain punch and avoid squashing dynamics. |
Preparing your mastering setup for clarity
Your mastering environment directly impacts your ability to make accurate clarity decisions. Monitor at 73-76 dB SPL for accurate frequency perception, as this level prevents ear fatigue while revealing subtle tonal imbalances. Too loud and you miss harshness, too quiet and you overcompensate for low-end. Use genre-appropriate reference tracks matched in loudness to compare your tonal balance objectively.
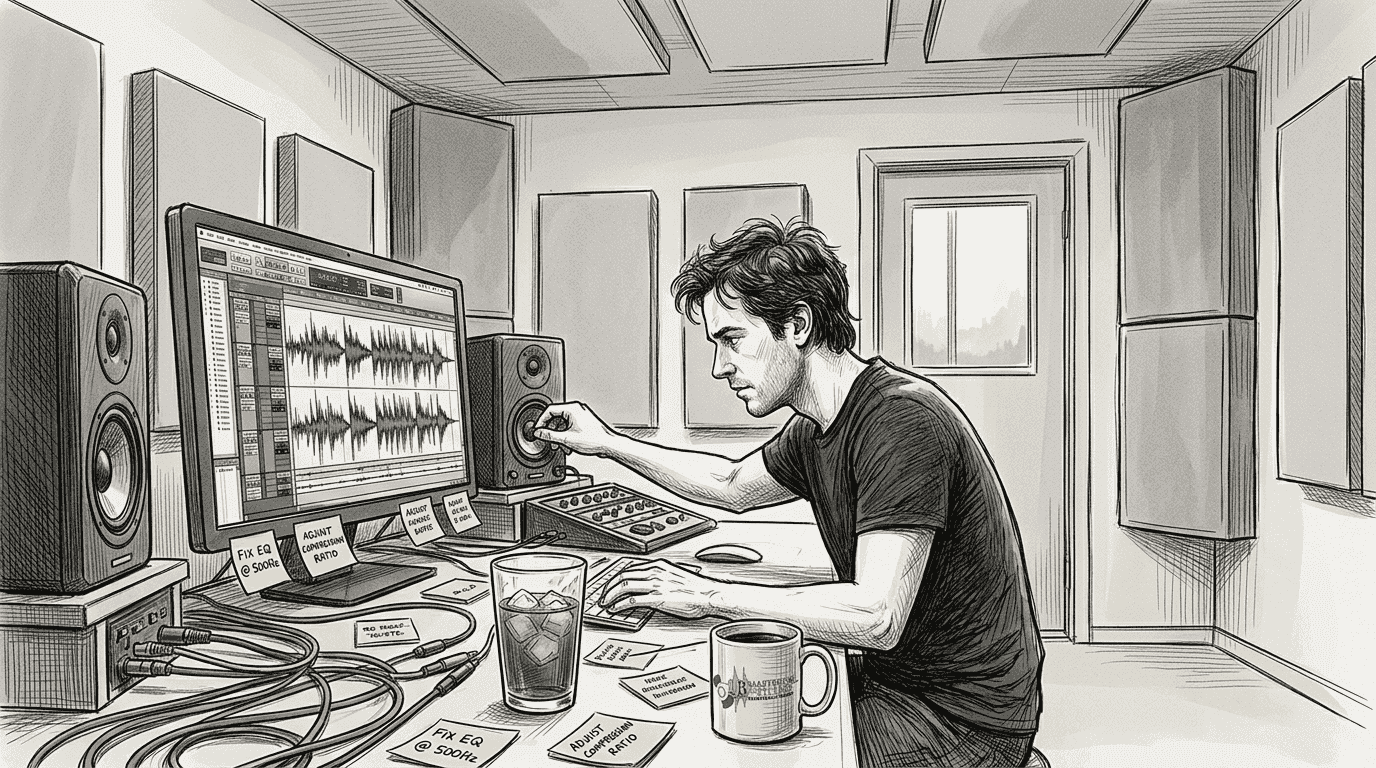
Prepare your mastering chain with essential tools before starting. Practical tools include Ozone plugins and free options like TDR Nova for dynamic EQ. Your signal path should include parametric EQ, dynamic EQ, multiband compression, and unmasking modules. Check your mastering equipment to ensure you have both corrective and creative processing capabilities.
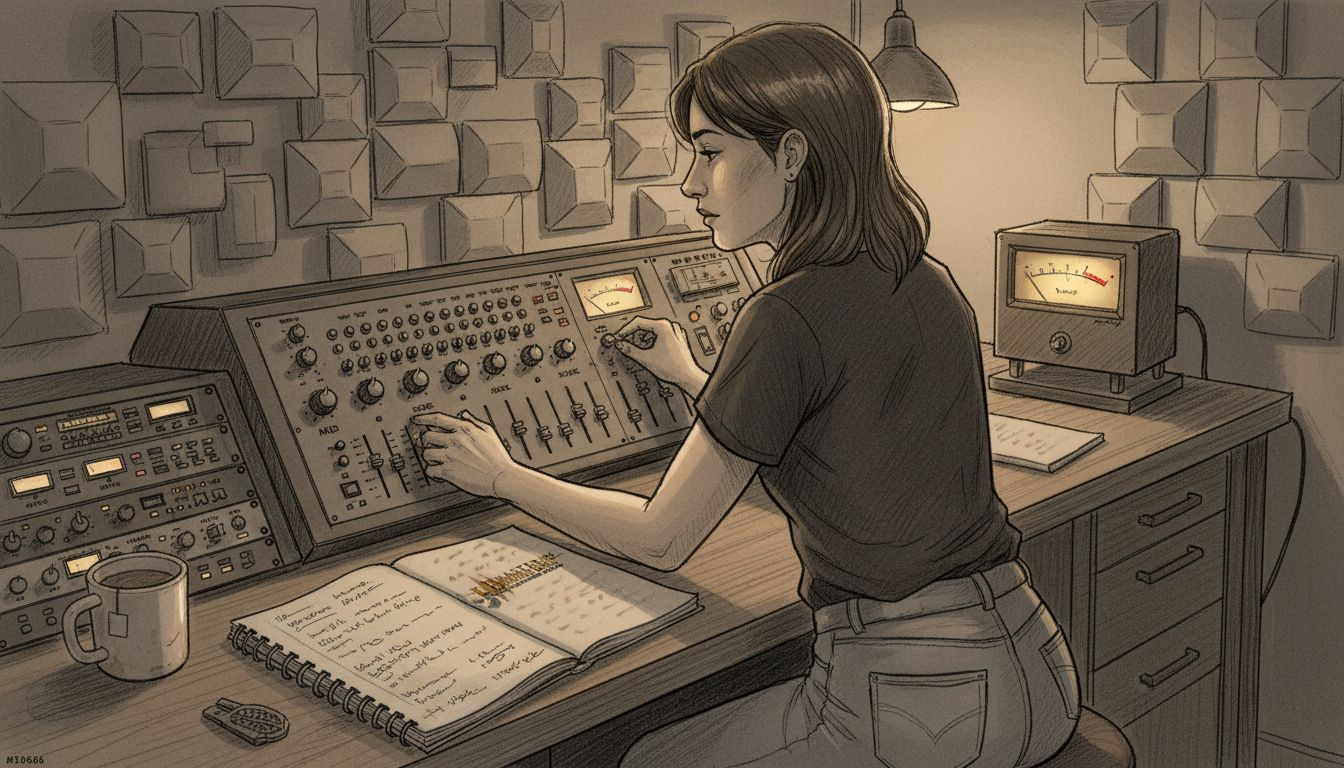
Create a quiet, acoustically treated listening space to avoid environmental coloration. Room modes and reflections mask clarity issues you need to address. Position monitors at ear level forming an equilateral triangle with your listening position. This setup provides accurate stereo imaging essential for mid/side processing decisions later.
Understand your loudness targets before processing. Pre-mastering, aim for mix peaks between -6 and -3 dBFS with integrated loudness around -20 to -16 LUFS. This headroom prevents clipping during mastering processing. For streaming distribution, target approximately -14 LUFS integrated to meet platform normalization standards. Excessive loudness sacrifices clarity and dynamic range, so achieve optimal loudness mastering through balanced processing rather than brute force limiting.
Pro Tip: Create a mastering template with your EQ, dynamic EQ, and compression plugins already loaded but bypassed. This workflow saves time and ensures consistency across projects while letting you activate only the processing each track needs.
| Setup Element | Target Specification | Purpose |
|---|---|---|
| Monitoring Level | 73-76 dB SPL | Accurate frequency perception |
| Reference Tracks | Loudness-matched to mix | Objective tonal comparison |
| Peak Headroom | -6 to -3 dBFS | Prevents clipping during processing |
| Integrated Loudness | -14 LUFS for streaming | Platform normalization compliance |
| Room Acoustics | Treated, quiet space | Eliminates environmental coloration |
Surgical EQ and mid/side techniques to clear mix mud and harshness
Clarity problems often hide in specific frequency ranges that need surgical attention. Use surgical EQ for resonances and tonal EQ for balance, starting with narrow cuts to fix mud or harshness. Surgical EQ uses high Q values (narrow bandwidth) to target problem frequencies without affecting surrounding areas. This precision prevents the over-EQing that makes masters sound thin or unnatural.
Begin your EQ process with these steps:
- Sweep through the frequency spectrum using a narrow boost to identify harsh or muddy resonances.
- Once located, switch to a cut of 1-2 dB at that exact frequency using a Q value between 3 and 8.
- Address low-mid mud typically found between 200-400 Hz that clouds kick drums and bass.
- Target upper-mid harshness around 2-4 kHz that causes listener fatigue.
- Apply tonal EQ with broader Q values after surgical cuts to shape overall frequency balance.
Mid/side processing takes clarity control to another level by separating center and stereo information. Apply mid/side EQ to reduce sibilance and add air to sides without phase issues. This technique lets you cut harsh frequencies in the center (vocals, kick, snare) while simultaneously boosting high frequencies in the sides (cymbals, ambience, stereo effects) for width and sparkle.
The beauty of mid/side EQ lies in its surgical precision for stereo material. Traditional stereo EQ affects both channels equally, potentially creating phase problems when you boost or cut aggressively. Mid/side avoids this by processing sum (mid) and difference (side) signals independently. You can tame a harsh lead vocal in the center without dulling the airy reverb tails in the sides.
Pro Tip: When using mid/side EQ, make subtle moves. A 2 dB cut in the mids at 3 kHz can dramatically reduce harshness, while a 1.5 dB boost in the sides at 10 kHz adds professional air without sibilance.
| EQ Approach | Best Use Case | Typical Settings | Clarity Benefit |
|---|---|---|---|
| Surgical EQ | Remove specific resonances | Q 3-8, cuts 1-2 dB | Eliminates mud and harshness |
| Tonal EQ | Shape overall balance | Q 0.5-2, broad curves | Balances frequency response |
| Mid/side EQ | Separate center/stereo | Process mid and side independently | Reduces sibilance, adds width |
| High-pass filter | Remove sub-bass rumble | 20-30 Hz, 12-18 dB/octave | Cleans low-end, prevents woofer flapping |
Consider your audio mixing guide decisions when applying mastering EQ. If the mix has fundamental balance issues, mastering EQ can only do so much. Communication between mixing and mastering stages ensures clarity problems get addressed at the right stage. Check the mastering tips blog for more insights on this collaboration.
Dynamic EQ, de-essing, and unmasking tools for high-end clarity and separation
Static EQ handles consistent frequency problems, but dynamic issues need dynamic solutions. Employ dynamic EQ or de-essing on high shelf (2kHz+) to smooth uneven highs while preserving clarity. Unlike static EQ that cuts continuously, dynamic EQ only reduces gain when the problematic frequency exceeds your threshold. This preserves natural brightness while controlling harsh peaks.
Set your dynamic EQ or de-esser with these parameters for high-end control:
- Attack time around 10ms to catch transient harshness quickly
- Release time approximately 20ms to return to transparency smoothly
- Ratio around 3:1 for gentle, musical compression
- Threshold set so gain reduction triggers only on harsh peaks
- Frequency range from 2 kHz upward, focusing on 6-8 kHz for sibilance
Dynamic EQ excels at taming frequency-specific problems without the pumping artifacts of multiband compression. You maintain the energy and excitement of your high-end while removing only the offensive peaks that cause listener fatigue. This surgical precision separates amateur from professional masters.
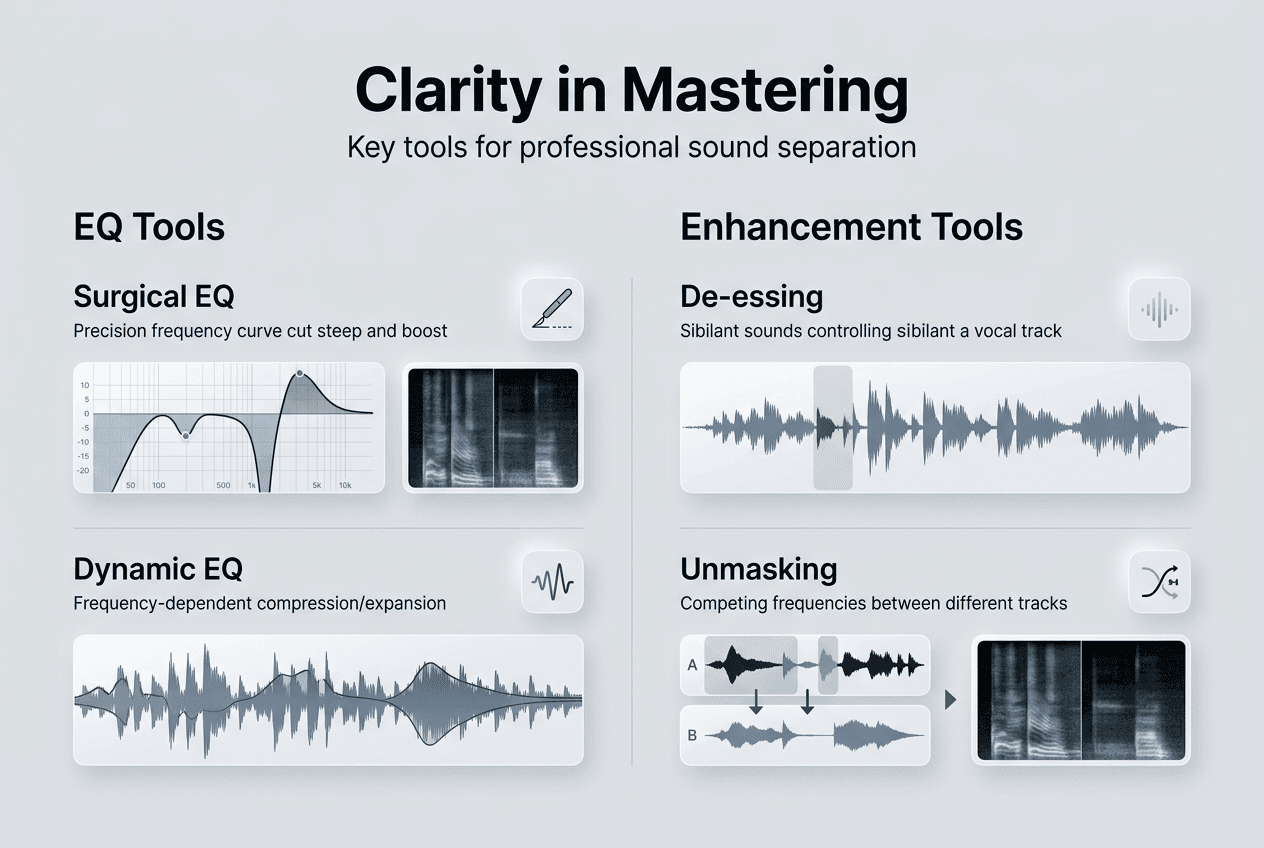
Unmasking tools represent a breakthrough in clarity enhancement. Use unmask modules to dynamically reduce frequency masking, improving vocal pop and instrument separation. These intelligent processors analyze your mix in real-time, identifying where elements compete for the same frequency space. They then apply dynamic EQ cuts to the masking element, allowing the masked element to cut through.
The unmasking process works like this:
- Load your unmask plugin and select the frequency range where masking occurs.
- Set the plugin to monitor both the masking element (like a dense guitar) and masked element (like a vocal).
- The plugin automatically ducks competing frequencies in the masking element when the masked element plays.
- Adjust the amount of unmasking to taste, typically starting around 30-50% wet.
- Fine-tune the frequency range and threshold to avoid over-processing.
This technology delivers clarity improvements impossible with static EQ alone. Vocals suddenly pop forward without sounding artificially bright. Kick drums punch through dense mixes without excessive volume. Instrument separation improves across the frequency spectrum, creating that three-dimensional quality found in professional masters.
Download the audio mastering checklist to track your dynamic processing decisions systematically. Consistent methodology prevents over-processing that destroys dynamics. Review mastering equipment examples to understand how professional tools implement these techniques at the highest level.
Pro Tip: Use unmasking subtly on the master bus. Start with 25% wet mix and increase only until you hear improved separation. Too much unmasking creates an unnatural, pumping quality that distracts listeners.
Dynamic control and verifying your clarity improvements
Compression shapes dynamics but can destroy clarity if applied carelessly. Control dynamics gently with slower attack compression to preserve transients and avoid over-compression. Fast attack times (under 10ms) clamp down on transients that provide punch and clarity. Slow attack times (30ms or more) let transients through while controlling the body of the sound.
Your compression strategy should follow these guidelines:
- Use a slow attack (30-50ms) to preserve drum transients and percussive clarity.
- Set a medium release (100-300ms) that returns to unity gain before the next transient.
- Apply gentle ratios (1.5:1 to 2:1) on the master bus for glue without squashing.
- Aim for 1-2 dB of gain reduction maximum to maintain dynamic life.
- Use makeup gain conservatively to avoid pushing into the limiter too hard.
Loudness targets directly impact perceived clarity. Aim for -14 LUFS integrated loudness for streaming normalization; excessive loudness reduces clarity. When you chase extreme loudness through aggressive limiting, you sacrifice the dynamic range that creates depth and dimension. Streaming platforms normalize to around -14 LUFS anyway, so masters louder than this get turned down, wasting your dynamic range sacrifice.
Target these loudness specifications for optimal clarity:
- Integrated loudness around -14 LUFS for streaming platforms
- True peak maximum of -1 dBTP to prevent inter-sample peaks
- Dynamic range (PLR) of at least 8-10 dB for musical breathing room
- Short-term loudness variation to maintain interest and emotion
Verify your clarity improvements by comparing with reference tracks at matched volume. Loudness tricks the ear into perceiving more clarity, so level-matched comparison reveals true tonal balance. Use a loudness meter to match your master and reference to the same integrated LUFS value. Then A/B critically, listening for frequency balance, stereo width, and instrument separation.
Check these specific elements during verification:
- Does the vocal sit clearly on top without sounding thin or harsh?
- Can you hear individual instruments distinctly in dense sections?
- Does the low-end sound tight and controlled without muddiness?
- Is the high-end smooth and extended without sibilance or grain?
- Does the master maintain energy and excitement across the entire track?
Pro Tip: Take a 15-minute break before final verification. Ear fatigue clouds judgment and makes everything sound good or bad depending on your state. Fresh ears catch problems you missed and confirm improvements you made.
Review optimal loudness mastering techniques to balance clarity with competitive loudness. The goal is a master that sounds clear, punchy, and appropriately loud without sacrificing the musicality that makes listeners return.
Enhance your mastering with LB-Mastering experts
Achieving professional clarity requires more than just techniques. It demands experience, calibrated monitoring, and world-class processing chains. LB-Mastering Studios combines 44 years of Grammy-winning expertise with cutting-edge mastering equipment to deliver the clarity and punch your music deserves. Our hybrid analog-digital signal chain uses vintage gear and modern precision to enhance every element of your mix.
Access our audio mastering checklist to systematically apply these clarity techniques to your own projects. Explore our analog mastering studio tour to see the environment and equipment we use to achieve transparent, powerful masters. Whether you are an independent artist or established label, our personalized approach ensures your music translates perfectly across all playback systems.
How to enhance clarity in mastering: FAQs
What is the first step to improve clarity in mastering?
Establishing a proper listening environment with calibrated monitoring forms the foundation for clarity-focused mastering decisions. Monitor at 73-76 dB SPL with reference tracks to ensure accurate tonal judgments free from ear fatigue or volume-induced bias. Without this baseline, you will chase problems that do not exist or miss issues that sabotage your master. Acoustic treatment and quality converters complete the essential setup before any processing begins.
How does mid/side EQ help with mastering clarity?
Mid/side processing separates center and stereo elements for independent frequency control, enabling precision impossible with standard stereo EQ. Mid/side EQ reduces sibilance in mids and adds air to sides while avoiding phase problems common in aggressive stereo EQ. You can tame harsh lead vocals without dulling cymbal sparkle or cut muddy bass without losing stereo width. This surgical approach delivers professional clarity and dimension simultaneously.
Why should I avoid over-compression when mastering?
Excessive compression destroys the transient information and dynamic variation that create perceived clarity and excitement in music. Over-compression reduces transient clarity and dynamics, harming perceived audio clarity by flattening the micro-dynamics that give instruments their character. Use slow attack times and gentle ratios to preserve the punch and breathing room that separate amateur from professional masters. Dynamic range is not the enemy of loudness when applied intelligently.
Can I enhance clarity using only software tools?
Software plugins provide powerful clarity enhancement capabilities, but professional results require proper monitoring, acoustic treatment, and experienced decision-making beyond the tools themselves. Software like Ozone plugins and free tools like TDR Nova assist clarity but professional mastering equipment optimizes results through superior converters, analog processing, and calibrated signal chains. The combination of quality software, proper environment, and skilled application delivers truly professional clarity. Check our free mastering checklist to ensure you are addressing all critical factors.
What monitoring level is recommended for mastering clarity?
Listening at the correct SPL prevents both ear fatigue and frequency perception errors that lead to poor mastering decisions. Monitoring at 73-76 dB SPL gives accurate tonal perception critical for clarity decisions, revealing subtle harshness and muddiness that disappear at incorrect volumes. Too loud and your ears compress naturally, masking problems. Too quiet and you will overcompensate with excessive EQ and compression. Calibrate your monitoring level with an SPL meter for consistent, reliable results across all mastering sessions.