TL;DR:
- Proper hardware and workflow are essential for effective audio restoration from analog sources.
- Gentle, targeted processing maintains the authenticity and emotional character of vintage recordings.
- Final mastering should be format-specific, balancing digital clarity and vinyl warmth.
There is a stark difference between a recording that sounds tired, noisy, and flat, and one that commands attention the moment the needle drops or the stream begins. Audio restoration is the process that closes that gap. Whether you are reviving a beloved analog recording, digitizing a vinyl catalog, or cleaning up a mix before pressing, getting the restoration workflow right means the difference between a vibrant, living master and a lifeless file nobody wants to listen to twice. This guide covers everything you need: the right gear, a proven workflow, and the pitfalls that trip up even experienced engineers.
Table of Contents
- What you need before you start restoring audio
- Step-by-step guide: Restoring audio from vinyl and analog sources
- Digital restoration: Removing noise, clicks, and enhancing dynamics
- Finalizing your master: Preparing for vinyl and digital release
- Why less is more in audio restoration
- Professional audio restoration and mastering services
- Frequently asked questions
Key Takeaways
| Point | Details |
|---|---|
| Start with the right tools | Clean source material and proper hardware set the foundation for great restoration. |
| Follow a clear workflow | Step-by-step capture, cleanup, and enhancement give professional results every time. |
| Balance art and technology | Preserve your recording’s vibe by combining analog character with digital precision. |
| Master for your format | Tweak final settings for vinyl or digital platforms to ensure top-quality playback everywhere. |
What you need before you start restoring audio
Once you see the difference restored audio can make, it is time to gather the right tools for the job. Starting with the wrong gear is one of the most common reasons DIY restoration projects fall apart. You can spend hours inside a DAW trying to fix problems that should have been avoided at the source.
Understanding audio restoration basics is the first step toward building a setup that actually works. Here is what you need before you record a single sample.
Essential hardware:
- Turntable with adjustable tracking force: A well-calibrated stylus reduces groove damage and minimizes pops during playback.
- Phono preamp with RIAA equalization: Vinyl is cut with a standardized EQ curve called the RIAA curve. Without a preamp that reverses this curve, your recordings will sound thin and bright.
- High-quality analog-to-digital converter (ADC): This is arguably the most critical hardware link in your chain. A poor ADC introduces noise and bit errors that no plugin can fully fix later.
- Audio interface: Connects your preamp output to your computer. Look for at least 24-bit/96kHz capability.
- Record cleaning system: Wet or ultrasonic cleaning removes surface debris that causes clicks and pops before they ever hit your digitizer.
Essential software:
- DAW (Digital Audio Workstation): Audacity is free and capable. Pro Tools, Reaper, or Logic Pro offer deeper routing and plugin support for professional results.
- Restoration plugins: iZotope RX and Waves restoration tools are the industry standard for click removal, noise reduction, and spectral repair.
- Normalization and metering tools: You need accurate loudness metering to prepare your final files for streaming or vinyl pressing.
Here is a quick comparison of minimum versus recommended setups:
| Component | Minimum viable | Recommended |
|---|---|---|
| Phono preamp | Budget USB phono stage | Dedicated RIAA preamp, 40-70dB gain |
| ADC | Built-in audio interface ADC | External high-resolution ADC, 24-bit/96kHz |
| DAW | Audacity (free) | Pro Tools or Reaper |
| Restoration plugin | Audacity noise reduction | iZotope RX Advanced |
| Record cleaning | Dry brush | Ultrasonic or wet vacuum cleaner |
According to vinyl-to-digital best practices, a proper setup requires a phono preamp with RIAA equalization providing 40-70dB of gain, a high-quality ADC, a capable DAW, and post-processing with click and pop removal, noise reduction, normalization, and EQ or compression using tools like iZotope RX or Waves plugins.
Pro Tip: Ground loop hum is one of the most frustrating issues in vinyl digitizing. Always run a dedicated ground wire from your turntable to the grounding post on your phono preamp. If hum persists, try plugging your turntable and audio interface into the same power strip to share a common ground.
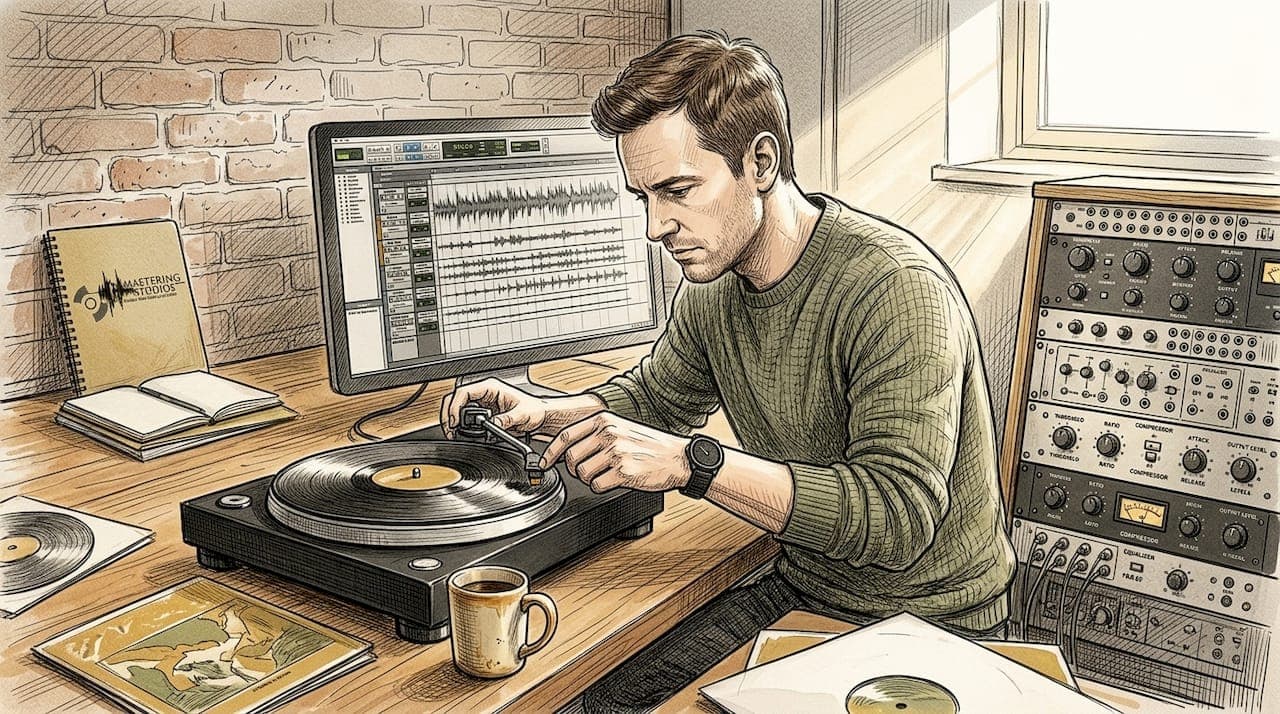
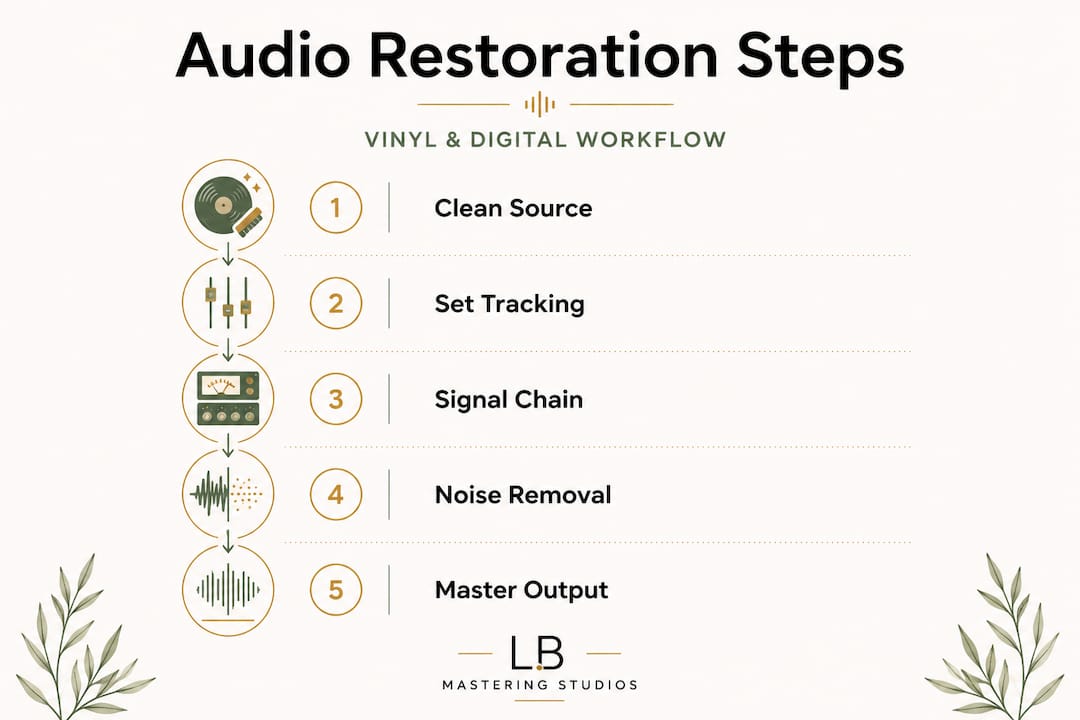
Step-by-step guide: Restoring audio from vinyl and analog sources
With your setup ready, you can move on to the hands-on restoration process. Rushing this stage causes problems that follow your recording all the way to the final master. Take time at each step, and you will save hours of cleanup later.
1. Clean the record thoroughly. Use a wet or ultrasonic record cleaning system before every session. Loose debris is the primary source of random clicks and pops. Let the record dry completely before playing it.
2. Set tracking force correctly. Consult your cartridge manufacturer's specifications and set tracking force within the recommended range using a stylus gauge. Too light and the stylus skips; too heavy and you accelerate groove wear and increase distortion.
3. Connect your signal chain. Run your turntable's RCA output to the phono preamp input. Connect the preamp output to your ADC or audio interface line input. Attach the ground wire from the turntable to the preamp's ground post.
4. Apply RIAA equalization. Your phono preamp handles this automatically, but confirm it is active. Vinyl-to-digital conversion standards call for RIAA equalization with 40-70dB of gain at this stage. Without correct RIAA correction, the tonal balance of your recording will be completely wrong.
5. Set gain staging carefully. Play the loudest passage of the record while watching your DAW input meters. You want peaks no higher than -6dBFS to leave headroom for post-processing. Never let levels clip.
6. Capture the audio. Record the full side in a single pass. Stopping and restarting creates editing headaches. Capture everything, including runout groove noise, which you will trim later.
7. Initial listen and flagging. Play back the full capture and use markers to flag audible clicks, pops, hiss bursts, and any sections with audible distortion. This makes the repair phase faster and more organized.
8. Click and pop removal. Use iZotope RX's De-click module or a similar tool to address surface noise. Work in passes rather than one aggressive pass. Each pass removes more artifacts without damaging the underlying audio.
9. Noise reduction. Sample a section of pure room tone or surface hiss (between tracks is ideal) and apply a gentle noise profile reduction. Aggressive noise reduction removes high-frequency detail and makes vocals sound watery.
Consult our vinyl mastering checklist before you export, and review how to improve clarity in mastering to ensure your transfer is ready for the next stage.
Pro Tip: Set your recording level to peak at around -12dBFS during capture, not -6dBFS. This extra headroom gives your restoration plugins more clean signal to work with and reduces the risk of inter-sample peaks causing digital distortion during heavy processing.
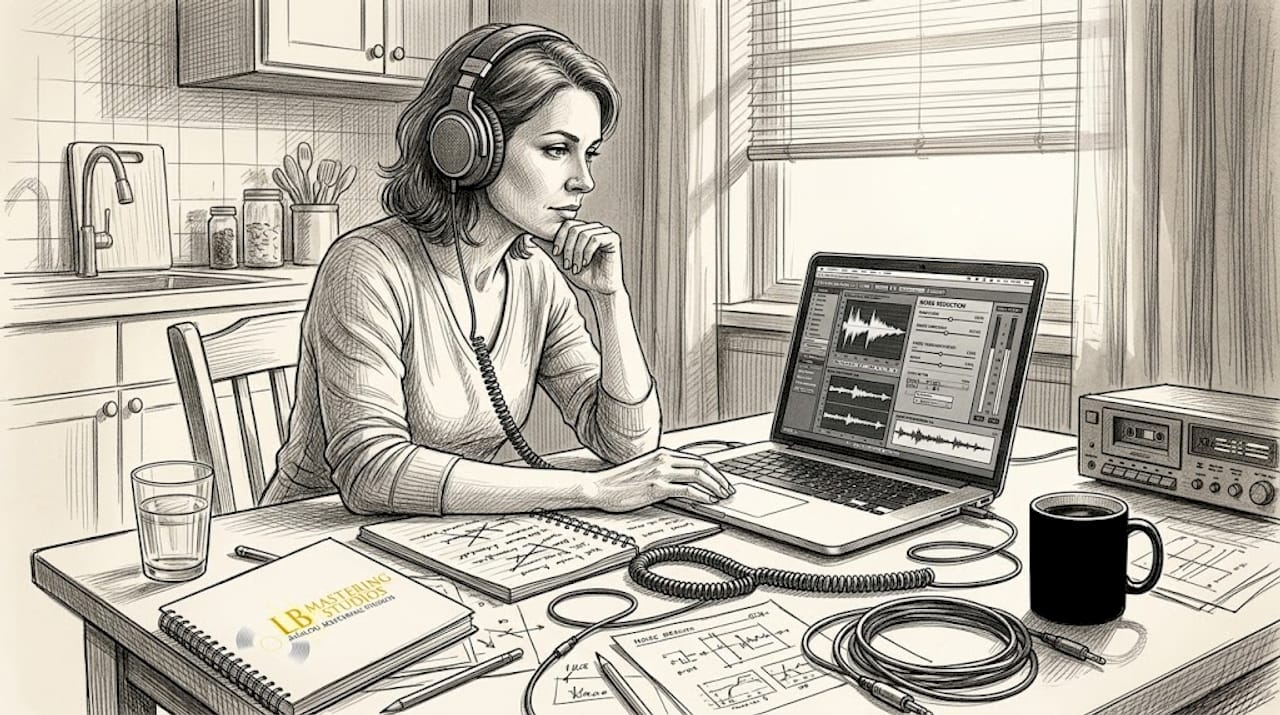
Digital restoration: Removing noise, clicks, and enhancing dynamics
After initial transfer, the real magic happens in your editing suite. This is where a flat, noisy transfer transforms into something you are proud to share. Knowing which tools to reach for, and how aggressively to use them, is what separates a professional result from a processed-sounding mess.
The core restoration toolkit:
- iZotope RX (De-click, De-crackle, De-noise, Spectral Repair): The gold standard for music restoration. Spectral Repair is particularly powerful for removing isolated tones, distortion spikes, and localized noise without affecting the surrounding audio.
- Waves Clarity Vx and Waves Restoration plugins: Excellent for broadband noise reduction and dialogue or vocal cleanup with minimal coloration.
- Audacity Noise Reduction: A capable free option for lighter restoration work, though it lacks the surgical precision of iZotope RX for complex material.
- iZotope RX Dialogue Contour: Useful for older spoken word or broadcast recordings needing pitch correction on historical audio.
One of the most important decisions you will make in this phase is whether to prioritize analog character or digital cleanliness. These two goals are in tension, and the right balance depends on your release format. For vinyl releases, a little surface character can actually add to the listening experience. For streaming, listeners expect a cleaner, more controlled presentation.
| Restoration approach | Analog effect chain | Digital effect chain |
|---|---|---|
| Noise floor | Tape hiss retained for warmth | Near-silent floor via De-noise |
| Clicks and pops | Minimal correction, character kept | Surgical removal with Spectral Repair |
| Dynamic range | Wider, more natural dynamics | Tightly managed with compression |
| High-frequency detail | Slightly rolled off, smooth | Preserved with precision EQ |
| Overall character | Warm, organic, period-correct | Clean, accurate, modern |
The tradeoffs are real. Heavy broadband noise reduction removes not just hiss but also the upper harmonic air that gives acoustic instruments their sense of space. When you push a De-noise plugin hard, you may notice vocals developing a metallic, underwater quality. That is phase estimation error, a known challenge in digital restoration tools.
Empirical benchmarks on modern restoration systems confirm this. The MSRBench study found an average SI-SNR of just -23.4dB across phase estimation tasks, with percussion instruments presenting the greatest difficulty at -55.2dB. Diffusion-based models showed stronger robustness but at the cost of processing speed, while neural codec approaches struggled most with robustness under challenging acoustic conditions. These findings are a reminder that even cutting-edge tools have real limits.
Choosing analog gear for warmth in your signal chain before digitizing can reduce the workload in the digital domain significantly. Running the preamp output through a quality analog EQ to gently shape the tone before capture is a strategy many professional engineers use to reduce the need for aggressive digital processing later.
Finalizing your master: Preparing for vinyl and digital release
Now that your audio is clean and enhanced, it is time to prepare it for its final destination. A great restoration job can be undermined by poor final mastering decisions, especially when you are delivering for two very different formats.
Digital streaming preparation:
- Normalize to -14 LUFS (integrated): This is the streaming loudness standard recommended for services like Spotify and Apple Music. Louder masters get turned down automatically; quieter masters may sound weak next to other tracks.
- True peak limit to -1dBTP: Prevents inter-sample peaks from causing distortion on lossy codec encoding.
- Use light compression: Streaming listeners often use earbuds in noisy environments. A gentle bus compressor (2-4dB of gain reduction) helps maintain perceived loudness without sacrificing dynamics.
- Export at 24-bit/44.1kHz or 24-bit/48kHz: Most streaming platforms prefer 24-bit WAV or FLAC files for their mastering chain.
- Avoid over-EQing: Streaming services apply their own loudness normalization, which can interact badly with heavily EQ'd masters.
Vinyl preparation:
- Preserve dynamic range: Vinyl cutting heads struggle with extreme loudness. Leave more headroom than you would for a digital release.
- Address low-frequency mono compatibility: Bass frequencies below 150Hz should be mono on vinyl masters to prevent the cutting stylus from jumping out of the groove.
- Limit sibilance and high-frequency harshness: Use a de-esser if needed. Harsh high frequencies can cause distortion on the pressing and during playback.
- Watch for out-of-phase content: Phase issues that are barely noticeable on a speaker can cause real problems on a vinyl pressing.
- Sequence your sides carefully: Louder, more dynamic tracks work better toward the beginning of a side, where the groove pitch is wider.
"For vinyl and digital preparation, you should minimize processing to preserve analog warmth. Vinyl demands careful attention to dynamic range limits, while digital releases require normalization to -14 LUFS for streaming platforms." (A Digital DJ's Guide to Vinyl Ripping)
Review your optimal loudness settings for both formats before you sign off on the final files. Then do a final check on your pristine digital restoration to confirm the work from your earlier sessions holds up in a full playback environment.
For additional context on getting your finished master in front of listeners, these music distribution tips offer practical guidance on the delivery side of the process.
Why less is more in audio restoration
Here is what 44 years of working with recordings has taught us: the engineers who do the most damage in restoration are not the inexperienced ones, they are the ones who just learned a new plugin.
There is a powerful temptation when you first get access to tools like iZotope RX to sweep through a recording and remove everything imperfect. Every click, every breath of surface noise, every tiny fluctuation in the noise floor. The result sounds technically clean but emotionally empty. Listeners feel the absence of character even when they cannot name it.
A click or two on a vintage vinyl transfer is not a failure. It is a timestamp. It tells the listener something real about where this music came from. Aggressive De-crackling on an old blues or soul recording can strip out the very texture that made it worth restoring in the first place.
Our rule is simple: do less, then listen. Apply one pass of restoration, then step away for five minutes before evaluating. Fresh ears catch what tired ears miss. If you are debating whether something needs another pass, the answer is usually no.
The same logic applies to analog EQ for warmth. A gentle lift at 10kHz with an analog EQ feels open and musical. A 6dB boost at the same frequency inside a DAW sounds sharp and brittle. Trust the source material. Your job in restoration is to serve the music, not rewrite it.
Professional audio restoration and mastering services
Sometimes, the best results come from an experienced ear and the right partnership. At LB-Mastering Studios, we have spent over 44 years helping artists and labels get the most from their recordings. Whether you are pressing your first vinyl release or digitizing an entire catalog, our hybrid analog-digital workflow is built to deliver the clarity, warmth, and dynamic range your music deserves.
Explore our dedicated vinyl mastering service for format-specific results, or get precision control over your sound with our stem mastering help. If you are just starting your vinyl journey, download our free vinyl mastering guide for a step-by-step resource you can reference throughout your project. We also offer free sample masters so you can hear the difference before you commit.
Frequently asked questions
What is the most important tool for audio restoration?
A high-quality ADC is the most critical piece of hardware because it determines how accurately your analog source is captured in the digital domain, and capture errors cannot be fully corrected in post-processing.
How do I avoid losing warmth when restoring old recordings?
Minimize processing by applying light, targeted noise reduction rather than aggressive broadband removal, and preserve the natural dynamics of the original source as much as possible.
What gain should I use for transferring vinyl to digital?
Use a phono preamp with RIAA equalization set to 40-70dB gain to correctly restore the tonal balance cut into the record during manufacturing.
Is it better to restore audio with analog or digital tools?
Analog preserves warmth and organic character naturally, while digital tools provide surgical precision for removing noise and clicks. Using both in sequence typically delivers the best final result for both vinyl and streaming formats.