Many independent artists assume that burning a CD-R or uploading WAV files to a replication plant is all it takes to get professional discs made. That assumption leads to rejected orders, manufacturing errors, and money wasted on reprints. The reality is that professional CD production runs on a precise technical format called DDP, and understanding it is the difference between a smooth release and a costly delay. This guide breaks down exactly what DDP is, why it outperforms older methods, how to create and verify one, and what mistakes to avoid before you send your project to a plant.
Table of Contents
- The basics: What is DDP for CD production?
- Why DDP beats CD-R and audio files for replication
- Creating a DDP: Essential steps for musicians
- Best practices: Verifying, submitting, and troubleshooting your DDP
- Red flags and misconceptions: What musicians often miss about DDP
- Perspective: Why mastering studios insist on DDP—and what artists gain
- Get pro-quality masters and DDP support
- Frequently asked questions
Key Takeaways
| Point | Details |
|---|---|
| DDP is a pro standard | Using DDP ensures your CD masters are error-free, compliant, and ready for manufacturing. |
| Avoid audio surprises | Unlike CD-Rs, DDP eliminates data errors and ensures every detail is faithfully replicated. |
| Follow a clear creation process | Import, set pauses, add metadata, verify, and export—each step matters for a perfect DDP. |
| Always verify before submitting | Check your DDP with dedicated playback tools and use checksums to confirm file integrity. |
The basics: What is DDP for CD production?
DDP stands for Disc Description Protocol. It is a professional file format developed specifically for CD manufacturing, and it has been the industry standard for decades. Rather than sending a physical disc or a loose collection of audio files, you send a complete digital package that contains everything a replication plant needs to produce your CD accurately.
What makes DDP so reliable is what it actually contains. A DDP image holds audio data, track order, ISRC codes, CD-Text, pauses between tracks, and MD5 checksums for error-free verification. All of this is bundled together in a single folder structure that follows Red Book compliance, the universal standard for CD audio requiring 44.1 kHz sample rate and 16-bit depth.
Here is what a complete DDP package typically includes:
- Audio stream file: The full program audio encoded precisely
- DDPMS file: The map that defines track start and end points
- DDPID file: The identifier confirming the DDP version
- Subcode file: Carries ISRC codes and CD-Text information
- MD5 checksum file: A digital fingerprint confirming data integrity
"A DDP image is not just audio. It is a complete set of manufacturing instructions that leaves nothing open to interpretation at the plant."
For a deeper look at how this format works in practice, our complete DDP mastering guide walks through every technical layer in plain language.
Pro Tip: Always ask your mastering engineer to confirm they are delivering DDP 2.0 format. Earlier versions are less universally accepted at modern replication facilities.
The reason mastering engineers rely on DDP is straightforward. It removes ambiguity. Every instruction is embedded in the file, so the plant does not have to interpret anything. That precision is what protects your release.
Why DDP beats CD-R and audio files for replication
With a foundation of what DDP includes, let's see how it compares to other common methods musicians use. The differences are significant, and they directly affect the quality of your finished discs.
CD-Rs and audio file uploads introduce variables that DDP simply eliminates. DDP avoids read errors like C2 and C3 errors, accidental alterations, and burner variability that plague CD-R submissions. Dye degradation on burned discs, inconsistent laser calibration, and older player incompatibility are all real risks that have caused countless botched replication runs.
Here is a direct comparison of the three main submission methods:
| Method | Error risk | Metadata support | Plant acceptance | Best use case |
|---|---|---|---|---|
| DDP image | Very low | Full (ISRC, CD-Text) | Universally preferred | Professional replication |
| CD-R master | Moderate to high | Limited | Declining | Small DIY runs only |
| Audio file upload | Moderate | Varies by plant | Plant-specific | Streaming prep, not CD |
The four biggest reasons plants and engineers prefer DDP:
- No physical degradation: DDP is a digital file. It does not deteriorate in transit or storage the way a burned disc does.
- Locked track order and pauses: Everything is defined in the file, so there is no chance of gaps being wrong or tracks shifting.
- Embedded metadata: ISRC codes and CD-Text travel with the audio, not as a separate document that can get lost.
- Verifiable integrity: The MD5 checksum lets both you and the plant confirm the file arrived without corruption.
For context, the same precision standards apply across formats. Our guide on vinyl mastering standards shows how format-specific technical requirements protect your release regardless of medium. Similarly, getting optimal mastering loudness right is just as critical as the delivery format itself.
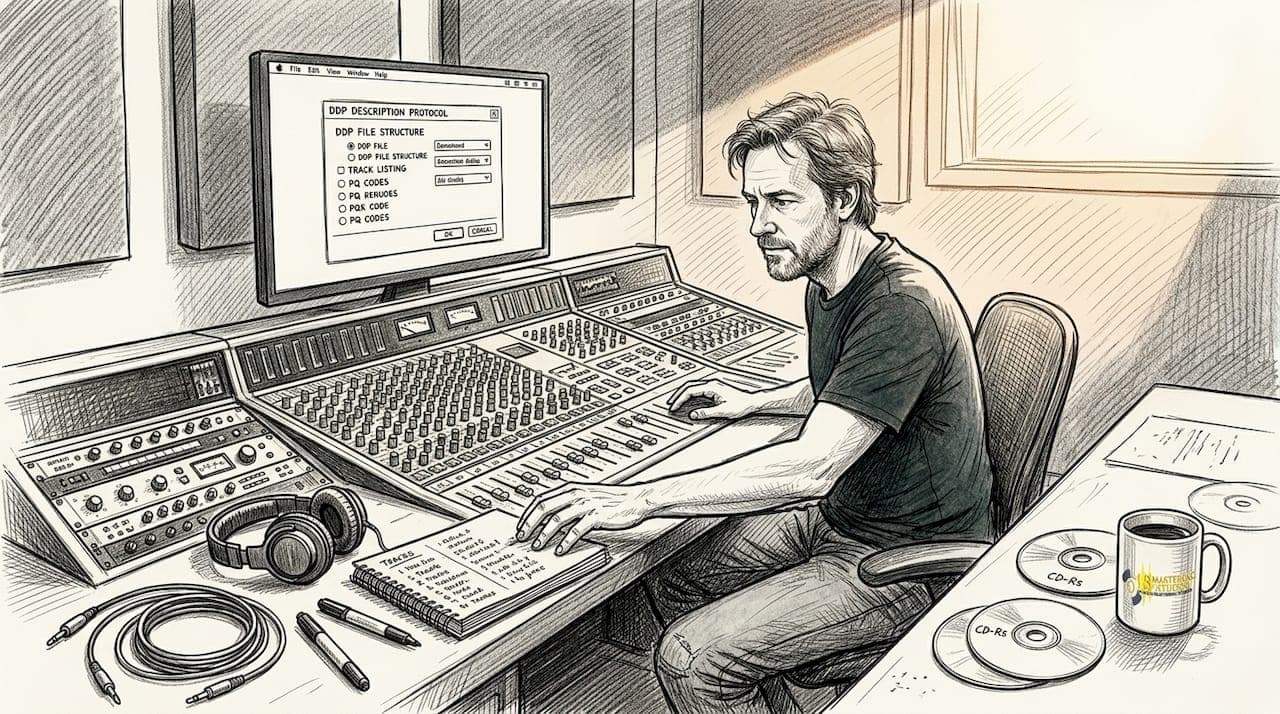
Creating a DDP: Essential steps for musicians
Since DDP offers distinct quality advantages, here is how the actual creation process works from start to finish. You do not need to do this yourself, but understanding the workflow helps you communicate clearly with your mastering engineer.
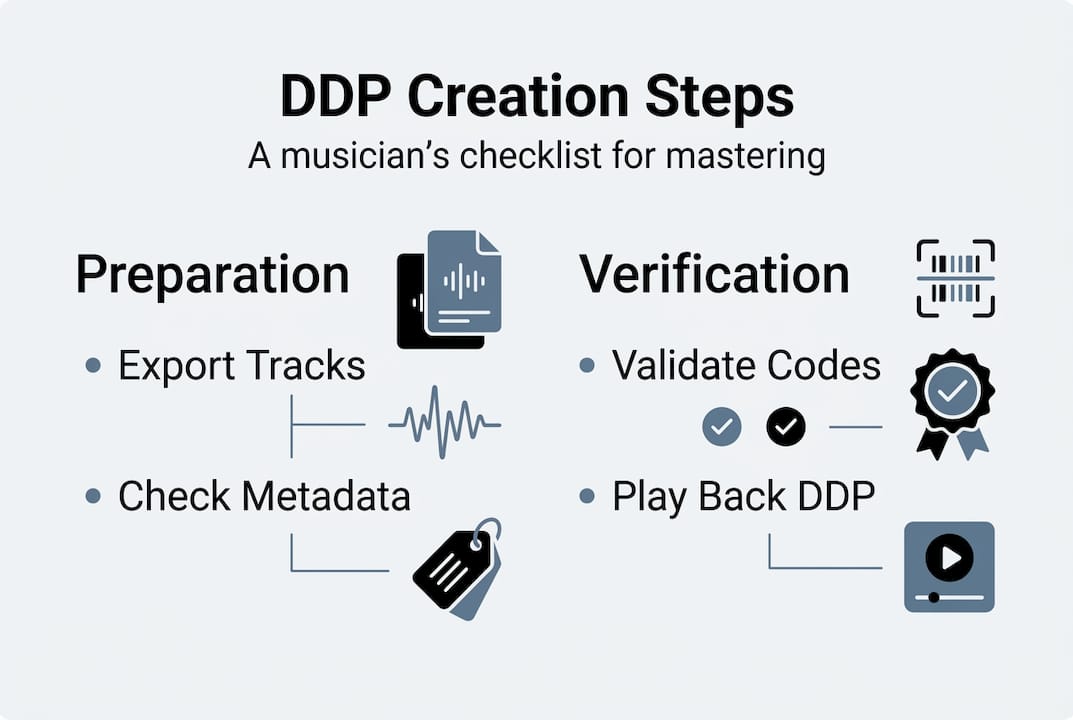
The DDP creation process follows a consistent sequence: import WAV or AIFF files into dedicated DDP software such as HOFA CD-Burn.DDP.Master or Sonoris DDP Creator, set pauses between tracks (the standard default is 2 seconds or 150 frames), add all metadata including ISRC codes and CD-Text, verify Red Book compliance, then export as a DDP 2.0 folder complete with MD5 checksums.
Here is the step-by-step breakdown:
- Import mastered audio: Load your final WAV or AIFF files at 44.1 kHz, 16-bit into your DDP software.
- Set track pauses: Define the gap between each track. Two seconds is standard, but some albums use custom gaps for artistic effect.
- Enter metadata: Add ISRC codes for each track, album title, artist name, and CD-Text fields.
- Run compliance check: The software flags any Red Book violations before you export.
- Export and generate checksum: The software creates the DDP folder and an MD5 file for verification.
| Software | Platform | Key feature |
|---|---|---|
| HOFA CD-Burn.DDP.Master | Mac/Windows | Built-in player and checksum tool |
| Sonoris DDP Creator | Mac/Windows | Batch metadata entry, detailed error log |
| Pyramix | Mac/Windows | High-end studio integration |
Pro Tip: Before you export, cross-reference your ISRC codes against your original registration. A single digit error in an ISRC code can cause royalty tracking problems that are difficult to fix after manufacturing.
If you are not handling this yourself, use our mastering checklist for artists to confirm what your engineer should deliver. You can also review mastering equipment examples to understand what professional facilities use to achieve the best results.
Best practices: Verifying, submitting, and troubleshooting your DDP
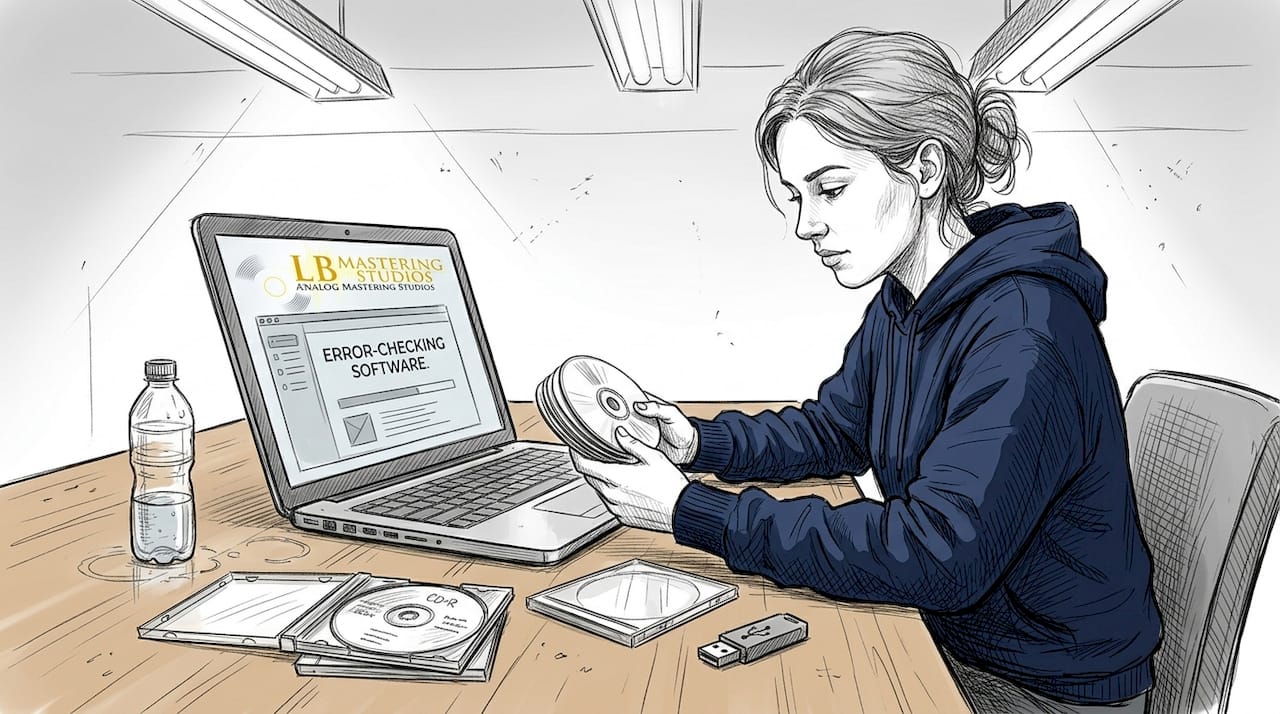
You have created your DDP, but technical rigor matters. Here is how to make sure it is perfect before you send it off.
Verification is not optional. Always verify your DDP with a built-in player or dedicated DDP playback tool before submitting to the plant. MD5 checksums confirm data integrity during transfer, catching any corruption that may have occurred during upload or file movement.
Here is your pre-submission checklist:
- Playback check: Listen to the full DDP using a DDP player, confirming audio quality, track order, and gap lengths
- Metadata review: Confirm all ISRC codes, CD-Text, and copyright information are correct and complete
- MD5 verification: Compare the checksum value before and after transfer to confirm the file is identical
- File structure check: Confirm the DDP folder contains all required files including the audio stream, DDPMS, DDPID, and subcode files
- Red Book compliance: Verify total disc runtime does not exceed 74 minutes and all tracks meet minimum length requirements
"Submitting without verification is the single most common reason projects get rejected at the plant. Five minutes of checking saves weeks of delays."
For submission, most plants accept DDP via ZIP archive uploaded through a secure portal, FTP transfer, or cloud storage link. Always confirm the plant's preferred method before sending.
If your DDP gets rejected, the most common causes are missing files in the folder, incorrect sample rate, or ISRC formatting errors. Your mastering engineer can resolve these quickly if you have kept backup copies of the original session. Our guide on professional mastering workflow covers how to structure your project files to make troubleshooting straightforward. You can also download our audio mastering checklist to stay organized throughout the process.
Red flags and misconceptions: What musicians often miss about DDP
Even with DDP, there are common mistakes musicians make. Here is how to spot and avoid them before they cost you time and money.
The most damaging assumption is that creating a DDP automatically means everything is correct. The format is only as good as the information you put into it. CD-R duplication errors like dye degradation and older player incompatibility are eliminated by DDP, but metadata errors and compliance issues are entirely on the creator.
Watch out for these red flags:
- Skipping playback verification: Exporting a DDP and sending it immediately without listening is a gamble. Software errors and import glitches do happen.
- Missing or incorrect ISRC codes: Every track needs a unique, properly formatted ISRC. Missing codes mean lost royalty tracking, and incorrect codes can create conflicts in music databases.
- No MD5 checksum backup: If you do not save your checksum file, you cannot verify the file's integrity after transfer.
- Outdated software versions: Using older DDP authoring software can produce files that do not meet current plant requirements.
- Assuming your DAW can do it: Standard digital audio workstations like Pro Tools or Logic Pro do not export proper DDP folders. You need dedicated DDP authoring software.
Pro Tip: Keep a copy of your DDP folder and the original mastered WAV files together in a single archived folder. If a plant requests changes or a resubmission, you can make corrections without starting over.
Our mastering checklist is a practical tool for catching these issues before they reach the plant. Use it as your final review before any submission.
Perspective: Why mastering studios insist on DDP—and what artists gain
With a toolkit for practical DDP use, here is the on-the-ground perspective from experienced mastering engineers.
We have seen artists lose hundreds of dollars on reprints because they submitted a CD-R that burned incorrectly or an audio file with the wrong sample rate. These are not rare edge cases. They happen regularly, and they are entirely preventable. DDP is not a bureaucratic requirement. It is a professional standard that protects your investment.
Major labels understand this. Universal Music Group requires DDP 2.0 for CD submissions, and independent artists who adopt the same standard signal to manufacturers and labels that they operate at a professional level. That credibility matters, especially when you are trying to get your music into retail or distribution channels that work with major facilities.
For independent artists, the practical gain is simple: fewer surprises. When you submit a verified DDP, you know exactly what the plant will produce because you have already heard it through a DDP player. There is no guessing, no hoping the burn went correctly, and no waiting on a reprint. Our DDP mastering article goes deeper into how this format fits into a complete mastering workflow.
Small bands and solo artists sometimes think DDP is overkill. We disagree. The cost of getting it right the first time is always lower than the cost of fixing it after the fact.
Get pro-quality masters and DDP support
Ready to take your CD release to a professional level? At LB-Mastering Studios, we deliver fully verified DDP 2.0 packages as part of our mastering service, so you never have to worry about plant rejections or metadata errors.

Our studio combines over 44 years of experience with Grammy-winning expertise and a hybrid analog-digital signal chain built from industry-leading mastering equipment. Every project gets personal attention from our engineer, and we back our work with a free sample master so you can hear the results before you commit. Download our free mastering checklist to prepare your files correctly, and explore our studio discography to hear what professional mastering sounds like across real releases. Let us handle the technical details so you can focus on your music.
Frequently asked questions
Why do CD manufacturing plants prefer DDP over CD-Rs?
DDP files eliminate the read errors and burner variability that make CD-Rs unreliable for replication, ensuring every disc is produced from a clean, unaltered digital source. Plants prefer DDP because it removes the guesswork and reduces rejection rates significantly.
What key information is included in a DDP image?
A DDP image contains the full audio data, ISRC codes, track order, CD-Text, pauses, and MD5 checksums, giving the plant everything needed for accurate, error-free manufacturing.
How do I check if my DDP is ready for submission?
Use a dedicated DDP player to verify playback, track gaps, and metadata accuracy, then confirm the MD5 checksum matches before uploading to the plant.
Can I create a DDP image on my own with standard DAW software?
Standard DAWs do not export proper DDP folders. You need specialized DDP software like HOFA CD-Burn.DDP.Master or Sonoris DDP Creator to produce a compliant DDP 2.0 package with all required files and checksums.