 how-to
How Do You Master Vintage Rock Music?
Last Updated: October 27, 2026
Quick Summary
Vintage rock mastering is a finishing stage, not a rescue operation: start with a mix that already sounds like a band in a room, then keep the chain simple by fixing problems with subtractive EQ first, adding character with light saturation second, and controlling level with limiting last. Protect dynamic contrast and a solid mono center rather than chasing modern loudness or width.
- Roll off extreme highs on cymbals and overheads so they don't sizzle.
- Cut boxiness at 200-400 Hz and harshness at 2-5 kHz before any tone boosts.
- Use 1.5:1 to 2:1 compression with 30-50 ms attack and 1-3 dB gain reduction.
- Keep kick, snare, bass, and lead vocal mono below roughly 120 Hz.
- Streaming masters should sit at −14 to −10 LUFS with a −1.0 dBTP ceiling.
Table of Contents
- Start With the Mix: Preparing a Rock Track for Vintage Rock Mastering
- How to Make a Mix Sound Vintage Before You Master
- Building a Rock Mastering Chain That Respects the Era
- Subtractive EQ, Compression, and Transient Control
- Tape Saturation for Vintage Sound: How Much Harmonic Color?
- Analog Mastering vs Digital Mastering for Rock
- Stereo Image, Mid-Side Processing, and Loudness Targets
- Book a Vintage Rock Mastering Session
- Frequently Asked Questions
Start With the Mix: Preparing a Rock Track for Vintage Rock Mastering
Mastering techniques for vintage rock music begin long before the first compressor engages. True sonic character relies on these foundational textures, much like the tactile depth preserved when you clean vintage vinyl to reveal the original fidelity of a pressing.
So before you think about a mastering chain, check your mix balance. Kick and snare should sit together. Vocals should feel embedded, not pasted on top. Guitars should have room to breathe without crowding the vocal.
Critical Listening and Reference Tracks
Reference tracks are the fastest way to close the gap between what you think your mix sounds like and what it actually sounds like. For a dedicated guide on using reference tracks, see our article. Pick two or three vintage rock records from the era you're chasing. Match their tonal weight, not their exact loudness. A common mistake is A/B-ing against a modern master at streaming volume, which makes any vintage reference sound dull and quiet by comparison.
How to Make a Mix Sound Vintage Before You Master
A mix sounds vintage when the low end is rounder, the mids carry the weight, and the top end is softer than a modern mix. You get there through choices made during mixing, not a plugin preset.
- Roll off extreme highs on cymbals and overheads so they don't sizzle.
- Keep the kick and bass tight and slightly overlapped so they read as one low-end unit.
- Let guitars occupy the midrange without excessive brightness.
- Leave vocals slightly dry and centered, with modest reverb.
- Avoid heavy sample replacement on drums; keep the natural room sound.
Arrangement, Tempo Feel, and the Click Track
Vintage rock lives and dies on feel. Modern productions often lock everything to a rigid grid, and that stiffness is the first thing that reads as "not vintage." If the song allows it, let the tempo breathe slightly. A click track is a tool, not a law. Some of the most convincing vintage-sounding records drift just enough to feel human.
Building a Rock Mastering Chain That Respects the Era
A vintage rock mastering chain should stay simple: fix problems first, add character second, control level last. The order matters more than the gear. Here is a practical chain with starting ranges and decision criteria, not universal settings.
| Stage | Purpose | Starting Range | When to Adjust |
|---|---|---|---|
| Subtractive EQ | Remove resonances | Narrow cuts of 1-3 dB at 200-400 Hz (boxiness) and 2-5 kHz (harshness) | Widen the Q if the cut sounds hollow; narrow it if the problem persists |
| Compression | Glue and control | 1.5:1 to 2:1 ratio, 30-50 ms attack, 100-300 ms release, 1-3 dB gain reduction | Slow the attack if transients soften; shorten the release if the track pumps |
| Saturation | Add harmonic color | Light tape or console drive, 0.5-1.5 dB of harmonic increase | Back off if the low end turns muddy or the top gets gritty |
| Tone EQ | Shape overall balance | Gentle shelves: +0.5-1.5 dB below 120 Hz, −0.5-1 dB above 8 kHz | Adjust in 0.5 dB steps and bypass often |
| Limiting | Control peaks | −1.0 dBTP ceiling, 1-3 dB of gain reduction on the loudest chorus | Reduce input gain if the master pumps or the snare loses crack |
Decision Criteria, Not Presets
Treat every number above as a starting point. The decision criteria are what matter:
- Subtractive EQ first. If you boost tone before you cut resonances, you amplify the problem. Sweep the midrange, find two or three problem spots, and cut them narrowly before touching anything else.
- Compression should be felt, not heard. If you can hear the compressor working on the master bus, back off. Slow attack lets transients pass; moderate release lets the track breathe.
- Saturation is a seasoning. If you can clearly hear it, you have overdone it. The goal is a track that feels glued and slightly rounded.
Common Problems and Symptom-to-Fix Guidance
- Harsh guitars: narrow cut around 2-4 kHz, then check the 6-8 kHz region for brittle cymbals.
- Muddy low mids: cut 200-400 Hz by 1-2 dB; if the kick loses weight, narrow the cut.
- Brittle cymbals: gentle high shelf reduction above 8 kHz; avoid de-essing the whole mix.
- Weak kick and snare: slow the compressor attack before reaching for transient shaping; restore attack only if the mix lost it.
If you want to go deeper on the analog side, our article on how analog gear shapes professional sound walks through the gear and the reasoning behind it.
Subtractive EQ, Compression, and Transient Control
Subtractive EQ is the least glamorous part of vintage rock mastering and the most important. Find the frequencies that make the mix sound boxy or harsh, then cut them narrowly.
Compression should be mild. Heavy compression flattens the dynamics that give rock its punch. Aim for a slow attack so transients pass through, then a moderate release so the track breathes.
Mild Compression and Punch on Drums
Drums carry the punch, so treat them carefully. If the snare loses its crack under compression, back off. On the master bus, a gentle glue compressor can tie the kit together, but the individual kick and snare transients should still hit. Use transient shaping sparingly, and only to restore attack the mix lost, not to invent punch that was never there.
Tape Saturation for Vintage Sound: How Much Harmonic Color?
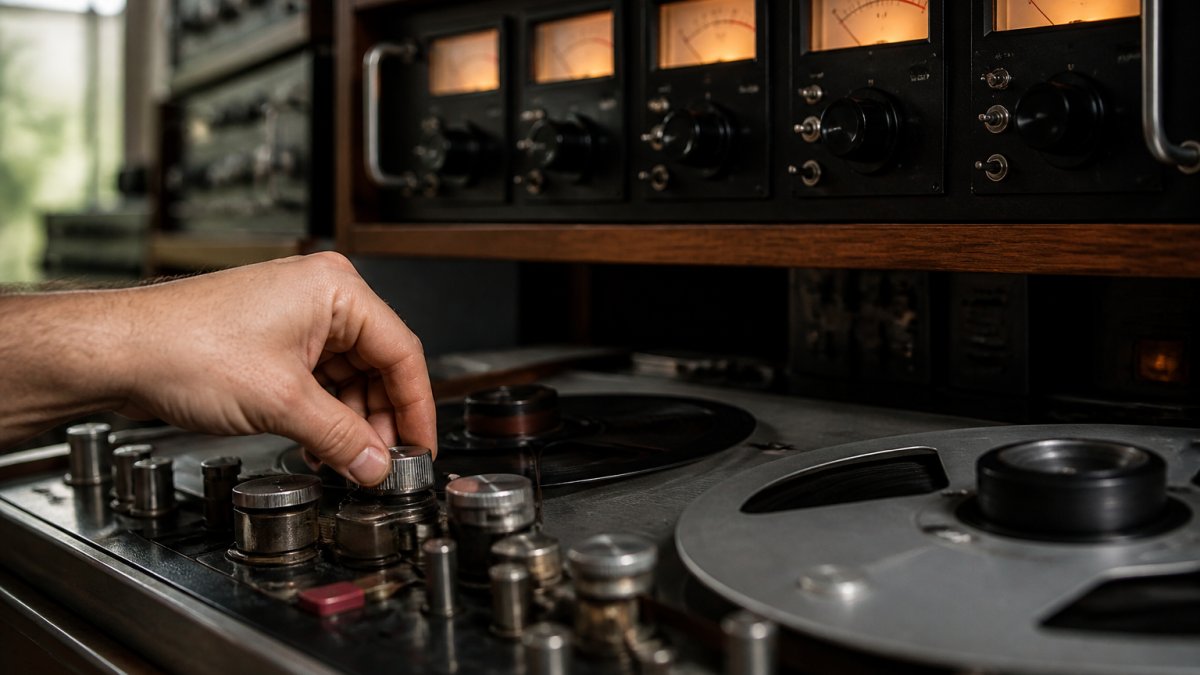
Tape saturation for vintage sound adds warmth and gentle compression, but the right amount is less than most people expect. A little goes a long way.
Analog Mastering vs Digital Mastering for Rock
Analog mastering vs digital mastering comes down to character versus control. For a fuller comparison of the two approaches, see our guide to analog mastering vs digital mastering. Analog outboard gear adds harmonic color, subtle compression, and a musical softness that many vintage rock records depend on. Digital tools offer precision, recall, and repeatability. Neither is inherently better. The best results often combine both: digital for surgical fixes, analog for tone.
Stereo Image, Mid-Side Processing, and Loudness Targets
Stereo image and loudness are where vintage rock mastering most often goes wrong, because the era's records were narrower and more dynamic than modern masters. Treat both as deliberate decisions, not defaults.
Stereo Image and Mid-Side Processing
Vintage rock records are typically narrower than modern mixes. The vocal, kick, snare, and bass sit firmly in the center, and guitars or keys provide width without smearing the core. Use mid-side processing to widen side content only, and leave the mid channel untouched so the center stays solid.
A practical starting point:
- Keep kick, snare, bass, and lead vocal mono below roughly 120 Hz; check with a correlation meter and a mono fold-down.
- Widen guitars or keys by 10-20% on the side channel, then verify the mix still holds up in mono.
- Avoid widening the low end; over-wide bass is the fastest way to lose translation on phone speakers and club systems.
- If the mix already feels wide, do nothing. Vintage character comes from midrange weight, not stereo spread.
Loudness, Dynamics, and Delivery Targets
Loudness is a delivery decision, not a competition. Streaming services normalize playback, so an over-limited master loses dynamics without gaining perceived volume. Vintage rock depends on dynamic contrast, so protect it.
Use these as starting ranges, then adjust by ear and by delivery format:
| Delivery | Integrated Loudness | True Peak Ceiling | Notes |
|---|---|---|---|
| Streaming (Spotify, Apple Music, YouTube) | −14 to −10 LUFS | −1.0 dBTP | Streaming normalizes to about −14 LUFS; masters hotter than that are turned down. |
| CD / digital download | −10 to −8 LUFS | −0.3 dBTP | No normalization; leave a little headroom for consumer DACs. |
| Vinyl | −14 to −11 LUFS | −1.0 dBTP | Cutting engineers need headroom and controlled low end; excessive limiting causes groove distortion. |
Measure integrated loudness and true peak with a metering plugin, and check short-term loudness across the loudest chorus and the quietest verse. A common pattern is a 6-10 LU difference between verse and chorus on vintage-style rock; if your master shows less than 4 LU, you have probably over-compressed.
Finally, check translation on at least three systems: headphones, a full-range speaker pair, and a mono consumer speaker such as a phone or smart speaker. If the vocal and snare still read clearly in mono at low volume, the master is ready for delivery.
Book a Vintage Rock Mastering Session
Getting vintage rock mastering right takes an experienced ear and the right room. LB-Mastering Studios offers single song mastering, stem mastering, album mastering, and vinyl mastering, all handled by a Latin GRAMMY Award-winning engineer with over 44 years of experience. You can explore our mastering services to see what fits your project, and reach out to the studio when you're ready to talk through your record.
Frequently Asked Questions
How do you master vintage rock music without losing the dynamics?
Keep compression gentle and let the transients through. Use mild compression on the master bus, aim for 1-2 dB of gain reduction on peaks, and reserve limiting for the final stage. Set your loudness target around -14 LUFS for streaming and check that drums still punch on small speakers. Subtractive EQ before compression removes boomy resonances so the compressor works less. The goal is a natural sound that breathes, not a squashed wall of volume.
Is analog mastering better than digital mastering for rock?
Neither wins outright. Analog mastering vs digital mastering comes down to the character you want. Analog outboard gear adds harmonic saturation and gentle compression that suit vintage rock, while digital offers precise editing and repeatability. Many engineers run a hybrid chain: digital EQ and editing into analog tape or tube gear for tone. The engineer's ears and room matter more than the format. Choose based on the sound you hear, not the label.
What does tape saturation for vintage sound actually do to a rock master?
Tape saturation adds harmonic distortion, softens harsh transients, and glues the mix together. On drums it rounds off the snare crack and thickens the kick. On guitars it adds warmth and a slight compression that feels musical. Use it subtly: push the input until you hear the tone thicken, then back off. Too much tape saturation for vintage sound turns muddy and loses punch. A little goes a long way on the master bus.
How do you prepare a rock mix for mastering?
Leave headroom of about 3-6 dB on the master bus and remove any limiter from the mix. Check your mix balance on multiple systems, including phone speakers and car audio. Print at the same sample rate as your session with no dithering. Label your stems clearly if you send those instead of a stereo mix. Include reference tracks you like so the mastering engineer understands your target. Clean, unclipped mixes make vintage rock mastering faster and more accurate.
If your vintage rock project needs a master that respects the era and still translates on every platform, our team is ready to help. We bring premium analog outboard gear, decades of charting experience, and a free sample master so you can hear the difference before you commit. Get started with LB-Mastering Studios and hear your record the way it was meant to sound.