 how-to
Optimizing Podcast Audio for Professional Physical Release
Table of Contents
- Recording Studio-Quality Sound for Podcast Mastering
- Capturing Clean Audio: Levels, Technique, and Monitoring
- Editing and Noise Reduction Before Mastering
- Audio File Formats for CD and Vinyl Distribution
- Podcast Stem Mastering for Maximum Control
- Podcast Vinyl Mastering: Technical Requirements and Workflow
- Building Your Podcast Mastering Checklist
- Quality Control Before Physical Production
- Frequently Asked Questions
Last Updated: October 10, 2026
Recording Studio-Quality Sound for Podcast Mastering
Professional podcast audio starts before mastering, and optimizing podcast audio for professional physical release begins during recording. The foundation you build during recording determines what a mastering engineer can do with your tracks.
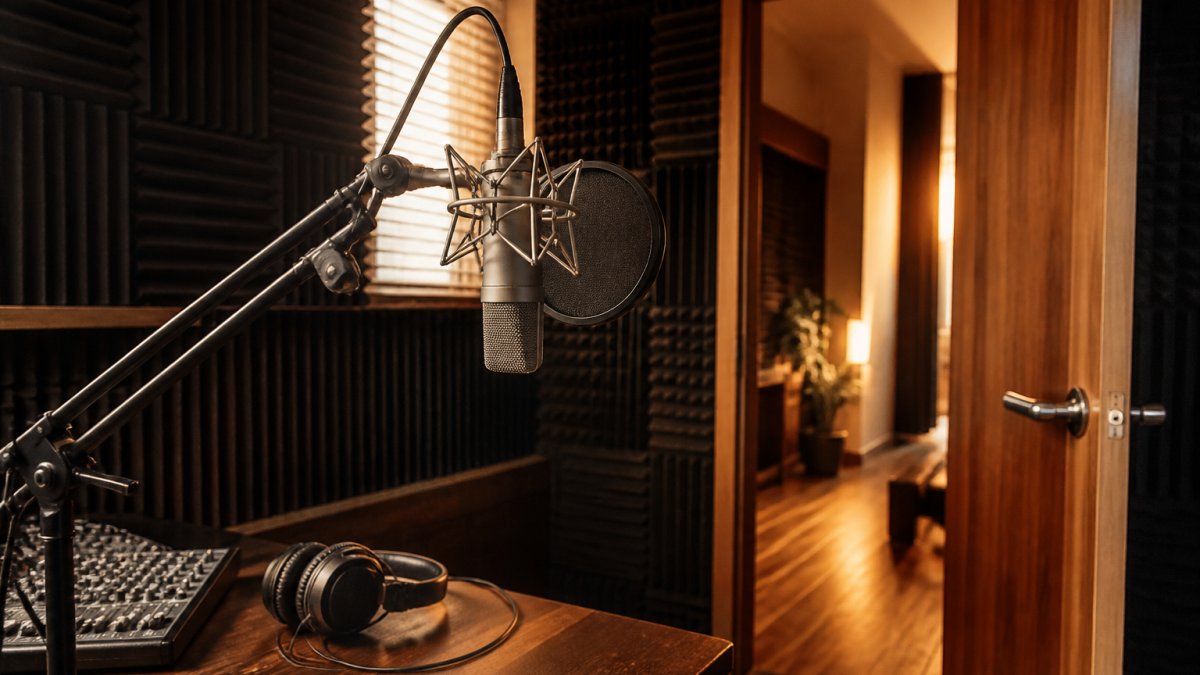
Most podcasters overlook technical setup, a costly mistake. Poor recordings cannot be fixed in mastering; you can only enhance good audio.
Choose a quiet recording space
Your recording space is your first tool. A quiet room with soft surfaces beats expensive gear in a noisy environment.
Find a space with these qualities:
- Minimal outside noise (away from traffic, HVAC systems, appliances)
- Soft furnishings that absorb sound (carpet, curtains, upholstered furniture)
- No hard, reflective surfaces directly behind or beside your microphone
- Doors that close fully and seal gaps
Bedrooms work better than living rooms. Closets work even better. The goal is to reduce room reflections and external noise.
Test your space by clapping your hands. If you hear a sharp echo, add blankets, pillows, or curtains to dampen reflections.
Select and position your microphone
Microphone placement matters more than choice. A decent microphone positioned correctly beats an expensive one placed poorly.
Position your microphone consistently:
- 6-8 inches from your mouth
- Slightly off-axis (not pointing directly at your lips)
- At mouth level or slightly above
- With a pop filter between you and the microphone
This distance and angle reduce plosives (harsh "P" and "B" sounds) and mouth noise while capturing clear, present vocals.
Use a microphone arm or stand to avoid handling noise and inconsistent distance.
Control room echo and background noise
Room echo and background noise (AC hum, fans, traffic) make audio sound distant and unprofessional.
Address these issues during recording: hang blankets or foam panels on walls, place soft materials around your position, close windows and doors, turn off fans and AC, and use a noise gate if needed. Clean recordings require less aggressive noise reduction in editing, which preserves vocal clarity.
Capturing Clean Audio: Levels, Technique, and Monitoring
Recording at the right level prevents distortion and maintains dynamic range.
Set recording levels and avoid clipping
Set your input gain so your loudest peaks reach between -12dB and -6dB on your meter. Never let levels touch 0dB during recording; clipping is permanent and cannot be recovered in mastering.
Speak at normal volume, watch your meter, adjust input gain to -12dB to -6dB, record a test, confirm no distortion, then begin your session.
Maintain proper microphone technique
Maintain consistent distance, angle, and volume throughout your session. Avoid sudden movements and take breaks to prevent fatigue. Consistency allows a mastering engineer to apply processing that works across your entire podcast.
Monitor your audio during recording
Always wear headphones during recording to catch problems in real time. Listen for plosives, dropouts, background noise, level creep, and handling noise. Stop and re-record problem sections immediately; a few minutes of adjustment saves hours of editing later.
Editing and Noise Reduction Before Mastering
Remove obvious mistakes, long silences, mouth clicks, coughs, and background noise spikes. Apply noise reduction gently, aggressive reduction damages vocal clarity. Export as lossless WAV or AIFF at 24-bit, 44.1 kHz or higher.
Audio File Formats for CD and Vinyl Distribution
Physical media mastering differs fundamentally from streaming. Your podcast must meet strict technical specifications for CD and vinyl, and the mastering process changes based on format.
CD Audio Specifications
Compact disc audio has fixed technical requirements set by the Red Book standard:
- Sample rate: 44.1 kHz (non-negotiable for CD)
- Bit depth: 16-bit
- File format: Stereo WAV or AIFF
- Peak level: −0.3 dB maximum (True Peak, not sample peak)
- Noise floor: −90 dB or lower
- Dynamic range: Minimum 6 dB (measured using ITU-R BS.1770-4)
The −0.3 dB True Peak ceiling is critical. Intersample peaks (peaks that occur between samples during digital-to-analog conversion) can exceed your sample peak and cause clipping on playback. A mastering engineer uses a True Peak meter, not a standard peak meter, to catch these.
Export your pre-master as 24-bit, 44.1 kHz WAV or AIFF. Let the mastering engineer handle downsampling to 16-bit as part of quality control.
Vinyl Mastering Specifications
Vinyl pressing requires format-specific optimization. Low-frequency management: Mono bass below 100 Hz, no subsonic content below 20 Hz, gradual roll-off around 80 Hz, and no extreme peaks that cause tracking distortion.
Frequency and phase: Check phase between channels, avoid presence peaks above 5 kHz, reduce sibilance carefully, and test stereo width for groove stability.
Pre-master delivery for vinyl:
- 24-bit, 96 kHz WAV or AIFF (higher resolution gives the cutting engineer more data)
- Clearly labeled with total runtime and track breaks
- Separate master for vinyl (not a conversion of your streaming master)
- Metadata: artist name, album title, side length, track order, any special notes
The Mastering Handoff
Your role ends when you deliver a clean pre-master. The mastering engineer creates format-specific masters:
- Streaming master: Optimized for Spotify, Apple Music, etc. (−14 LUFS, full dynamic range, no format constraints)
- CD master: Red Book compliant, −0.3 dB True Peak, 44.1 kHz, ready for duplication
- Vinyl master: Low-frequency managed, dynamic range preserved, phase-checked, ready for cutting
These are three separate files. Do not attempt to use one master for all formats. A streaming master will sound thin and lifeless on vinyl. A vinyl master will sound dull on streaming platforms.
Provide your mastering engineer with:
- Your pre-master file (24-bit, 96 kHz minimum)
- Intended formats (CD, vinyl, streaming, or all three)
- Any reference tracks you want to match tonally
- Specific requirements from your pressing plant or distributor
- Timeline and deadline for delivery
Ask your mastering engineer to deliver:
- Format-specific masters (clearly labeled)
- A technical summary sheet with loudness, True Peak, noise floor, and dynamic range measurements
- Recommended settings for your pressing plant
- A DDP file or CD image for CD duplication (not just a WAV)
Podcast Stem Mastering for Maximum Control
Stem mastering lets you provide individual tracks (voice, music, effects) for independent balancing and tailored processing. This approach works well for podcasts with multiple hosts, music beds, or complex sound design.
Export each major element as a separate stereo file, label clearly, ensure all stems are the same length, keep consistent levels, and deliver as lossless WAV or AIFF.
Podcast Vinyl Mastering: Technical Requirements and Workflow
Vinyl mastering requires specialized techniques to manage low-end content, control dynamic range, and optimize loudness. The workflow includes creating a vinyl-specific master, testing on actual vinyl, and delivering to the pressing plant. Skipping this step results in playback problems or poor sound quality.
Building Your Podcast Mastering Checklist
Use this checklist before mastering: quiet, treated space; consistent microphone positioning; correct input levels (-12dB to -6dB); clean editing; light noise reduction; 24-bit, 44.1 kHz or higher; lossless WAV/AIFF export; headroom at -3dB or lower; clear file naming; backup copies. For professional-grade audio quality, consider LB-Mastering Studios for your mixing and mastering needs. Explore our services, including Single Song Mastering, Stem Mastering, Album Mastering, Vinyl Mastering, and Mixing, at https://lbmastering.com/services.
Quality Control Before Physical Production
Quality control is the final gate before pressing. Problems caught here cost nothing; problems found after pressing cost thousands. Establish a repeatable QC process with measurable targets and documented approval.
Loudness and Peak Level Verification
Measure and document loudness using ITU-R BS.1770-4: CD (−0.3 dB True Peak, −6 to −3 LUFS), vinyl (−6 to −3 LUFS, −1 to −2 dB True Peak), streaming (−14 LUFS, −1 dB True Peak).
True Peak verification: Enable True Peak metering, play the entire master, confirm no peaks exceed your target (−0.3 dB for CD, −1 dB for vinyl), and document the highest value found.
Noise Floor and Distortion Check
Analyze silent sections for noise floor (target: −90 dB for CD, −80 dB for vinyl). Listen on studio monitors and headphones for hum, hiss, harshness, clipping, or artifacts. If noise or distortion is present, return to mastering for revision.
Multiformat Playback Testing
Listen to your master on at least five different playback systems to catch format-specific issues:
Studio monitors (calibrated):
- Set to 85 dB SPL using a calibrated meter
- Listen for tonal balance, clarity, and any frequency issues
- Check that dialogue is intelligible and music is balanced
Closed-back headphones:
- Distortion and phase issues become obvious on headphones
- Listen for sibilance, harshness, or muddiness
- Check stereo width and imaging
Open-back headphones:
- Reveals different frequency response than closed-back
- Catches issues masked by closed-back isolation
Car speakers:
- Most listeners hear podcasts in cars
- Bass response and midrange clarity are critical
- Check that dialogue cuts through road noise
Mobile phone speaker:
- Smallest, most limited playback system
- If your master sounds acceptable here, it will sound good everywhere
- Dialogue intelligibility is the key test
Document your findings: "Master approved for CD pressing" or "Master requires revision, excessive sibilance in section 2, 3:45-4:15."
Phase and Stereo Coherence Check
For stereo masters, verify phase integrity:
- Load your master into your DAW and enable a phase correlation meter
- Play the entire track and watch the correlation needle
- Target: Needle stays between −0.5 and +1.0 (mono content at +1.0, stereo content between −0.5 and +1.0)
- If the needle dips below −0.5 for extended sections, phase issues exist that will cause problems on vinyl
- Mono-compatible masters (sum to mono without phase cancellation) are essential for vinyl
Technical Metadata and Approval Checklist
Before sending to the pressing plant, complete this checklist:
- Loudness measured and documented (LUFS value recorded)
- True Peak verified and documented (highest peak value recorded)
- Noise floor measured (−90 dB or lower for CD)
- No distortion or clipping detected on any playback system
- Phase correlation verified (stereo masters only)
- Dialogue intelligibility confirmed on mobile phone speaker
- Tonal balance acceptable on studio monitors and headphones
Communication with Your Pressing Plant
Provide your pressing plant with:
- Master file: DDP image for CD, WAV for vinyl (as specified by plant)
- Technical specifications sheet: Loudness, True Peak, noise floor, sample rate, bit depth
- Metadata: Track titles, timings, artist/album info, ISRC codes
- Reference notes: "Vinyl master optimized for vinyl playback, do not apply additional EQ or compression"
- Approval sign-off: Your signature confirming the master is approved for production
Ask the pressing plant for:
- A test pressing (for vinyl) or proof CD (for CD) before full production
- Timeline for delivery
- Any format or file requirements specific to their equipment
- Revision policy if issues are found during pressing
Review the test pressing or proof on your QC systems before approving full production. This final check catches plant-side errors before they affect your entire run.
Frequently Asked Questions
What's the difference between mastering a podcast for streaming and for physical release?
Streaming platforms like Spotify and Apple Music normalize loudness automatically, so your mastering can focus on clarity and dynamic range. Physical releases, CDs and vinyl, require specific loudness targets, strict peak-level ceilings, and format-specific technical specifications. Vinyl mastering is particularly demanding: it requires wider spacing between frequencies, careful phase alignment, and lower overall loudness to prevent groove distortion. A professional mastering engineer adjusts the entire mix to meet these physical release standards, ensuring your podcast sounds optimal across all formats.
Should I deliver stems or a stereo mix for podcast mastering?
Deliver a stereo mix for standard podcast mastering unless your engineer specifically requests stems. Stems, separate tracks for dialogue, music, and effects, give a mastering engineer more control to address individual elements, which is valuable if your mix has balance issues or if you're planning multiple versions. For podcast stem mastering, discuss your needs with your engineer first.
What audio file format should I use for CD and vinyl mastering?
Use lossless, uncompressed audio formats: WAV or AIFF at 44.1 kHz, 16-bit minimum for CD, or 48 kHz for higher-quality masters. Avoid MP3, AAC, or other compressed formats, they discard audio data and cannot be recovered during mastering. Your mastering engineer will convert your master to the specific formats required by CD pressing plants and vinyl manufacturers. Always provide your highest-quality source file; the mastering process depends on audio integrity from start to finish.
How do I prepare my podcast audio before sending it to a mastering engineer?
Edit out dead air, background noise, and obvious mistakes. Ensure dialogue is intelligible and consistent in volume throughout. Remove or reduce any hum, clicks, or room noise using your DAW's noise reduction tools. Set your mix levels so peaks hit around -3 to -6 dB, leaving enough headroom for the mastering engineer to work. Export a high-quality stereo mix, check it on multiple playback systems (headphones, car speakers, monitors), and provide detailed notes about your mix intent. A clean, well-prepared mix accelerates the mastering process and improves the final result.