 how-to
Choosing the Right Hardware Limiter for Mastering
Table of Contents
- Why Hardware Limiters Matter in Mastering
- Analog Limiter vs. Digital Limiter for Mastering
- How to Compare Mastering Limiters: Key Specifications
- Hardware Limiter Settings for Mastering Success
- Understanding Mastering Limiter Gain Reduction
- Full-Band vs. Multiband Limiting in Your Chain
- Selecting Hardware for Your Mastering Setup
- Integrating a Hardware Limiter Into Your Workflow
- Frequently Asked Questions
Last Updated: October 10, 2026
Why Hardware Limiters Matter in Mastering
A hardware limiter is a precision device that prevents audio peaks from exceeding a set threshold, protecting your master from distortion while maintaining loudness and punch. It's the final safety net in your mastering chain, and choosing the right one makes the difference between a master that translates across all platforms and one that sounds thin or compressed.
The right choice depends on your signal chain, your material, and what you're mastering for, streaming, vinyl, or CD. This guide walks you through choosing the right hardware limiter for mastering, covering the specs that matter and the decision framework that gets you there.
Hardware limiters sit at the very end of your mastering chain, catching peaks that slip past other processing and protecting your master from clipping while preserving the dynamics and clarity that make a master sound professional.
Analog Limiter vs. Digital Limiter for Mastering
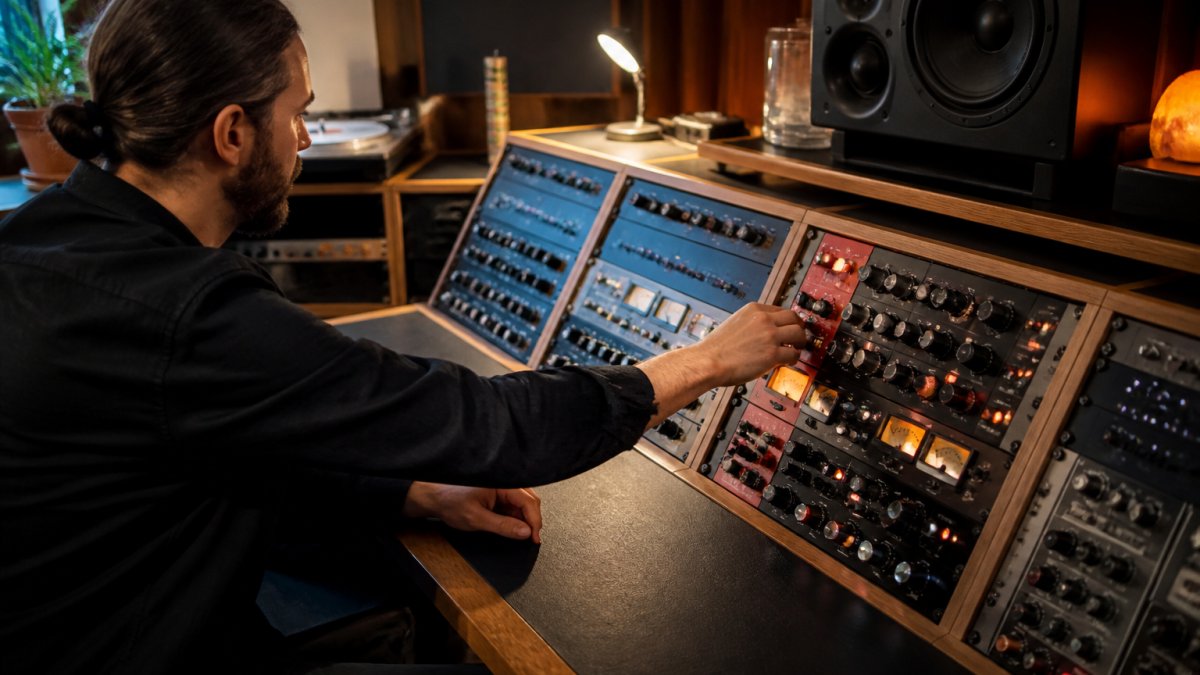
Analog limiters use transformers, tubes, or optical elements to catch peaks and introduce harmonic coloration that many mastering engineers favor. However, they have operational trade-offs:
- Gain reduction topology: Most analog limiters compress gradually rather than brick-wall limiting, shaping peaks over time instead of stopping them dead.
- Stereo linking: Analog limiters may introduce subtle level differences between channels; digital limiters offer perfect matching.
- Recallability: Analog limiters require manual reset; digital limiters store and recall settings instantly.
- Attack precision: Analog limiters lack millisecond precision; digital limiters offer exact control.
- Converter quality: Analog hardware requires high-quality converters; poor ones degrade the signal.
Digital limiters catch peaks mathematically using lookahead and true-peak detection:
- Brick-wall limiting: Output cannot exceed the ceiling, essential for streaming masters.
- True-peak detection: Catches inter-sample peaks before they cause clipping on playback systems.
- Transparent gain reduction: Reduces gain instantly with no harmonic artifacts.
- Exact recall: Settings are stored and recalled perfectly, critical for returning to masters months later.
- Latency: Modern digital limiters introduce minimal latency; analog limiters introduce zero latency.
Many professional mastering engineers use both: a digital limiter first as a transparent peak catcher and true-peak detector, then an analog limiter as a final tone-shaping tool. For streaming masters, digital limiting with true-peak detection is nearly essential. For vinyl or CD mastering, analog limiting alone may suffice.
How to Compare Mastering Limiters: Key Specifications
When evaluating a hardware limiter, choosing the right hardware limiter for mastering means focusing on the specs that affect how it sounds and how it behaves. Most limiters share core controls. The differences lie in how those controls interact and what they're capable of.
Attack Time and Release Time
Attack time determines how quickly the limiter responds to peaks. Fast attack (under 1 ms) catches transients hard; slow attack (5-10 ms) preserves punch. Release time controls how quickly the limiter backs off. Fast release (under 100 ms) is transparent; slow release (500 ms-several seconds) creates a more audible effect. For mastering, set attack between 1-5 ms and release between 50-200 ms.
Lookahead and True Peak Detection
Lookahead lets the limiter "see" peaks before they arrive, catching transients more smoothly. True peak detection catches peaks between samples, preventing clipping on streaming services. For streaming masters, true peak detection is essential; for vinyl or CD mastering, it's less critical but still useful.
Hardware Limiter Settings for Mastering Success
Start conservative, you're not trying to make the limiter obvious.
Threshold should sit just above your peak levels (around -1 to -2 dBFS if peaks hit -0.3 dBFS). Ceiling should sit at -0.1 to -0.2 dBFS to prevent clipping. Makeup gain brings the overall level back up after gain reduction. Attack and release should be tuned to your material: fast attack (1-2 ms) with moderate release (100-150 ms) works for most masters. The limiter should be barely audible; if you hear pumping, adjust release longer or attack slower.
Understanding Mastering Limiter Gain Reduction
In mastering, you want minimal, transparent gain reduction. Verses should trigger little to no reduction; choruses and peaks should trigger 1-3 dB. If your limiter is reducing gain by 6+ dB regularly, lower your input level or raise your threshold. Excessive gain reduction flattens dynamics; too little won't protect against clipping.
Full-Band vs. Multiband Limiting in Your Chain
Full-band limiting catches the entire frequency spectrum at once and is the standard approach in mastering. Multiband limiting divides the spectrum into separate bands, each with its own threshold. For most mastering work, full-band limiting is the right choice; use multiband only for specific problems like a mix that's hot in the highs but balanced in the lows.
Selecting Hardware for Your Mastering Setup
Step 1: Define your material and mastering goals
Different material benefits from different limiter characteristics:
- Transient-heavy material (drums, percussion, acoustic guitar): Requires fast attack (1-2 ms) and moderate release (100-150 ms).
- Dense, compressed mixes (pop, hip-hop, electronic): Need slower attack (3-5 ms) to preserve loudness and energy.
- Vocal-centric material: Benefit from moderate attack (2-4 ms) and longer release (200-300 ms).
- Orchestral and acoustic jazz: Require transparent, minimal-gain-reduction limiting with moderate attack (2-3 ms).
Step 2: Evaluate your signal chain and integration
- Analog-heavy chains: An analog limiter blends better tonally and reduces A/D/A conversions.
- Digital-heavy chains: A digital limiter integrates seamlessly and avoids unnecessary analog conversion.
- Hybrid chains: Use a digital limiter as your primary peak catcher and an optional analog limiter as a final tone-shaping stage.
- Converter quality: Ensure your interface has high-quality converters (24-bit/96 kHz minimum).
Step 3: Assess your room and listening environment
- Room acoustics: Audition limiters in your own room if possible.
- Monitoring chain: Accurate monitoring is essential to hear the limiter's true character.
- Calibration: Professional mastering rooms are calibrated to a known SPL (typically 83 dB). Uncalibrated rooms may skew your perception.
Step 4: Budget and total cost of ownership
Hardware limiters range widely in price and ongoing cost.
Total cost of ownership includes:
- Purchase price
- High-quality converters (if needed)
- Balanced XLR cables
- Maintenance and repairs
- Recalibration and alignment
Step 5: Research and audition
Before purchasing, gather evidence:
- Professional mastering studios: Research what limiters are used in mastering rooms similar to yours. Check studio websites and interviews with mastering engineers.
- Controlled listening tests: If possible, audition limiters on your own material with matched input and output levels. This prevents level differences from masking tonal character. Use a sound-level meter to ensure output levels are identical across comparisons.
- Used-market assessment: Check availability and pricing on used-gear marketplaces. Some limiters hold value better than others. Vintage optical limiters often appreciate; newer digital limiters depreciate quickly.
- Warranty and support: New gear typically includes warranty; used gear does not. Factor in the cost of potential repairs.
Step 6: Make your decision
Once you've narrowed your options, ask yourself:
- Does this limiter match the material I master most often?
- Does it integrate smoothly with my existing chain?
- Can I afford it and maintain it long-term?
- Is it available in my market (new or used)?
- Does it sound better than the alternative on my material?
If you answer yes to all five, you've found your limiter. If you're uncertain on any point, keep researching or audition more options. The right choice is the one that works in your room, on your material, within your budget, and that you'll use confidently for years to come.
Integrating a Hardware Limiter Into Your Workflow
Your hardware limiter sits at the very end of your mastering chain, after compression, EQ, and any other processing. It's the last thing your audio touches before it leaves the studio.
Insert it into your master bus in your DAW. Route your stereo mix through the limiter, then back into your recording interface. Set your input level so peaks hit around -3 to -6 dBFS into the limiter. This gives it headroom to work without constantly triggering.
Patch your limiter with balanced XLR cables. Use quality cables, they matter more at this stage than anywhere else in your chain. Poor cables introduce noise and coloration that a limiter can't fix.
Set your limiter conservatively. Threshold should sit just above your peak levels. Attack should be 1-5 milliseconds. Release should be 100-200 milliseconds. Start here and adjust based on what you hear.
Monitor your gain reduction meter throughout your mix. Verses should show little to no reduction. Peaks should trigger 1-3 dB maximum. If you're seeing more, lower your input level or raise your threshold.
Test your master on multiple playback systems, headphones, car speakers, earbuds, and professional monitors. A well-set limiter should be invisible. Your master should sound like a louder, cleaner version of your mix, not like something has been processed.
Frequently Asked Questions
What should the master peak level be when using a hardware limiter?
Master peak levels should sit between -1 dB and -0.3 dB on your hardware limiter's output meter, leaving headroom to prevent clipping across streaming platforms and physical media. This ceiling protects against intersample peaks and ensures your mix translates safely to all playback systems. True peak metering accounts for peaks that occur between samples, making it essential for professional mastering limiters.
How much gain reduction should a mastering limiter apply?
Effective mastering limiters typically apply 1-4 dB of gain reduction on peaks, working transparently to control transients without audible pumping or coloration. Gain reduction beyond 4-6 dB signals that your mix needs level adjustment before the limiter, not aggressive limiting. The goal is peak control and loudness maximization while preserving dynamics and punch in your mastering chain.
Is a hardware limiter better than a software limiter for mastering?
Hardware limiters excel at transparent peak control and often introduce desirable analog coloration and saturation that adds depth and clarity to masters. Software limiters offer flexibility and precision but lack the harmonic characteristics of analog processing. Many mastering engineers use both: hardware in the signal chain for sonic character and software for final safety limiting before delivery.
What should I listen for when comparing hardware limiters?
Compare limiters at matched output levels to hear true sonic differences. Listen for transparency (no audible artifacts), how they handle transients and punch, stereo image stability, and whether coloration enhances or degrades clarity. Test with material across genres, vocals, drums, and full mixes, to assess how each limiter responds to different frequency content and dynamic range.