 how-to
How to Get a Professional Sound on a Budget: 2026 Guide
Table of Contents
- Build a Budget Home Recording Setup That Actually Translates
- How to Prepare Stems for Mixing Without Losing Your Vision
- WAV or AIFF for Mastering: Which Format Keeps Your Quality
- The Best Sample Rate for Exporting Audio Before Mastering
- Set Levels and Headroom So Your Mix Engineer Has Room to Work
- Handle Effects, Automation, and Routing Before You Export
- Verify Your Export Before You Send It Off
- Conclusion: Professional Sound Is a Process, Not a Price Tag
- Frequently Asked Questions
Last Updated: October 8, 2026
Build a Budget Home Recording Setup That Actually Translates
You don't need a treated room and a rack of outboard gear to get a professional sound. You need three things: a clean signal, an honest listening source, and files a mastering engineer can actually work with. At LB-Mastering Studios, we've spent decades finishing records for independent artists, and the tracks that translate best almost never come from expensive rooms. They come from setups where the basics were handled with care.
Below, we'll show you exactly what to buy, what to skip, and how to prepare your files so a budget setup still delivers a release-ready result.
The Three Items That Matter Most
Spend your money here first:
- An audio interface with clean preamps and at least two inputs
- A pair of studio headphones you trust, plus one reference track you know well
- A dynamic microphone that suits your voice or instrument
That's it. Those three items shape every decision downstream.
What You Can Skip for Now
Bass traps, a vocal booth, and a rack of analog compressors can all wait. Treat the corner where you track with moving blankets and a rug. Record at night when the house is quiet. Learn your room's weak spots before you spend money fixing them.
How to Prepare Stems for Mixing Without Losing Your Vision
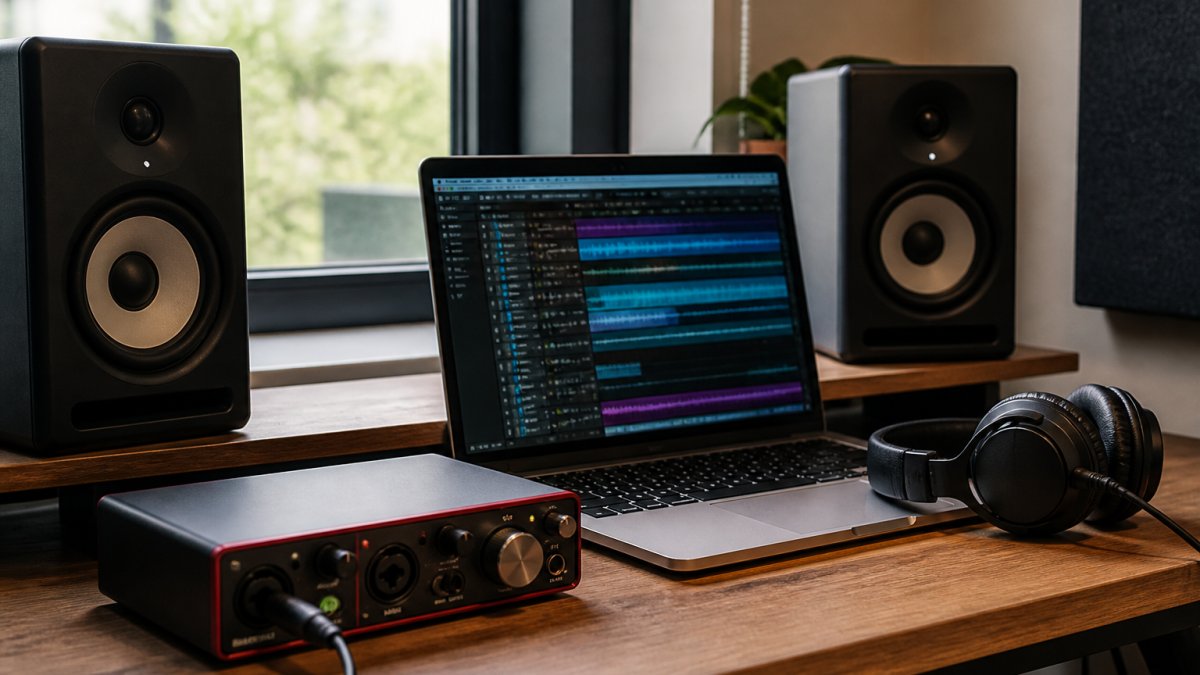
Stems are grouped audio files, one per instrument family, exported so a mix engineer can balance your song without reopening your session. They differ from multitracks, which are the raw individual tracks inside your project. The terms are often used loosely, and sending the wrong deliverable can cost you a revision cycle or a confused email thread. Proper file preparation ensures your technical workflow remains as precise as the process of choosing audio gear for your monitoring environment.
Stems vs. Multitracks: A Decision Guide
Use this table to decide what to send before you export anything.
| Deliverable | What It Contains | Best For | When to Avoid |
|---|---|---|---|
| Stems | Grouped buses (drums, bass, vocals, keys) | Quick balance, budget-friendly mixing, sync licensing | When the mixer needs to fix a single out-of-tune vocal line |
| Multitracks | Every individual track | Full remix, detailed mix work, re-amping | When you want to protect your internal blend |
| Stereo mix | One finished file | Mastering only | When the mixer needs to change the balance |
A common pattern is to send stems for a budget mix and multitracks when you want the engineer to have full control. If you tracked a live drum kit with eight microphones, those eight tracks become one drum stem. If you want the mixer to replace your kick sound, send multitracks.
A DAW-Neutral Export Checklist
Before you touch your export menu, confirm these items:
- Session start point: Set a consistent start time for every file. Many engineers use bar 1 or a specific timecode like 00:00:00:00.
- Tail handling: If a reverb or delay tail extends past the last note, extend the export range to capture it.
- Tempo and key: Note the tempo and key in your file names or a text file. A mixer who knows the song is at 92 BPM in E minor will thank you.
- Mute and solo states: Clear all solos and check that no tracks are muted before export.
- Automation: Render volume, pan, and effect automation into the export. Don't leave it in the session.
- Sidechains and buses: Bounce them down so the balance survives. A sidechained kick and bass will sound different if the mixer doesn't have the same routing.
- External hardware: Print the processed track and keep the dry version as a backup.
Handling Tempo Changes, Automation, and Sidechains
These session-dependent details cause more stem problems than any other issue. If your song has a tempo change, export each section as a separate file or make sure the mixer knows the exact bar numbers. If you used a sidechain compressor on the bass, print the processed bass stem so the pumping effect stays intact. If you used a bus compressor on the drum group, print the drum stem with that compression applied.
The goal is simple: when the mixer plays your stems together, they should sound like your rough mix. If they don't, something got lost in the export.
WAV or AIFF for Mastering: Which Format Keeps Your Quality
WAV is the safer choice for mastering delivery in most studios. AIFF carries identical audio quality, but WAV is more widely accepted by mastering houses and streaming distributors.
Both are uncompressed and lossless. Neither adds artifacts the way MP3 or AAC does. Stick with WAV at 24-bit and you'll never lose sleep over format.
The one exception: if you're on a Mac-only workflow and your engineer requests AIFF, send AIFF. The audio data is the same.
The Best Sample Rate for Exporting Audio Before Mastering
Export at the sample rate your session was recorded in. If you tracked at 48 kHz, deliver 48 kHz. If you tracked at 44.1 kHz, deliver 44.1 kHz.
Upsampling a 44.1 kHz session to 96 kHz adds no information. It just makes bigger files. Downsampling before mastering throws away detail you paid for.
- Record at 44.1 kHz or 48 kHz
- Export at the same rate
- Let the mastering engineer handle any final conversion
Set Levels and Headroom So Your Mix Engineer Has Room to Work
Aim for peaks around -6 dBFS on your stereo mix, with average levels sitting near -18 dBFS. That leaves room for processing without clipping.
Clipping is the one mistake that can't be undone. If your mix peaks at 0 dBFS, distortion is baked into the file forever.
Handle Effects, Automation, and Routing Before You Export
Print your effects the way you want them heard, or send dry files alongside. That choice matters more than most artists realize.
- Reverb and delay: print them if the tail is part of the arrangement
- Automation: render it into the export, don't leave it in the session
- Sidechains and buses: bounce them down so the balance survives
- External hardware: print the processed track and keep the dry version
Verify Your Export Before You Send It Off
Playing the files back is not enough. A proper verification pass catches missing effects, muted tracks, and timing shifts before they reach your mixer. This is the step most artists skip, and it is the one that saves the most time.
The A/B Verification Workflow
Follow these steps in order:
- Re-import the exported files into a fresh session. Do not just listen to the files in a media player. Import them into your DAW on separate tracks.
- Align them to the original session. Place the exported stems at the same start point as your original tracks. If they don't line up, your export range was wrong.
- Polarity-check each stem against its source. Invert the polarity on the exported track and play it against the original. If the sound disappears, the export is identical. If you still hear audio, something changed.
- Listen for missing effects. Solo each stem and compare it to the original bus. A reverb tail that got cut off or a delay that didn't print will be obvious.
- Check for muted tracks. Play all stems together and compare to your rough mix. If a background vocal or percussion part is missing, you'll hear the hole.
- Confirm timing. Listen for flams or phase issues between stems. If the kick and bass don't lock, your export may have shifted.
What to Listen For
- Cut-off tails: Reverb and delay should decay naturally, not stop abruptly.
- Level jumps: Each stem should have consistent levels from start to finish.
- Missing elements: Compare the stem sum to your rough mix. They should match.
- File names: Confirm every file matches your track list and follows a clear naming convention like
SongName_Drums.wav.
A five-minute check saves a week of back-and-forth. It also prevents the most common reason stems get rejected: they don't sound like the session they came from.
File Packaging and Handoff
Once your files pass verification, package them properly:
- Folder structure: Create one folder per song, with subfolders for stems, multitracks, and the rough mix.
- Naming convention: Use
SongName_StemName.wavfor every file. Avoid spaces and special characters. - Metadata: Include a text file with tempo, key, sample rate, bit depth, and any relevant notes about the session.
- Track list: Provide a simple list of what each file contains so the mixer knows what they're working with.
- Secure transfer: Use a service that handles large files and provides a download link. Avoid email attachments for anything over 100 MB.
If you'd rather hand the technical work to someone who does it daily, our stem mastering and album mastering services cover both single tracks and full releases.
Conclusion: Professional Sound Is a Process, Not a Price Tag
Getting a professional sound on a budget comes down to discipline, not gear. Track clean, export correctly, and hand off files your engineer can actually use. That's how a bedroom setup competes with a commercial room.
At LB-Mastering Studios, we help independent artists finish records that hold up on streaming and vinyl alike. Our Latin GRAMMY Award-winning engineer brings 44+ years of experience and premium analog outboard gear to every project. We offer stem mastering, album mastering, and vinyl mastering, plus a free sample master so you can hear the difference before you commit. Book a session with LB-Mastering Studios and hear your music at its full potential.
Frequently Asked Questions
Should I export stems as WAV or AIFF?
Both WAV and AIFF are uncompressed and lossless, so audio quality is identical. WAV is more widely accepted by mastering studios and DAWs on Windows, while AIFF is native to Mac. For maximum compatibility, choose WAV at 24-bit. If your mix engineer specifically requests AIFF, that works too. Avoid MP3 or other compressed formats for stems because they discard audio data and can introduce artifacts that affect the final master.
Should I export at 44.1 kHz or 48 kHz?
It depends on your final destination. For music streaming and CD, 44.1 kHz is standard. For film, TV, or video sync, 48 kHz is the industry norm. If you recorded at 48 kHz, export at 48 kHz to avoid unnecessary conversion. If you recorded at 44.1 kHz, stay there. The key is to match your session rate and avoid sample rate conversion unless your mastering engineer requests otherwise.
How can I make my music sound professional on a budget?
Focus on the fundamentals: a clean recording space, proper gain staging, and a solid mix before mastering. Use free or low-cost plugins for EQ and compression, and learn your monitors or headphones well. When it's time to master, consider professional mastering services, which can elevate a good mix without the cost of a full studio. Many studios offer free sample masters so you can hear the difference before committing.
How do I prepare a song for a mix engineer?
Export consolidated WAV stems starting from the same timeline position (usually bar 1). Label each file clearly (e.g., Kick.wav, Snare.wav, LeadVox.wav). Remove any master bus processing unless requested, and include a rough mix for reference. Keep peak levels around -6 dBFS with no clipping. Provide tempo and sample rate details. A clean, organized stem package helps your mix engineer work efficiently and preserves your creative intent.