 how-to
Preparing Podcast Masters for Physical Media Release
Table of Contents
- Understanding Podcast Mastering for Physical Media
- Audio File Formats for Mastering: What You Need to Know
- Stereo Mastering vs. Stem Mastering: Choosing the Right Approach
- Podcast CD Mastering: Technical Requirements and Specifications
- Vinyl Mastering for Podcasts: Unique Considerations
- Step-by-Step Preparation Workflow for Physical Media Masters
- Quality Control Before Sending to the Pressing Plant
- Frequently Asked Questions
Last Updated: October 6, 2026
Understanding Podcast Mastering for Physical Media
Preparing podcast masters for physical media release requires a different approach than streaming.
The core difference lies in headroom, frequency response, and manufacturing. At LB-Mastering Studios, the most common mistake we see is treating the master the same way you would for Spotify or Apple Podcasts.
Your podcast audio needs to meet specific loudness, dynamic range, and technical tolerances before it reaches the pressing plant, not just to sound good, but to ensure manufacturing reproduces it correctly.
Audio File Formats for Mastering: What You Need to Know
The file format you send to mastering directly impacts what the engineer can do, some formats introduce artifacts that become permanent once pressed.
Best formats to use:
- WAV (24-bit, 48 kHz or higher), The industry standard for mastering. Preserves all audio information without compression.
- AIFF (24-bit, 48 kHz or higher), Equivalent to WAV, commonly used in professional studios. Either WAV or AIFF works equally well.
- MP3 or compressed formats, Avoid sending these. Compression removes data that cannot be recovered during mastering.
A 24-bit file at 48 kHz gives the mastering engineer room to work; 44.1 kHz is also acceptable.
The engineer handles sample rate conversion: CD masters end at 44.1 kHz, 16-bit; vinyl specs typically stay in the 44.1 kHz range.
File naming matters too. Use clear names like "Podcast_Episode_42_Master_v1.wav" rather than "final_FINAL_REAL.wav" to help the engineer track versions.
Stereo Mastering vs. Stem Mastering: Choosing the Right Approach
Stereo mastering takes your finished mix, one interleaved stereo file, and optimizes it for the target format with EQ, compression, and limiting.
Stem mastering breaks the mix into a few submixes, processes each independently, and sums them back into a stereo master, usually three to five stems.
Useful stem groups for spoken-word content:
- Dialogue, host and guest voices, including any compression, de-essing, or gating you already committed in the mix.
- Music beds, intro, outro, and underscore, kept as one stereo stem.
- Ambience and room tone, the background layer that gives the episode a sense of place.
How to export stems without breaking the mix:
- Solo each group and export through the same master bus processing, or bypass it entirely. Pick one method for every stem.
- Keep the same sample rate, bit depth, and start time (00:00:00) for every stem so they line up when summed.
- Apply no additional limiting, normalization, or fades. Leave headroom, peaks around -6 dBFS.
- Label each file clearly:
Episode_42_DIALOGUE.wav,Episode_42_MUSIC.wav,Episode_42_AMBIENCE.wav,Episode_42_SFX.wav. - Include a stereo reference mix for A/B comparison.
When stems are worth it:
- The music bed fights the dialogue and can't be fixed without ducking the whole mix.
- Room noise or HVAC hum needs frequency-specific reduction.
- You expect revisions, a sponsor read to swap, a music cue to change, a guest's level to lift.
When stereo is enough:
- The episode is mostly two voices with a light music bed.
- The mix is balanced and no content changes are expected.
- Budget or turnaround rules out stem-prep work.
Rule of thumb: if the fix is "turn the music down" or "lift the guest," stems earn their keep.
Limitations:
- Summing stems can change the sound if any stem used different master-bus processing.
- More files means more chances for a naming or start-time error.
- Stem mastering costs more because the engineer processes multiple elements.
For physical media, a pressing plant cannot re-cut a bad master.
Podcast CD Mastering: Technical Requirements and Specifications
CD mastering for podcasts requires meeting technical standards the pressing plant enforces, ensuring your audio manufactures correctly and plays back on all CD players.
Key CD mastering specifications:
- Loudness: Target -14 LUFS (Loudness Units relative to Full Scale) for podcasts. This is lower than music CDs but appropriate for spoken word content where intelligibility matters more than perceived loudness.
- True Peak: Keep true peak levels at -1 dB or lower. This prevents digital clipping and ensures compatibility with all playback systems.
- Headroom: Maintain at least 1 dB of headroom above your loudest peaks. This gives the pressing plant margin for error during manufacturing.
- Frequency Response: Ensure your master sits well between 20 Hz and 20 kHz. Most pressing plants check this during quality control.
The mastering engineer applies limiting as a safety ceiling that catches the loudest moments without affecting overall dynamic character, preserving the natural flow of speech and music.
Vinyl Mastering for Podcasts: Unique Considerations
Vinyl mastering for podcasts involves technical considerations that don't apply to CDs or streaming.
Vinyl-specific mastering requirements:
- Low-frequency content: Vinyl masters need careful management of bass frequencies. Excessive low-end energy can cause the stylus to jump during playback. The mastering engineer typically rolls off frequencies below 40 Hz or applies careful EQ to prevent tracking issues.
- Stereo separation: Vinyl has limits on how much stereo width you can achieve, especially in the low frequencies. The engineer manages stereo imaging to ensure reliable playback.
- Dynamic range: Vinyl tolerates more dynamic range than CDs. You don't need to compress as heavily, which means your podcast can maintain more of its natural dynamics.
- Loudness targets: Vinyl masters typically sit around -6 to -8 LUFS, lower than CD masters. This gives the cutting lathe room to work and ensures the physical pressing reproduces cleanly.
Vinyl mastering requires a different mindset than CD mastering: you're optimizing for reliable physical manufacturing and turntable playback, not maximum loudness, often yielding a more dynamic, natural-sounding master.
The pressing plant provides specifications for your vinyl format (12-inch LP, 7-inch single, etc.), which influence the engineer's approach. LB-Mastering Studios understands these requirements across formats.
Step-by-Step Preparation Workflow for Physical Media Masters
Step 1: Prepare the source mix (1-2 hours)
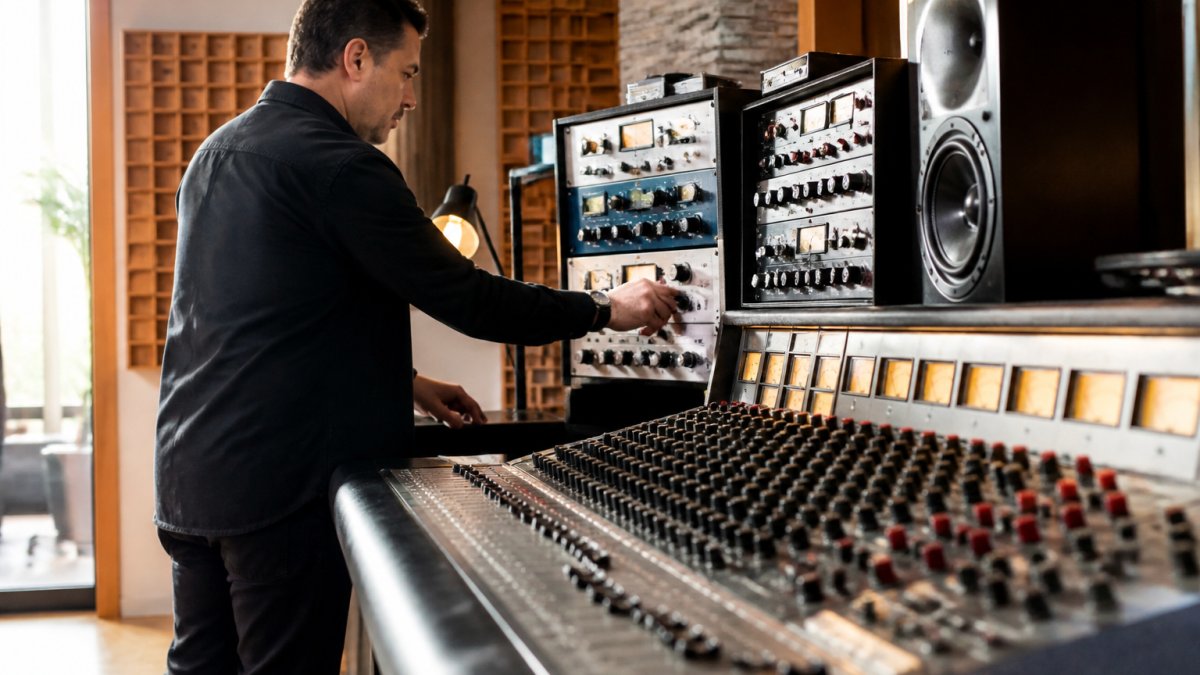
Export your final mix as a 24-bit WAV at your session's native sample rate, leaving 1-2 seconds of silence at the head and tail to avoid boundary clipping. Run a dialogue pass first:
- Plosives, check for pops on P, B, and T sounds. A high-pass filter around 80-100 Hz on the voice channel usually tames them without thinning the voice.
- Sibilance, listen for harsh S sounds. A de-esser set to the 5-8 kHz range is the standard fix.
- Room noise, HVAC, computer fans, and street noise sit under the voice. Note where they are loudest so the mastering engineer knows what to watch for.
- Level variation, if the host and guest are 6 dB apart in average level, flag it. The engineer can ride the dialogue stem, but knowing the intent helps.
Step 2: Check mix levels and headroom (30 minutes)
Step 3: Export stems if you are using stem mastering
Follow the grouping and export rules above.
Step 4: Organize the handoff folder
Create one folder per episode. Inside it:
- The stereo reference mix.
- Each stem, named by group.
- A plain-text readme with episode title, runtime, target format (CD, vinyl, or both), and any content notes, heavy music, layered effects, a sponsor read that may change.
Step 5: Communicate goals and reference tracks (15 minutes)
Step 6: Send the files
Use the studio's preferred transfer method. Large WAV sets are common; do not email them.
Step 7: Review the master (1-2 hours)
Listen on your best system and at least one secondary system.
Step 8: Request revisions and approve
Most engineers include revision rounds. Common spoken-word revisions are music-bed level, dialogue clarity, and low-end tightening.
Loudness and true-peak targets by format:
- CD (spoken word): around -14 LUFS integrated, true peak at or below -1 dBTP.
- Vinyl: typically -6 to -8 LUFS, with low-frequency management below 40 Hz to prevent tracking issues.
- Streaming (if the same master is reused): most platforms normalize to roughly -14 LUFS, so a -14 LUFS master travels well.
These are mastering targets, not compliance rules.
Handoff checklist before the pressing plant:
- Sample rate and bit depth match the format spec (44.1 kHz / 16-bit for CD).
- True peak verified with a true-peak meter, not a sample-peak meter.
- Loudness measured with a calibrated LUFS meter.
- File names consistent and free of spaces or special characters.
Common stem-summing errors to catch:
- A stem exported with the master-bus limiter still engaged, which makes the sum louder and squashed.
- One stem starting a few milliseconds late, which smears transients when summed.
- A music stem normalized to 0 dBFS, which leaves no room for the dialogue to sit on top.
- Missing ambience stem, which makes the dialogue sound dry and disconnected once the music is lowered.
Once the master passes these checks, it is ready for manufacturing. The same discipline that keeps a podcast clean on streaming keeps it clean on a pressed disc or vinyl side.
Quality Control Before Sending to the Pressing Plant
Before your master reaches the pressing plant, quality control checks ensure everything meets specifications.
Technical verification checklist:
- Loudness measurement: Verify your master meets the target LUFS for your format using a calibrated loudness meter. -14 LUFS for CD, -6 to -8 LUFS for vinyl.
- True peak analysis: Confirm true peak levels stay at or below -1 dB. Use a true peak meter, not standard peak meters, which can miss inter-sample peaks.
- Frequency analysis: Check that your master has balanced frequency response without unexpected dips or peaks. A spectrum analyzer helps visualize this.
- Listening test: Play your master on multiple playback systems. Listen for any artifacts, distortion, or clarity issues that didn't appear during mastering.
The mastering engineer typically performs these checks, but your own verification prevents surprises at the pressing plant.
Common issues caught during QC:
- Clipping or distortion at peaks (true peak violations)
- Unexpected frequency imbalances
- Metadata errors that affect pressing plant workflows
- File format problems or corruption during transfer
Catching these before manufacturing saves time and money, the pressing plant rejects non-compliant masters, requiring corrections from the mastering engineer.
Physical media releases require precision that streaming doesn't demand.
Working with an experienced mastering engineer ensures your podcast meets all technical specifications while maintaining the sonic character you want. At LB-Mastering Studios, we specialize in preparing masters across all formats, CD, vinyl, and stem mastering for podcasts, and understand the unique demands of spoken-word content. Book a session with us to discuss your podcast's mastering needs and get your physical release ready for production.
Frequently Asked Questions
What audio format should I send for podcast CD mastering?
Send uncompressed WAV files at 44.1 kHz, 16-bit resolution for CD mastering. This matches the Red Book standard that pressing plants require. If your podcast was recorded at a higher sample rate, the mastering engineer will handle the conversion. Avoid MP3 or compressed formats, as they degrade audio quality during the mastering process. Stereo mixes should be properly labeled, and any stems should be clearly organized by episode or segment.
Does a podcast need different mastering for CD and vinyl?
Yes. Vinyl mastering requires specific adjustments: reduced low-end content to prevent groove modulation, careful mono compatibility for the center channel, and limiting of peak levels to prevent stylus jumping. CD mastering focuses on loudness optimization and frequency balance for digital playback. If you're releasing on both formats, plan separate mastering sessions. Some mastering engineers create a vinyl-specific master and derive the CD version from it, ensuring physical and digital versions maintain sonic consistency while respecting each format's technical demands.
How do I know if my podcast master is ready for the pressing plant?
Check that your master file meets the plant's specifications: correct sample rate and bit depth, true peak levels within acceptable limits (typically -1 dB or lower), proper loudness metering (LUFS targets vary by format), and headroom for playback on different systems. Listen on multiple playback systems, studio monitors, headphones, car stereo, and consumer speakers. Verify that dialogue is intelligible, music beds sit at appropriate levels, and no clipping or distortion occurs. Request a reference master from your mastering engineer and compare it against your mix to confirm improvements in tonal balance and dynamics control.
What's the difference between stem mastering and stereo mastering for podcasts?
Stereo mastering works with a single stereo mix file, applying processing across the entire mix. Stem mastering breaks your podcast into separate elements, dialogue, music bed, sound effects, background ambience, allowing the mastering engineer to process each group independently. For spoken-word content, stem mastering provides greater control over vocal clarity and intelligibility. You can adjust dialogue levels, EQ, and compression separately from music, ensuring consistent vocal presence across episodes. Stereo mastering is faster and less expensive but offers less flexibility if dialogue needs isolated attention or if you want creative control over mix balance.