
 how-to
How to Check Mix Balance Before Mastering
Table of Contents
- Why Mix Balance Matters Before Mastering
- Prepare Your Mix and Set Headroom Before Mastering
- Create a Mix Balance Checklist for Systematic Review
- How to Use Reference Tracks for Mixing
- Check Mix on Different Speakers and Playback Systems
- Common Mix Balance Issues and How to Fix Them
- When to Send Your Mix for Professional Mastering
- Frequently Asked Questions
Last Updated: October 5, 2026
Why Mix Balance Matters Before Mastering
A poorly balanced mix will reveal every flaw once it hits a mastering engineer's ears. Bass that drowns out vocals. Drums that sit too far back. Highs that bite. These problems don't disappear during mastering, they get amplified.
At LB-Mastering Studios, we see mixes arrive every week that sound great on the artist's headphones but fall apart on studio monitors. The artist spent weeks crafting the track.
This is where you need to check mix balance before mastering becomes essential. You're not trying to master your own work.
The difference between a mix that's ready and one that isn't often comes down to one thing: did you listen on multiple systems, or just your headphones?
Prepare Your Mix and Set Headroom Before Mastering
Your mix needs breathing room before it reaches mastering. Headroom is the space between your loudest peak and the point where digital clipping occurs. Without it, a mastering engineer has nowhere to work.
Gain Staging and Peak Levels
Start by checking your peak levels. Your mix should hit around -3dB to -6dB on your master fader. This gives a mastering engineer roughly 3-6dB of headroom to work with.
Peak levels matter, but they're not the whole story. A mix can have plenty of headroom and still sound compressed or lifeless.
Check your master fader. If it's sitting at -12dB or lower, your gain staging is off. Bring individual track levels up so your master fader runs closer to unity (0dB).
Watch for inter-sample peaks. Your DAW's meter might show -3dB, but true peak levels can exceed what the meter displays. Use a true peak meter plugin to catch these invisible peaks.
Dynamic Range and Compression
Excessive compression kills dynamic range. Many home studios compress everything, drums, bass, vocals, even the master bus, trying to make the mix sound "professional." The result is a flat, lifeless track.
Pull back on compression before sending to mastering. Ask yourself: does this track need that compressor? Most vocals benefit from gentle compression. Most drum buses do too.
Check your master bus compression. If you're using a compressor there, make sure it's subtle. A gentle ratio like 2:1 or 3:1 with slow attack and release is fine.
Dynamic range is what makes music breathe. Preserve it where possible. A mastering engineer can always compress further if needed, but they can't restore dynamics you've already destroyed.
Create a Mix Balance Checklist for Systematic Review
The best way to check mix balance is to follow a repeatable process. This keeps you from missing issues and helps you spot problems you'd otherwise overlook.
Use this checklist every time you prepare a mix for mastering:
- Listen on studio monitors in a treated room for at least 30 minutes
- Switch to headphones and listen for 15 minutes
- Play a reference track at the same loudness level
- Check bass response on multiple systems
- Verify vocals sit in the right spot relative to instrumentation
- Scan for any frequency buildup or harshness
- Confirm stereo width feels natural, not exaggerated
- Test mono compatibility by collapsing to mono
- Check for phase issues between stereo tracks
- Verify peak levels and true peak values
- Listen in a car or on phone speakers
- Take a break, come back with fresh ears
This isn't something you do once. You do it multiple times over several days. Your ears adapt to your mix. Fresh ears catch problems you've stopped hearing.
Frequency Balance: Bass, Mids, and Treble
Bass is where most mixes fail. It's hard to judge on small speakers or headphones. Many artists either bury the bass or make it overwhelming.
Listen to your bass on multiple systems. On your studio monitors, it should feel present but not dominant. On headphones, it should be clear but not fatiguing.
The midrange is where the bulk of your mix lives. This is where vocals, snare, guitars, and most instruments sit.
Treble adds air and clarity. But too much treble causes fatigue. If your mix sounds harsh or brittle on headphones, pull back slightly on the top end.
Use your ears first, then confirm with your eyes. A spectrum analyzer can show you frequency imbalances, but don't rely on it alone.
Stereo Image and Mono Compatibility
Stereo width should feel natural. Many mixes suffer from excessive stereo spread, drums too wide, synths panned hard left and right. This causes phase issues and translation problems.
Check your mix in mono by collapsing all tracks to center. Does it still sound good? If bass disappears or vocals become thin, you have a phase problem.
Mono compatibility matters because many listeners use mono playback. Earbuds, phone speakers, and some car systems collapse stereo to mono. If your mix sounds significantly different in mono, fix it before mastering.
A simple test: pan your stereo mix hard left, then hard right. Both sides should sound balanced. If one side is noticeably louder, adjust individual track panning.
How to Use Reference Tracks for Mixing
A reference track is a professionally mastered song in your genre that you use as a comparison point. It shows you what a balanced mix in your style should sound like.
Pick a reference track that matches your song's energy, instrumentation, and style. Don't use a track from a completely different genre. The goal is to match the general balance, not copy the exact sound.
Level Matching Your Reference
This is critical: match the loudness of your mix to your reference before comparing. If your mix is quieter, it will sound thinner and less balanced. If it's louder, it will sound better than it actually is.
Use a loudness meter to match LUFS values. Your mix should hit roughly the same loudness as your reference. Most modern masters sit around -14 LUFS to -10 LUFS depending on genre.
Match the loudness, then compare. Does your bass feel similar? Does your vocal sit at the same level relative to the drums? Are the highs equally present?
A/B Comparison Workflow
Set up your DAW so you can quickly switch between your mix and your reference. Load your reference track on a separate track or in a separate project.
Listen to 30 seconds of your reference. Then switch to your mix for 30 seconds. Go back and forth several times. This trains your ear to spot differences.
Take notes on what you hear. "Bass feels thinner than reference." "Vocal is too far back." "Drums lack punch." Then make small adjustments and repeat.
Don't obsess over matching the reference exactly. Your mix should have its own character. The reference is a guide, not a target to copy perfectly.
Check Mix on Different Speakers and Playback Systems
Your mix needs to translate across playback systems. What sounds balanced on your monitors might sound completely different on headphones, car speakers, or earbuds.
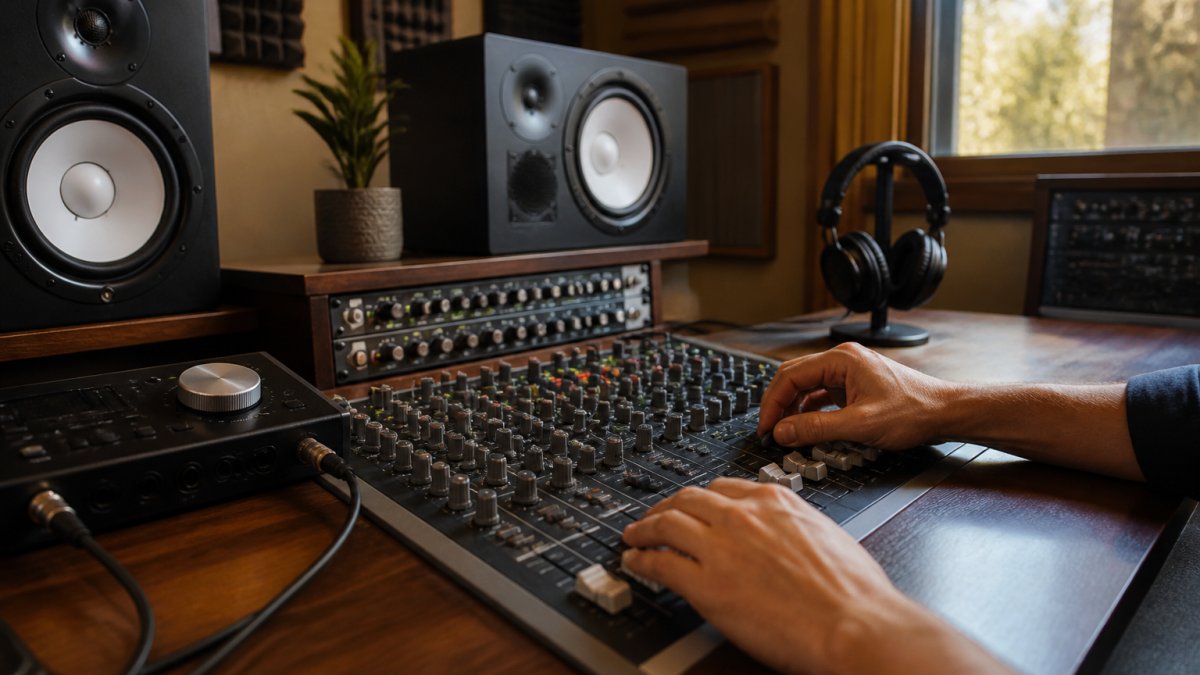
Studio Monitors vs. Headphones
Studio monitors show you what's actually in your mix. Headphones add coloration and can exaggerate stereo width. Both are essential for checking balance.
On monitors, listen for overall balance. Does everything sit at the right level? Is the low end tight or boomy? Are the highs clear or harsh?
On headphones, listen for detail. Can you hear every vocal layer? Does the snare cut through? Headphones often reveal problems that monitors miss because they isolate each ear.
Spend at least 30 minutes on monitors and 15 minutes on headphones. Your ears adapt quickly, so the first few minutes of listening are the most important.
Real-World Translation Testing
After monitors and headphones, test on other systems. This is where many mixes fail.
Listen on phone speakers. This is how many people consume music. If your mix sounds thin or bass-heavy on a phone, it's a problem.
Listen in a car. Car acoustics are notoriously colored, but they're also how many people hear music. If your vocals disappear in a car, something's wrong.
Listen on a cheap Bluetooth speaker. If your mix falls apart on low-quality playback, it's too dependent on high-end equipment.
The goal isn't to make your mix sound good on every system. The goal is to ensure nothing breaks. Your mix should sound recognizable and balanced on all of them.
Common Mix Balance Issues and How to Fix Them
Most mix balance problems fall into a few categories. Knowing what to listen for speeds up the fixing process.
Vocals too loud or too soft. This is the most common issue.
Bass drowning out other elements. Bass consumes a lot of headroom.
Muddy midrange. Too much energy between 200Hz and 2kHz creates a cloudy, unfocused mix.
Harsh or fatiguing highs. If your mix sounds brittle or causes ear fatigue, the top end is likely too bright.
Thin or weak drums. Drums should anchor your mix. If they sound small or distant, check your levels and compression.
Stereo image too wide. Excessive stereo spread causes phase problems and translation issues. Narrow your stereo image slightly.
When to Send Your Mix for Professional Mastering
You've checked your mix balance on multiple systems. You've fixed obvious problems. Now it's time to decide: is it ready for mastering?
Your mix is ready when it sounds balanced across all playback systems, has proper headroom, and no obvious technical issues. It doesn't need to be perfect.
What your mix shouldn't have: clipping, excessive compression, obvious phase issues, or frequency imbalances that jump out immediately.
One final check before sending: export a clean stereo file with -3dB to -6dB headroom. Use a lossless format like WAV.
Getting your mix balance right before mastering saves time and money. It also ensures your mastering engineer can focus on what they do best: optimizing loudness, translation, and format-specific details.
When you're ready to finalize your track, LB-Mastering Studios provides professional analog mastering with world-class equipment and over 44 years of industry experience. Our team can handle CD, stem, and vinyl mastering, ensuring your music translates perfectly across all playback systems and streaming platforms. Book a session to get a free sample master and see how professional mastering transforms your work.
Frequently Asked Questions
What dB level should my mix be at before mastering?
Your mix should have adequate headroom, typically leaving 3-6 dB of space below 0 dBFS on the master fader to prevent clipping during the mastering process. Peak levels should sit around -6 dB to -3 dB, with true peak meters showing no peaks above -1 dB. This gives the mastering engineer room to work with compression, limiting, and EQ without the mix hitting a hard ceiling. Check your levels on a calibrated metering tool to ensure consistency across your entire mix.
How should I use reference tracks to check my mix balance?
Select a professionally mastered track in the same genre as your mix. Import it into your DAW on a separate track and match its loudness to your mix using a metering plugin, aim for within 1 dB of LUFS or RMS. Solo your mix, listen for 30 seconds, then switch to the reference and listen for 30 seconds. Compare bass presence, midrange clarity, treble detail, and overall dynamic range. Repeat this A/B comparison across multiple frequency ranges and on different playback systems. Take notes on which elements need adjustment in your mix.
What should I listen for when checking my mix on different speakers?
On studio monitors, focus on tonal balance, stereo width, and detail. On headphones, listen for panning, reverb tail, and frequency masking. On small speakers (laptop, phone), check if the bass is present but not boomy, and if vocals and drums cut through clearly. On car speakers, verify that low-end translation is smooth and that no frequencies are exaggerated. If your mix sounds thin on small speakers, your low-end balance may be too bass-heavy. If vocals disappear on headphones, midrange balance needs work. Testing across these systems reveals imbalances that a single playback system would hide.
What is the most important thing to check before sending my mix to mastering?
Check your mix balance by listening on at least two different playback systems and comparing against a professional reference track in your genre. Verify that your headroom is adequate (no clipping, peaks around -6 dB to -3 dB), that your stereo image is balanced, and that no single frequency range dominates. A balanced mix translates well to streaming platforms like Spotify and Apple Music. If your mix sounds drastically different across playback systems, fix the imbalances before mastering, the mastering engineer can enhance a balanced mix, but cannot fix fundamental balance problems.