 how-to
How Stem Mastering Improves Your Mix: A 2026 Guide
Table of Contents
- What Is Stem Mastering and How Does It Improve Your Mix?
- Stem Mastering vs Stereo Mastering: Which One Does Your Mix Need?
- The 4 Core Benefits of Stem Mastering for Your Mix
- How to Prepare Stems for Mastering: A Step-by-Step Guide
- Common Mistakes to Avoid When Sending Stems
- How Much Control Do You Actually Give Up?
- Final Thoughts: Make Your Mix Sound Its Best
- Frequently Asked Questions
Last Updated: September 5, 2026
What Is Stem Mastering and How Does It Improve Your Mix?
Stem mastering is the process of mastering a track from grouped submixes rather than a single stereo mix, giving the engineer independent control over instrument groups like drums, bass, vocals, and music (soundonsound.com). This targeted approach is how stem mastering improves your mix: it allows corrective and creative processing on individual elements without forcing you back into the original session. At LB-Mastering Studios, we've spent over 44 years refining this craft, and the difference it makes in final audio fidelity is substantial.
Think of it this way. A stereo master treats your entire song as one fixed image. Stem mastering splits that image into its component parts, so the engineer can address problems where they actually live. Frequency masking between the kick and the bass, for instance, can be resolved directly on those two stems rather than applying a broad EQ curve to everything.
Below, we'll walk through exactly how this works, when it beats standard mastering, and how to prepare your files so the process runs smoothly.
Stem Mastering vs Stereo Mastering: Which One Does Your Mix Need?
The core difference comes down to control versus cohesion. Stereo mastering processes the full mix through the master bus with a single signal path, which preserves the mix engineer's balance perfectly. Stem mastering routes individual submixes through separate processing, allowing targeted adjustments to dynamic range, frequency balance, and transient response on specific elements.
For most finished mixes, stereo mastering is the right call. It respects the balance you spent weeks building. Stem mastering becomes valuable when your mix has specific issues that global processing can't solve without collateral damage. If the vocal sits slightly buried but the overall mix sounds good, a stem approach lets the engineer add presence to just the vocal group.
The table below summarizes when each approach makes sense:
| Approach | Best For | Trade-off |
|---|---|---|
| Stereo Mastering | Finished, well-balanced mixes | No element-specific control |
| Stem Mastering | Mixes needing targeted fixes | Requires clean, organized files |
A useful rule of thumb: if you're happy with the overall balance and just need technical polish, stereo mastering suffices. If you can hear specific problems tied to particular instruments, stem mastering gives the engineer the tools to fix them.
The 4 Core Benefits of Stem Mastering for Your Mix
Four benefits make stem mastering worth the extra preparation. First, it offers surgical correction that preserves the rest of your mix. Second, it provides genuine creative flexibility during the mastering stage. Third, it lets the engineer balance dynamic range with far more precision. Fourth, it often yields a louder, cleaner master because gain staging can be optimized per group rather than across the whole program.
The real advantage is that stem mastering bridges the gap between mixing and mastering. You get mastering-grade ears and gear applied to individual elements, not just the summed result. This is why many producers send stems when they want the final master to feel polished without sacrificing the character they built into each instrument group.
Fix Frequency Masking Without Remixing
Frequency masking happens when two instruments occupy the same sonic space, and one gets buried. Common examples include kick drum versus bass guitar, or vocals versus cymbals. In a stereo master, the engineer can only apply broad EQ curves that affect everything sharing that frequency range.
With stems, the fix is direct. The engineer can carve space in just the bass stem to let the kick's transient through, or add presence to the vocal stem without brightening the entire mix. This element-specific EQ is the single most practical way stem mastering improves your mix when masking is the problem. You avoid reopening the session and rebalancing, which saves time and preserves the creative decisions you already made.
Balance Dynamic Range With Precision
Compression on a full stereo mix affects every element equally, which can pump or dull the overall program. Stem mastering allows different compression ratios per group. Drums might receive tighter buss processing to control transients, while the music stem gets gentler treatment to retain its natural dynamics.
This precision matters for the final loudness target. Modern streaming platforms expect consistent levels, and per-stem compression lets the engineer achieve that without crushing the life out of the track. The result is a master with strong peak levels and RMS that translates well across playback systems.
How to Prepare Stems for Mastering: A Step-by-Step Guide
Proper preparation is the single biggest factor in whether stem mastering succeeds. Sloppy files limit what's possible, no matter how skilled the mastering engineer. This section goes beyond the generic 'export stems' advice you'll find elsewhere, focusing on the technical anxiety of file prep that most guides overlook. Here is the workflow we recommend at LB-Mastering Studios for sending stems.
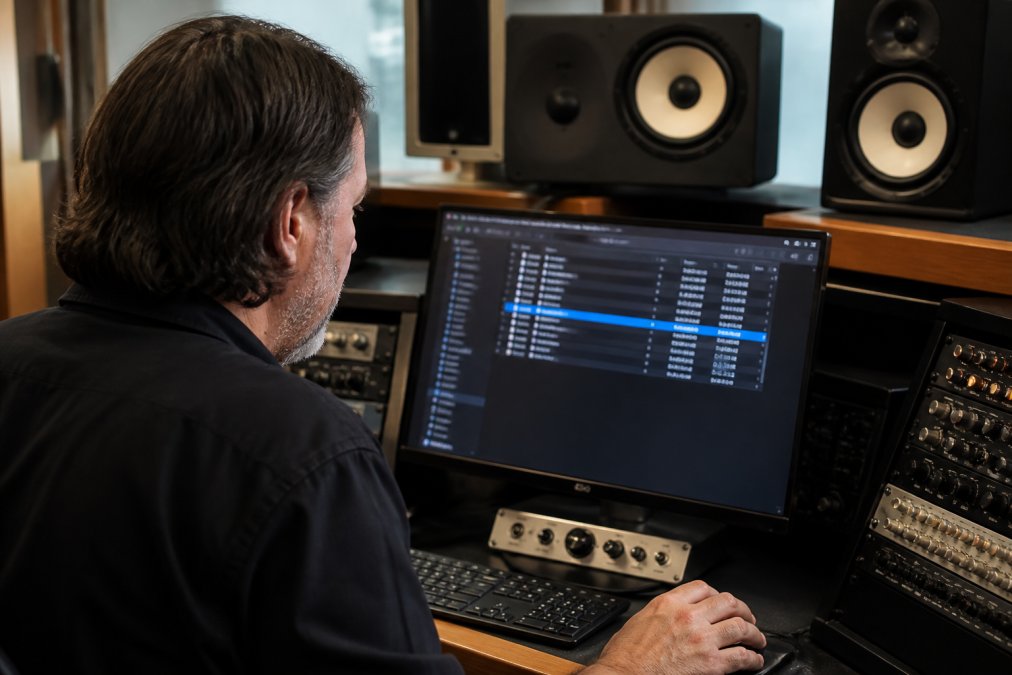
- Bounce stems from your session with all insert effects printed but bus compression and limiting removed. This gives the mastering engineer the raw elements to work with.
- Export at the session's native sample rate and bit depth rather than downsampling early. If your session is 48 kHz/24-bit, send that. Converting to 44.1 kHz before mastering introduces unnecessary artifacts.
- Leave headroom on each stem, aiming for peaks around -6 dBFS or lower. This prevents inter-sample peaks from clipping when the stems are summed.
- Include a reference stereo mix of the full song so the engineer hears your intended balance. This is your 'truth' file.
- Name files clearly and consistently and organize them in a dedicated folder. This is where most sessions fall apart.
- Provide a brief note on the creative direction, loudness goals, and any specific concerns.
File Naming and Organization That Engineers Appreciate
Clear naming prevents errors and speeds up the session. A standardized convention is not just polite; it's a professional necessity. Use a consistent format like ArtistName_TrackTitle_StemType.wav for every file. For example, TheBand_RadioSong_Drums.wav. Avoid vague names like Audio 1 or Final_Export_v3.
Label drum groups specifically. Instead of just "Drums," use "Drums Kick," "Drums Snare," "Drums Room," or "Drums Overheads" depending on how many submixes you send. The engineer should never have to guess what a file contains. This level of clarity is a differentiator that top studios look for.
Include both dry stems and wet stems when reverb or delay is an integral part of the sound. Some engineers prefer to add their own effects, while others want your creative processing intact. When in doubt, send both versions labeled clearly (e.g., Vocals_Dry.wav and Vocals_Wet.wav) and note your preference in the session notes. This dual-delivery approach is a practical solution to a common dilemma.
Export Settings That Preserve Your Mix
Export stems as interleaved WAV files at the highest sample rate and bit depth your session supports (avid.com). Avoid MP3 or other lossy formats entirely. If your session runs at 48 kHz, send 48 kHz stems; don't convert to 44.1 kHz until the final master, since conversion can introduce artifacts.
Turn off any master bus processing, including limiters and maximizers, before bouncing stems. You want the raw elements so the mastering engineer has full control over the final dynamics and loudness. high performance audio.
Also check that all stems start at the same point in the timeline and are exactly the same length. This is critical for preserving phase alignment across groups. A common issue arises when stems are bounced with different plugin delay compensations, causing comb filtering when summed. To avoid this, always bounce stems from the same session with delay compensation engaged. A quick null test, summing the stems and inverting the phase against your stereo mix, will reveal any phase issues immediately. If the result is silence, your stems are phase-coherent.
By following these detailed preparation steps, you give the mastering engineer the best possible chance to improve your mix without introducing new problems. This is the practical, technical foundation that separates a professional stem mastering session from a frustrating one.
Common Mistakes to Avoid When Sending Stems
Even with a solid understanding of the process, engineers often stumble on a few recurring pitfalls. Avoiding these mistakes is just as important as following the correct preparation steps. Here’s a deeper look at the most common errors, the mechanisms behind them, and how to prevent them.
The Perils of Over-Processing on the Master Bus
The most frequent error we see is clipping. If individual stems peak above 0 dBFS, they carry distortion into the mastering session that cannot be removed. This is not just about the peak meter; it's about inter-sample peaks that can occur during D/A conversion. Check peak levels on every stem before exporting and reduce gain if needed. A good rule of thumb is to leave at least 6 dB of headroom.
A related mistake is leaving bus compression or limiting on the master fader when bouncing stems. This 'glues' the mix together in a way that is baked into each stem, making it impossible for the mastering engineer to rebalance or apply dynamic control to individual elements without fighting your bus processing. Always bounce stems with the master fader at unity gain and no processing inserted.
Phase Alignment: The Silent Killer of Low End
Phase alignment issues arise when stems are bounced with different plugin delay compensations. This causes comb filtering when the groups are summed back together, which can severely weaken the low end and create a hollow, phasey sound. The mechanism is simple: if the kick drum stem and the bass stem are not perfectly sample-aligned, their waveforms will partially cancel each other out when summed.
To avoid this, always bounce stems from the same session with delay compensation engaged. Do not bounce stems from separate sessions or with different plugin chains active. After bouncing, perform a null test: sum all stems in a new session, invert the phase of your reference stereo mix, and play them together. If the result is silence (or near-silence), your stems are phase-coherent. If you hear a lot of residual sound, you have a phase problem that needs to be fixed before sending.
The 'Too Many Stems' Trap
Another mistake is sending too many stems. A reasonable stem set is five to eight groups: drums, bass, vocals, music, and maybe a few extras like effects or backing vocals. Sending 30 individual tracks defeats the purpose of mastering and creates more opportunities for phase and level problems. It also shifts the role from mastering to mixing, which is not what a mastering engineer is for.
Stem mastering is about giving the engineer control over groups of instruments, not individual tracks. If you need to fix a problem with a single snare drum hit, that's a mix issue, not a mastering issue. Stick to the core groups and let the mastering engineer do their job.
Ignoring the Reference Mix
Finally, a common mistake is failing to provide a reference stereo mix. This is your 'intent' file. It tells the mastering engineer what the overall balance should sound like. Without it, the engineer is working blind, guessing at your creative vision. Always include a high-quality reference mix, even if you think your stems are perfect. It is the single most important piece of context you can provide.
By understanding the mechanisms behind these common mistakes, you can avoid them and ensure your stem mastering session is productive and successful. The goal is to give the engineer clean, well-organized, phase-coherent files that allow them to focus on the art of mastering, not the technicalities of file repair.
How Much Control Do You Actually Give Up?
A common worry is that stem mastering means surrendering creative control. In practice, the opposite is true. You decide which groups to send and how they're balanced before the stems leave your session. The mastering engineer works within the structure you provide.
What you gain is a second set of expert ears on individual elements. A Latin GRAMMY Award-winning engineer with decades of experience can hear problems you may have missed after weeks of listening fatigue (audiology.org). The key is finding an engineer who communicates clearly and respects your vision. At LB-Mastering Studios, we treat stem mastering as a collaboration, not a takeover. We'll discuss the approach before touching your files, and you'll hear the results before any final decisions are made.
Final Thoughts: Make Your Mix Sound Its Best
Stem mastering offers a powerful middle ground between a full remix and a standard stereo master. It gives you the ability to fix specific problems, balance dynamics with precision, and add creative polish, all without reopening your session. The trade-off is the preparation work, but clean, organized stems make the entire process faster and more effective.
If you're hearing issues in your mix that a standard master can't solve, stem mastering is worth serious consideration. Our team at LB-Mastering Studios offers professional stem mastering alongside single song, album, and vinyl mastering, all handled by an engineer with over four decades of experience and a track record of chart-topping releases. A free sample master lets you hear the difference before committing. Book a session and give your mix the finishing it deserves.
Frequently Asked Questions
Is stem mastering better than traditional stereo mastering?
Stem mastering is not universally better; it depends on the mix. If your stereo mix has frequency masking between the bass and kick, or vocals that sit slightly behind the music, stem mastering offers the precision to fix those specific elements. A well-balanced stereo mix can sound just as polished with standard mastering. The choice comes down to whether your mix has issues that require isolated processing on instrument groups.
Does stem mastering change the balance of my mix?
A skilled engineer preserves the balance you created. The advantage of stem mastering is that your original mix balance remains intact while the engineer works on submixes like drums or vocals. This differs from a full remix, where individual tracks are moved. Think of it as polishing each instrument group without rearranging the furniture.
How do I prepare my project for stem mastering?
Export your stems at the same sample rate and bit depth as your original session, typically 24-bit or higher. Create dry stems without your master bus plugins, and provide a separate stereo mix reference. Use clear naming conventions like '01_Kick' or 'Vocals_Dry' so the engineer knows exactly what each file contains. Include a rough mix of your track so the engineer can hear your intended balance.
Can stem mastering fix a bad mix?
Stem mastering can improve a mix, but it cannot fix fundamental issues like poor recording quality or badly balanced instruments. If your mix has serious problems, you'll get better results from a remix. Stem mastering excels at addressing subtle frequency conflicts, controlling dynamics on specific instrument groups, and adding the final polish that takes a good mix to a professional level.
This article was written using GrandRanker