
 how-to
Fix Mix Translation Issues: Studio to Car & Headphones
Table of Contents
- Why Your Mix Sounds Different on Every Playback System
- How to Use Reference Tracks for Mixing and Translation Testing
- Common Mixing Mistakes That Ruin Translation
- Checking Your Mix on Multiple Playback Systems
- Room Acoustics and Monitoring Environment Impact
- Technical Tools for Better Mix Translation
- When to Bring in Professional Mastering for Mix Translation
- Frequently Asked Questions
Last Updated: September 24, 2026
Why Your Mix Sounds Different on Every Playback System
Your mix sounds incredible in your studio. The low end sits perfectly. The vocals cut through. The stereo imaging feels wide and immersive. Then you listen in your car, and everything falls apart. The bass is either booming or gone. The vocals disappear into the mix. The width collapses to mono.
These mix translation issues are among the biggest frustrations independent artists face. At LB-Mastering Studios, we work with producers who encounter this problem constantly. The core issue isn't your mixing skill. It's that your monitoring environment doesn't match the environments where listeners actually hear your music.
Most people listen on car stereos, earbuds, laptop speakers, and phone speakers. None of these sound like your studio. Your studio has treated acoustics, near-field monitors, and acoustic treatment designed to reveal problems. Consumer playback systems are designed for convenience, not accuracy.
The solution isn't to mix on bad speakers. It's to understand how your mix will translate across different systems and optimize for that translation from the start.
How to Use Reference Tracks for Mixing and Translation Testing
Reference tracks are your most powerful tool for mix translation. A reference track is a professionally mixed and mastered song in the same genre as your track. You use it as a benchmark to check whether your mix is translating properly.
Here's the process:
- Load a reference track into your DAW alongside your mix
- Play both at the same loudness level using a SPL meter (aim for 85 dB)
- Switch between your mix and the reference on the same playback system
- Listen for differences in bass weight, vocal presence, stereo width, and dynamic range
- Ask: Does my mix feel similar in these areas, or does it fall short?
The critical step is A/B testing on multiple systems. Play your mix and the reference on your car stereo, your headphones, and a cheap Bluetooth speaker. Pay attention to which elements change the most between systems.
Many producers pick the wrong reference track. Choose a song that:
- Is in your exact genre or subgenre
- Was released within the last 3-5 years (loudness standards have shifted)
- Sounds professional on every system you test
- Has similar instrumentation to your track
Don't use a reference that's significantly louder or quieter than your mix. Loudness perception changes how you hear frequency balance and dynamic range. Match the loudness first, then compare the spectral balance.
Common Mixing Mistakes That Ruin Translation
Masking and Frequency Buildup in the Low End
Frequency masking happens when two sounds occupy the same frequency range. They compete for attention, and one gets buried. This is invisible in your treated studio but obvious on small speakers.
The low end is where masking causes the most damage. Your kick drum and bass guitar might sit perfectly in your studio. But on a car stereo or headphones, they muddy together. The listener hears a blurry low-end blob instead of two distinct elements.
The fix is high-pass filtering. Every element that doesn't need sub-bass should get a high-pass filter:
- Drums (except kick): high-pass around 60-80 Hz
- Bass guitar: high-pass around 40-50 Hz
- Vocals: high-pass around 80-100 Hz
- Synths and pads: high-pass around 50-100 Hz depending on the sound
- Guitars: high-pass around 80-120 Hz
High-pass filtering removes the mud without removing the body. Your mix will sound tighter on every system.
Another common mistake is boosting the low end too aggressively during mixing. Your studio monitors might have limited bass response. You compensate by pushing the low frequencies. Then on a system with better bass response (like a car stereo), the low end becomes overwhelming.
Mix at a moderate level. If you feel like you're boosting the low end constantly, your monitoring environment is the problem, not your mix.
Ignoring Mono Compatibility
Mono compatibility means your mix sounds good when played in mono. This seems outdated, but it's critical for translation.
Many small speakers and car stereos sum the stereo image to mono in certain frequency ranges.
Check your mix in mono regularly:
- Pan your mix to mono in your DAW
- Listen to how the vocal, bass, and kick sound
- If elements disappear or sound thin, you have phase issues
- Adjust panning and automation to fix it
Over-Compression and Loss of Dynamic Range
Compression is essential. But too much compression destroys dynamic range. Your mix sounds flat and lifeless on every system.
Checking Your Mix on Multiple Playback Systems
The Car Test Workflow
The car test is the gold standard for checking mix translation. Car stereos have specific acoustic properties: a small enclosed space, reflective surfaces, and bass response that's often exaggerated.
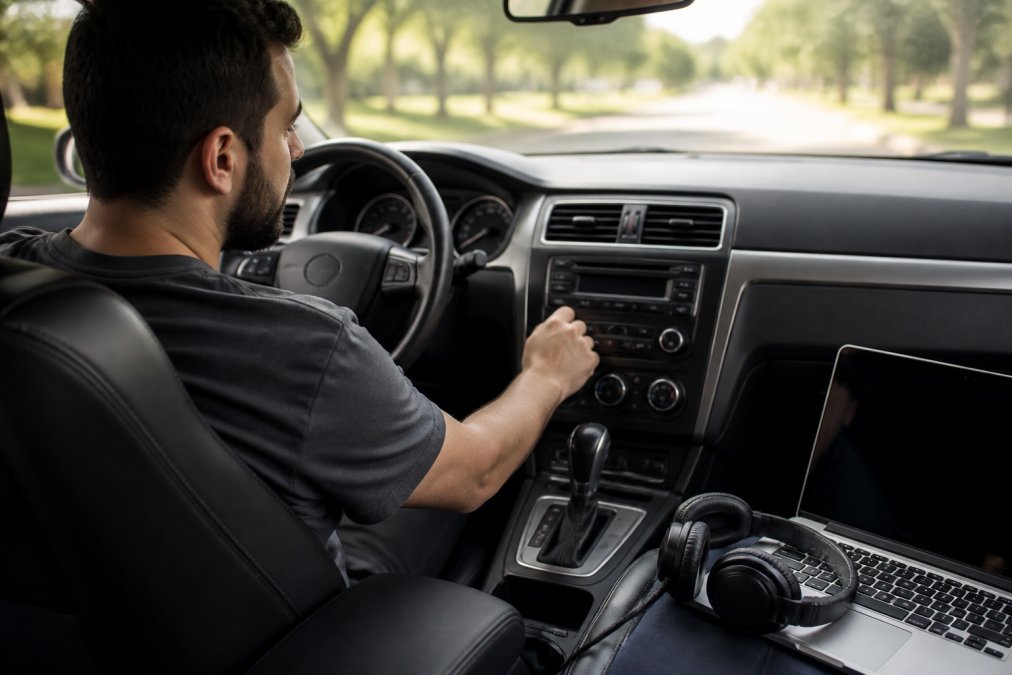
Here's the workflow:
- Export your mix as a high-quality file (WAV, 24-bit if possible)
- Transfer it to your phone or USB drive
- Play it on your car's stereo system at normal listening volume
- Listen to the full track without interruption
- Take notes on what stands out: Is the vocal too quiet? Is the bass booming? Does the mix feel balanced?
- Go back to your studio and make adjustments
- Repeat until the mix sounds good in the car
Studio Headphones vs. Consumer Headphones
Headphones are where most listeners experience your music. But studio headphones and consumer headphones sound completely different.
Test your mix on multiple headphone types:
- Studio headphones (your reference)
- Consumer headphones (AirPods, Beats, Sony WH-1000XM5 style)
- Budget earbuds (the worst-case scenario)
- In-ear monitors if you have them
Room Acoustics and Monitoring Environment Impact
Your studio's acoustic environment shapes everything you hear. Untreated rooms create standing waves, reflections, and frequency peaks that color your mix.
Acoustic treatment fixes this:
- Bass traps in corners absorb low-frequency energy
- Absorption panels on walls reduce reflections
- Diffusers scatter reflections instead of absorbing them
- Monitor placement away from walls and corners reduces boundary effects
Technical Tools for Better Mix Translation
Mid-Side Processing and Stereo Imaging Control
Mid-side (M/S) processing gives you independent control over the center (mono) and sides (stereo) of your mix. This is powerful for translation because you can control how much stereo information is present.
- Mid: everything panned to the center
- Side: everything panned left and right
For translation, M/S processing helps you:
- Keep important elements (vocal, kick, bass) centered and mono-compatible
- Control stereo width on less critical elements
- Ensure the mix doesn't collapse on mono playback systems
- Maintain clarity on small speakers that have limited stereo imaging
Gain Staging and Headroom Management
Headroom is the space between your loudest peak and 0 dB (digital clipping). Most mixes should have at least 3-6 dB of headroom before mastering.
Proper gain staging means:
- Individual tracks peak around -12 to -6 dB
- Your mix bus peaks around -6 to -3 dB
- Your master output has at least 3-6 dB of headroom
- No clipping anywhere in the signal chain
When to Bring in Professional Mastering for Mix Translation
Professional mastering is the final step in preparing your mix for distribution. A mastering engineer listens to your mix on multiple systems and makes adjustments to ensure it translates well across all playback systems.
A good mastering engineer will:
- Identify translation issues you missed
- Optimize frequency balance for streaming and physical formats
- Add loudness and polish without losing dynamic range
- Prepare multiple masters (streaming, CD, vinyl) if needed
- Catch technical issues like clipping, phase problems, or unwanted artifacts
Frequently Asked Questions
Why does my mix sound different in the car than in the studio?
Your studio has treated acoustics, calibrated monitors, and a controlled frequency response. Cars have hard reflective surfaces that boost certain frequencies, smaller speaker arrays, and different acoustic characteristics. Headphones add their own frequency coloration. Mix translation issues occur because these playback systems reveal problems your studio monitors mask. The low end especially behaves differently, car stereos often emphasize bass buildup that wasn't obvious on studio monitors. Testing on multiple systems ensures your mix translation holds across all listening environments.
How do I check my mix for translation issues?
Test your mix on at least three different playback systems: your studio monitors, a pair of consumer headphones, and a car stereo. Use reference tracks in the same genre played on each system to compare. Listen for frequency masking (where instruments disappear), mono compatibility problems (where the stereo image collapses), and dynamic range loss. The Car Test workflow is essential: burn a CD or use a phone connected to your car's audio system and listen critically to how drums, bass, and vocals sit in the mix. Take notes on what sounds wrong, then return to the studio and adjust.
What mixing mistakes most often hurt mix translation?
The biggest culprits are excessive low-end buildup (bass and kick competing for the same frequencies), ignoring mono compatibility (stereo panning that collapses to mono), and over-compression that flattens dynamic range. Many producers also rely too heavily on headphones while mixing, which exaggerates stereo width and hides phase cancellation. Using reference tracks helps catch these early. High-pass filtering unnecessary low frequencies, checking your mix in mono regularly, and leaving adequate headroom prevent most translation failures.
Should I mix at lower volumes to improve translation?
Yes. The Fletcher-Munson effect means our ears perceive bass and treble differently at various volumes. Mixing at moderate levels (around 85 dB SPL) more closely matches how most people listen and prevents over-boosting low and high frequencies to compensate for what you think you hear. Lower volumes also reduce ear fatigue and help you hear masking issues more clearly. However, you should also reference your mix at multiple volumes, quiet, moderate, and loud, to ensure it translates across listening scenarios.